Beginner’s Mini Album Tutorial In 30 Minutes
This mini album tutorial is so easy that you are guaranteed to be creating these scrapbooks every chance you get!
I created this mini album tutorial to provide you with a visual step-by-step guide on making the hardcover and inside binding. The instructions are super easy to follow and will take you 30 minutes or less. The hardest part, which is gathering the correct measurements for everything, is already completed for you.
Below, you can read about the exact materials used along with the written instructions. I designed everything with beginners in mind. Check out more mini album projects for anniversaries and travel.
How To Make Easy Mini Album Tutorial For Beginners
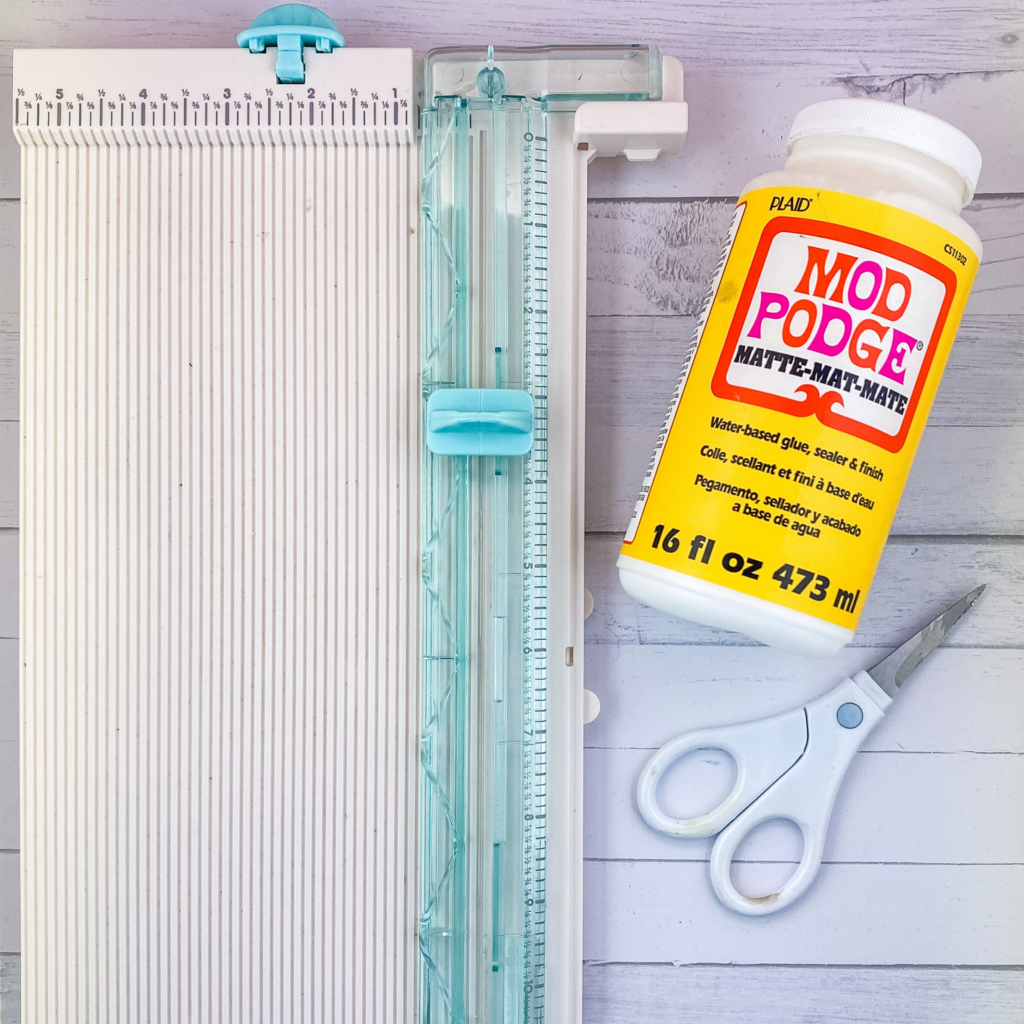
Scrapbook Supplies For Mini Albums
- 12×12″ Paper pack with desired pattern – Get Golden Desert Here
- Medium weight chipboard sheets
- Mod Podge and/ or double sided adhesive
- Paper trimmer and scissors
- White cardstock paper
- Ruler
I linked the exact products I used to create this album above.
It is essential to use durable paper and chipboard so the album will last. For this project, I opted for medium weight chipboard, as well as 65 lb. white cardstock.
I find this to be the perfect paper weight for scrapbooking because it foldable while also being strong enough to hold various photos and embellishments.
8×8 Mini Album Tutorial Steps:
1. Cut 2 chipboard pieces 8 inches by 8 inches
The mini album measurements are eight by eight inches. I prefer this size because it is big enough to hold many pictures but small enough to fit in your hands.
Of course, you can make your mini albums as big as you would like too, but keep in mind the other measurements must be adjusted as well.
Beforehand, it is a good idea to plan out which photos exactly you wish to scrapbook. This will give you a good idea on how large each page layout must be to fit everything necessary.
Typically, an 8×8 inch album is enough to hold one 6×4 inch photo, two 4×4 inch photos, or multiple smaller sized photos.
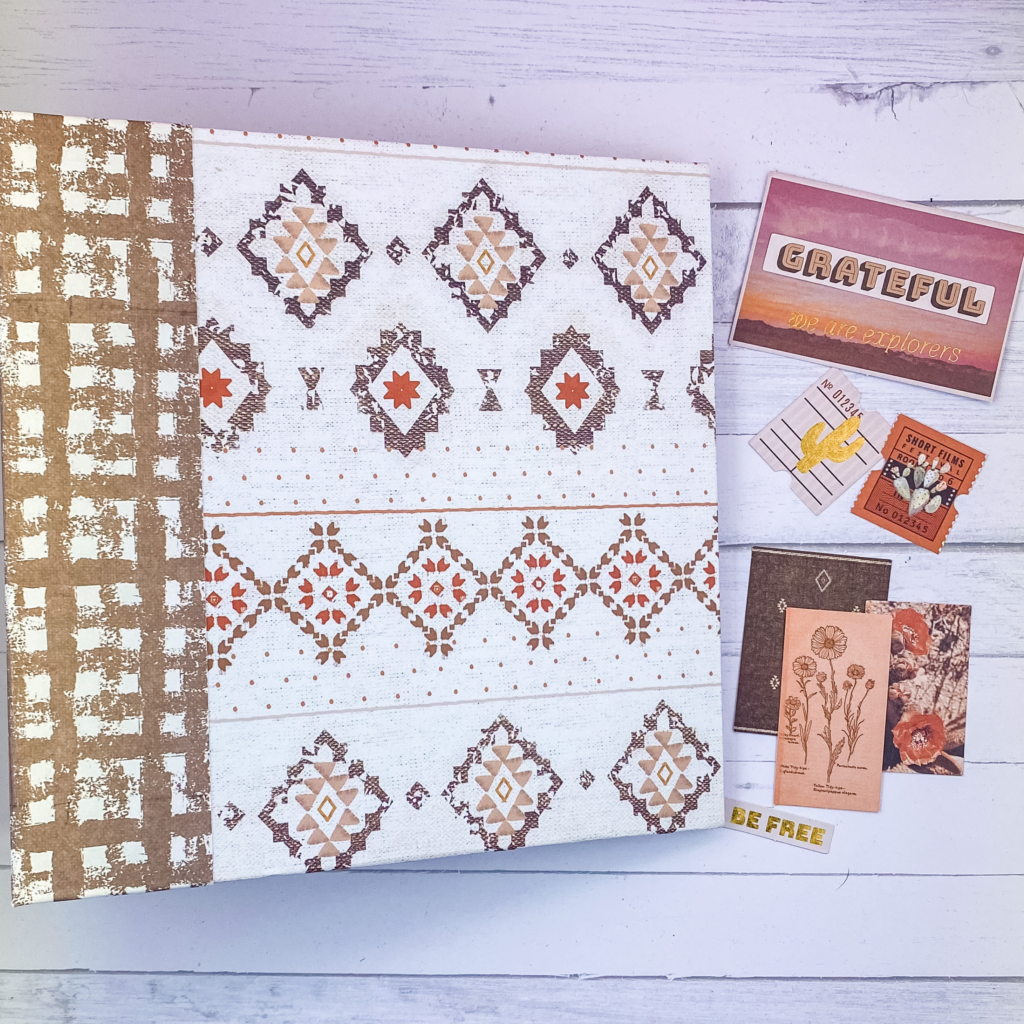
2. Adhere patterned paper to your two 8×8 chipboard pieces
Using either mod podge or double sided tape, adhere your decorated paper onto the two chipboard pieces.
These two chipboard pieces will be your front and back cover of the album. Keep in mind that if you are adhering a pattern paper with a design on it, the paper will need to be a straight as possible. Otherwise, the design may become crooked if not done intentionally.
To avoid crooked patterns, it is recommended to use a ruler or a mat with measurements while adhering the two together.
The next step is to cut off the four corners of the paper. Cut each corner off at a diagonal leaving only 2 millimeters of space between the chipboard and paper.
Then, with the paper that is left hanging off on all four sides you will want to fold it over the edges. Folding over the paper makes it much easier when taping it down. This will also help prevent air bubbles around the sides.
When you get to the corners you can carefully fold over the few millimeters of paper we left. Thus, ensuring no chipboard pokes through the four corners. By now, the entire chipboard (front, corners, sides) are covered. Repeat this whole process a second time for the back cover.
If you encounter air bubbles, always have a smooth tool to assist in scraping the air bubbles out of the paper. Make sure that the paper is dry from any glue or else it may cause a tear.
3. Cut a 3 inch by 8 inch chipboard for the album spine
Just as we did in step 1, use your paper trimmer to cut another piece of chipboard in a three by eight inch rectangle.
This will be used for the “spine” of your mini album scrapbook. Keep in mind, you may adjust the width of the spine in order to hold more pages.
The wider the spine, the more page layouts your mini album will be able to hold.
4. Cut a 7×10 inch patterned paper for the spine
The spine of your photo album may be considered just as important as your front cover.
This is what will be seen from your bookshelf. Choose your preferred paper and cut it at seven inches by ten inches.
Again, adjust these measurements accordingly depending on how big you make your album.
5. Attach the front and back cover to the spine to form an album
Tape or glue your chipboard spine piece to the middle of your 7×10 inch paper. Try to adhere it exactly to the middle. Since the two cover pieces will go on either side, we want it to look as even as possible.
Before you adhere both your covers to the 7×10 inch paper, take the height of two cardboard pieces and place it directly up against the edge of the spine.
You do not want the covers touching the spine directly. Or else you will not be able to open or close the album correctly. This is leave approximately a millimeter of space between the spine and the front cover so it can easily bend open.
Finally, you can adhere the front and back cover to that same spine piece. Once all three pieces are attached, there will be a little bit of patterned paper hanging over the top and bottom. Fold those over and adhere just as we did in step 2.
6. Cut 2 8×8 inch pieces of patterned paper for the inside covers
Next, you’ll want to decorate the inside covers. Pick another set of patterned paper you like and cut it down to eight by eight inches.
After it is cut, tape it to the inside front and back covers. Once you do this your covers should look complete.
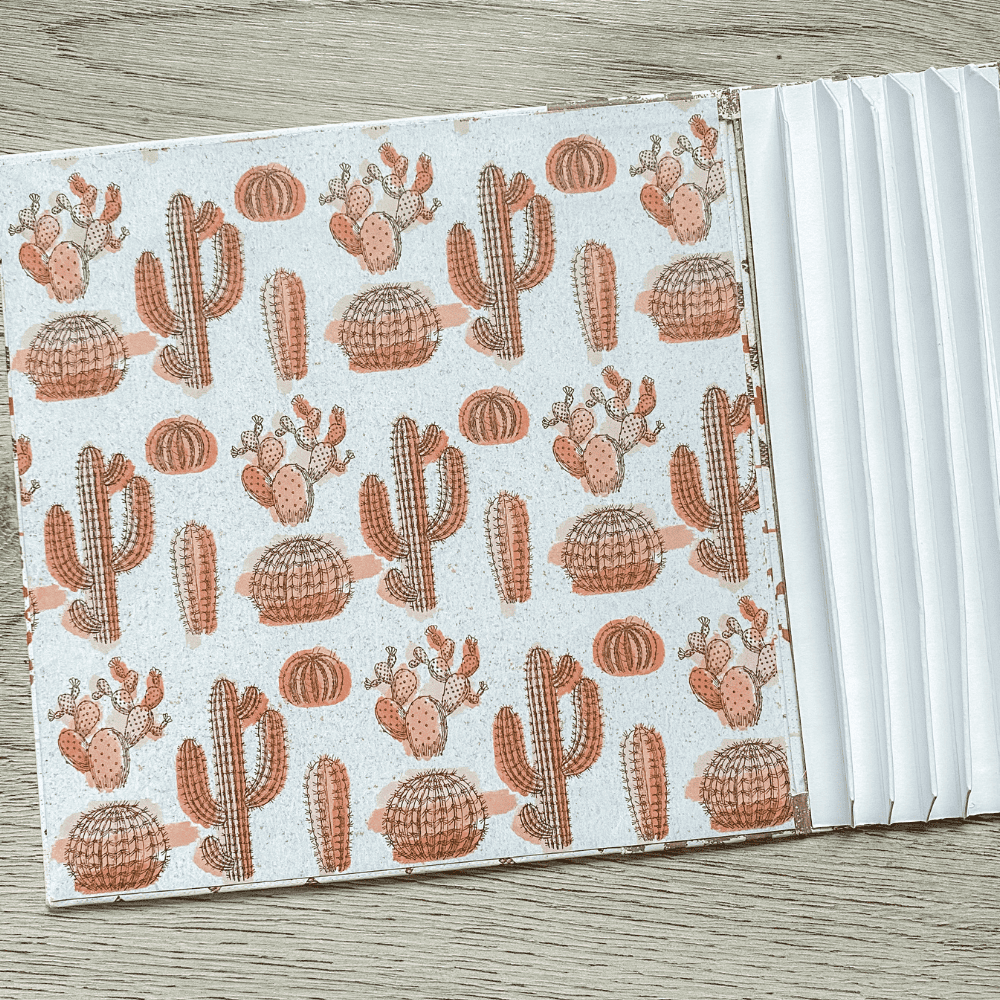
7. Make an accordion style insert that will hold the page layouts
Probably the hardest step in my opinion. This insert will attach all the layouts you create for your album.
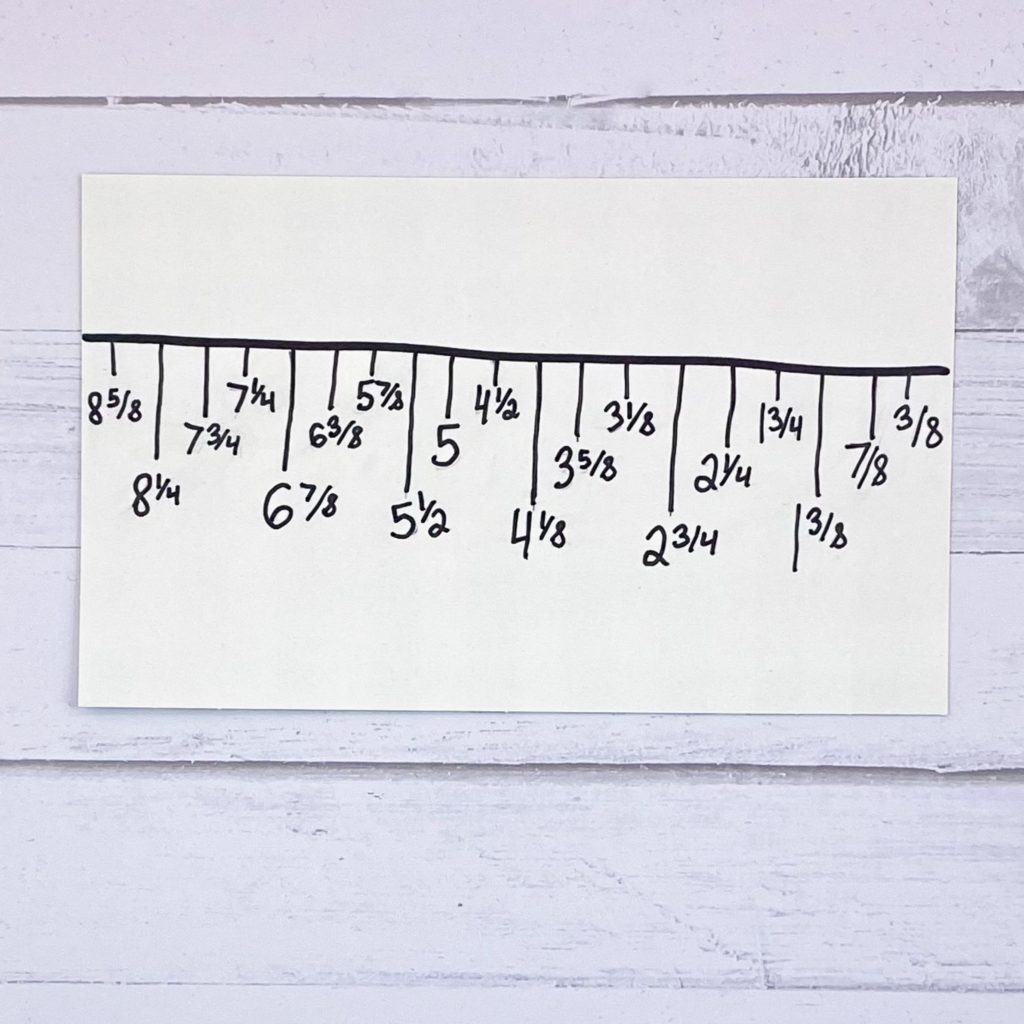
First, you will need to cute down a regular piece of cardstock to 8 inches by 11 inches. Then, following the measurements shown above, make score lines at each measurement.
After you make the last score line, trim off any extra paper that wasn’t scored on.
Fold over the first score line. At the second score line fold in the opposite direction than the first. You should see your first “peak” or mountain which is where you’ll glue the layouts down. Continue making peaks and valleys with the score lines.
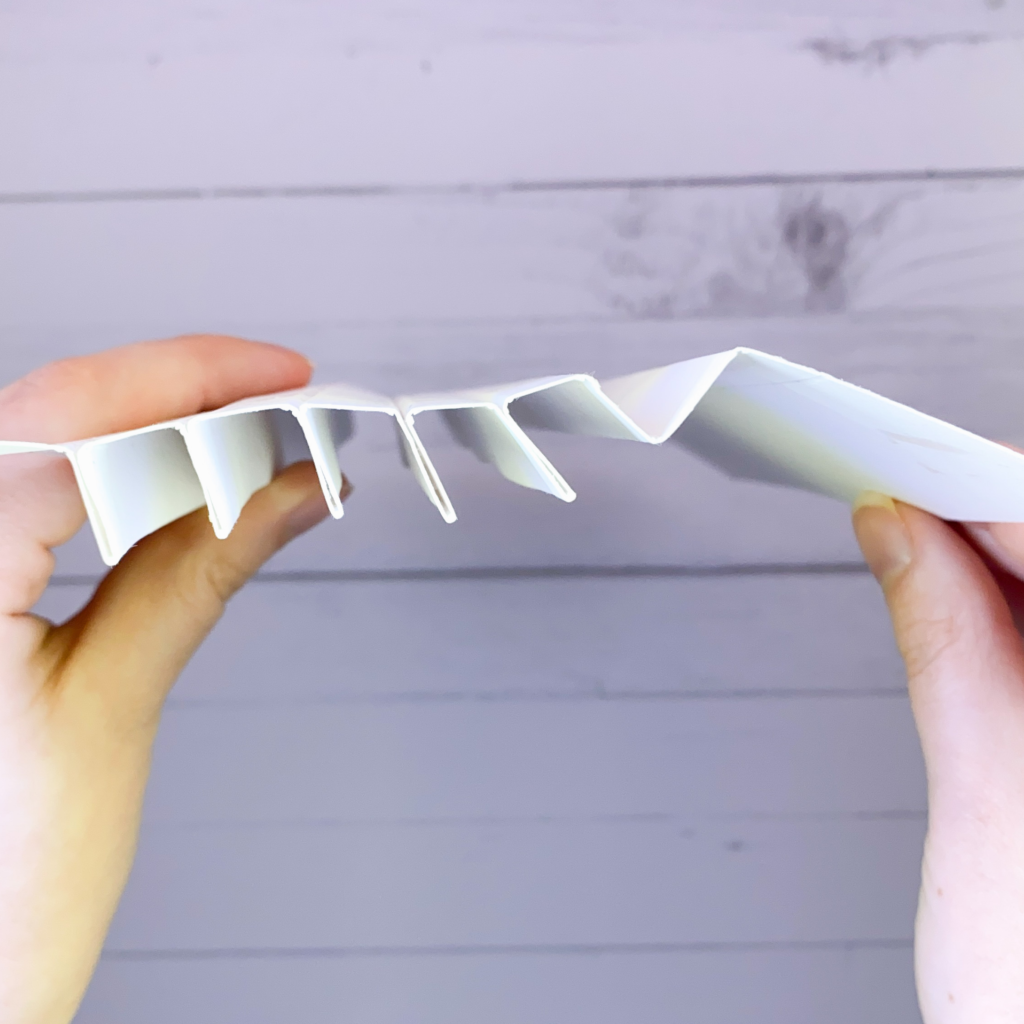
It should go peak, valley, peak, valley, and so on until you reach the end. The valleys ensure there is enough space between each peak to turn the pages of the book.
Once all the peaks are complete, glue the inside of the mountain/ peak so both sides come together as one. The back side will be flat after doing this part.
Let everything dry, and then glue/ tape the back side of the insert to the inside spine.
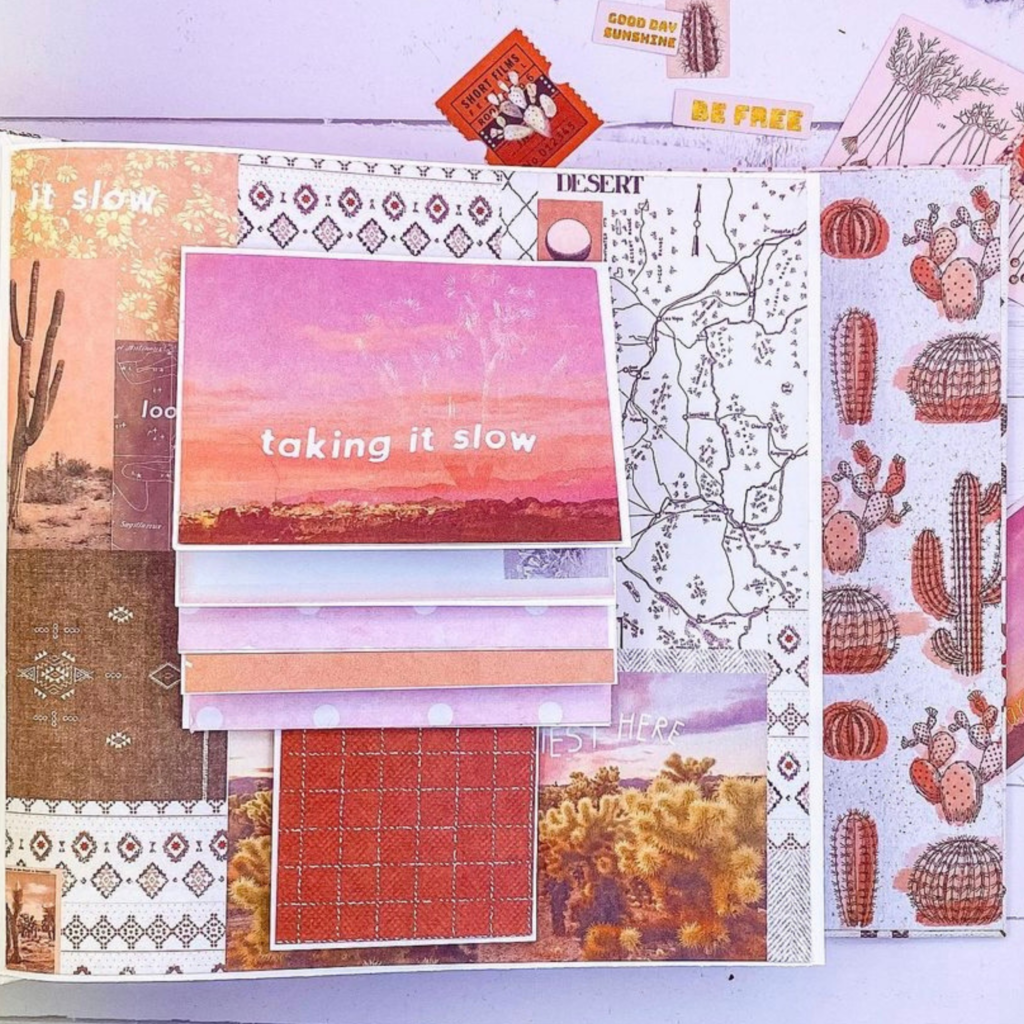
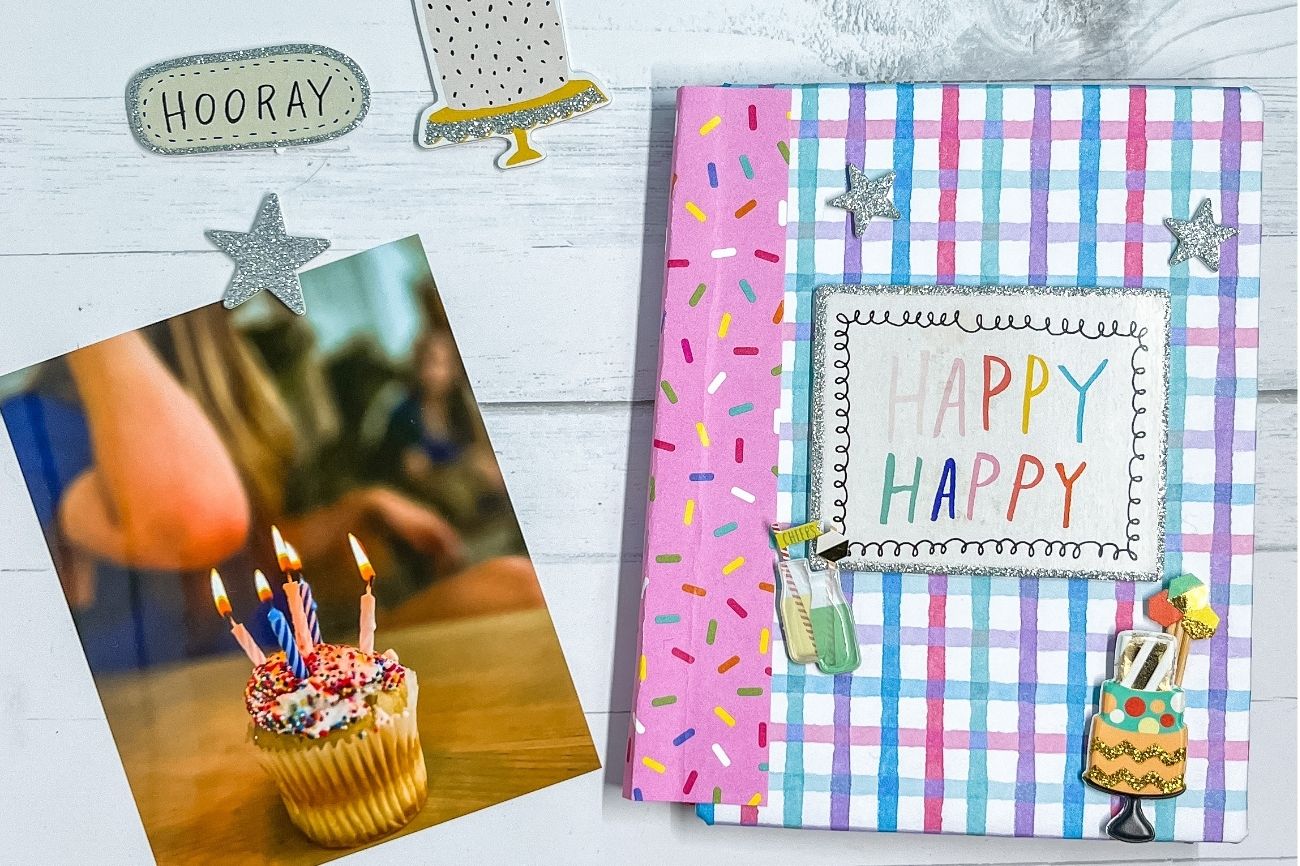
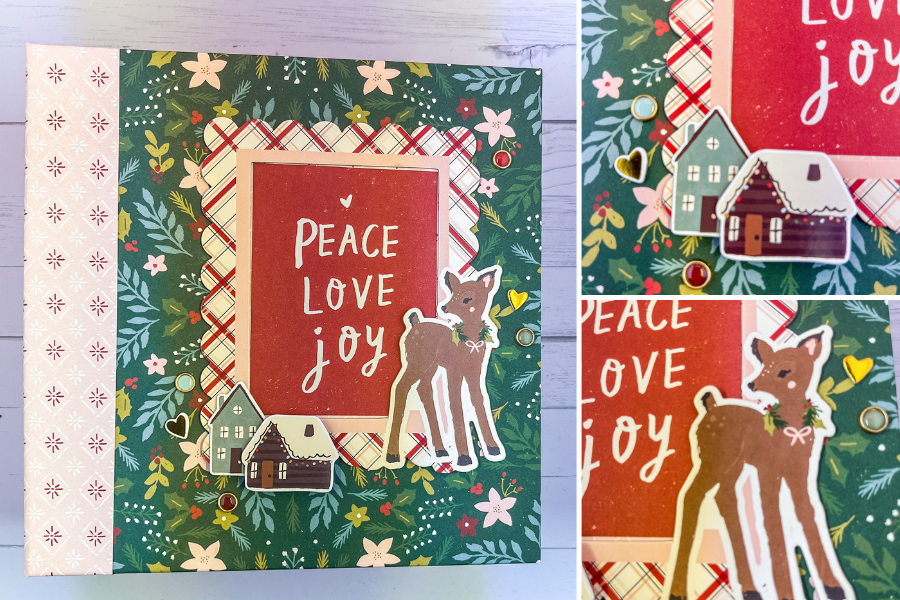
8. Decorate Your Mini Album Tutorial
Once the paper binding is inserted the mini album cover is practically complete!
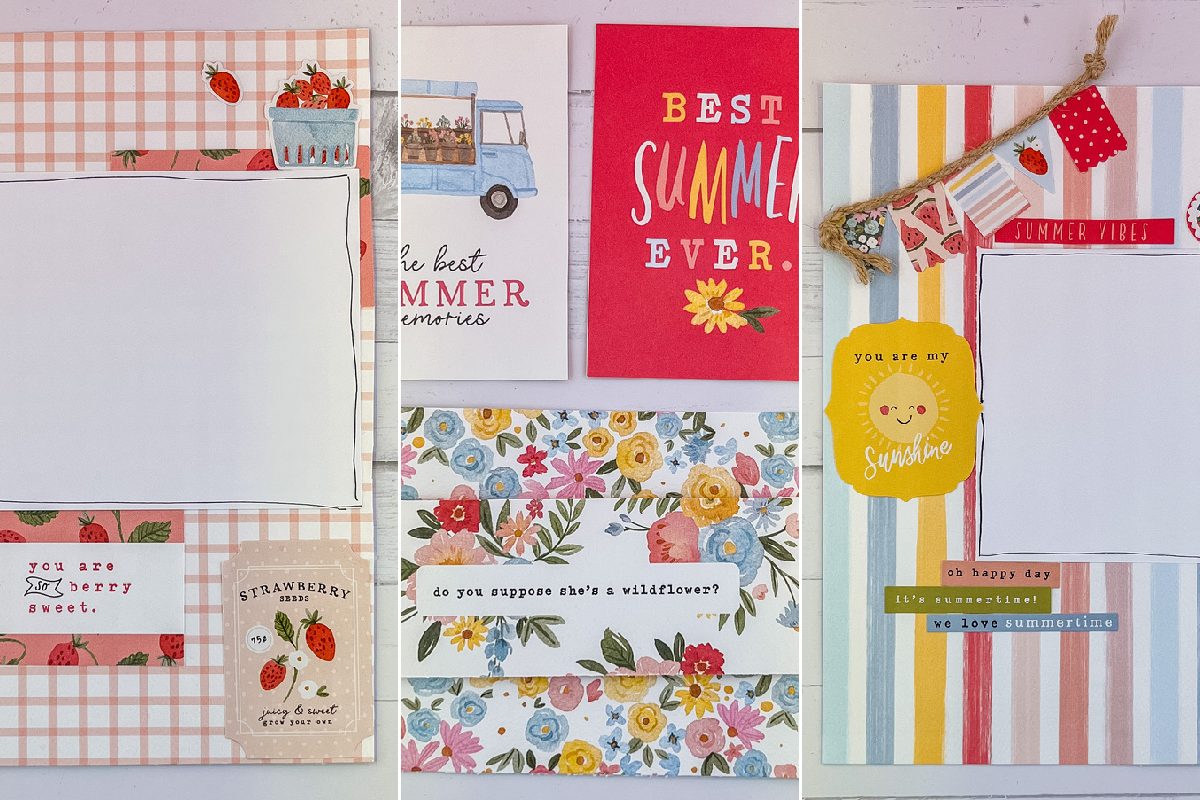
The only thing left to do is decorate and insert your photographs. The outside front cover can be decorated any way you would like. Have fun with it and add any cute frames, titles, and embellishments you have on hand.
Frequently Asked Questions
1. What size should my mini album be?
The most popular sizes for mini ablum scrapbooks are 4×6″, 6×8″, 8×8″, and 5×7″. However, feel free to make it any size you want.
Typically, chipboard comes 12×12″ in size so you cannot make it any bigger. Just think of how you want the album to feel, and what you’re making it for, before you decide on a size.
2. What materials do I need to create a mini album?
The basic supplies you will need are chipboard, adhesive, and paper. However, if you want to decorate your album you will also need patterned paper, embellishments, stickers, markers, etc.
Check out my list of supplies used to make my mini album tutorial for help.
3. What’s the best way to bind a mini album?
Accordion binding is my preferred method that I teach in this tutorial. Due to the fact that it is easy to beginners to learn.
Other binding methods include sewing and ring binding. (Source: “3 Great Mini Album Tutorials“)
4. How many pages can this album hold?
The number of pages depends on how wide you make the spine of the album. If you wish to add in more pages, make the spine wider.
Just be careful to not add too many pages, or else the album can become bulky and fall apart. You will also want some space between each page to fit thicker embellishments.
This post is an easy mini album tutorial In Less Than 30 minutes
Please Note: Some of the links above are affiliate links. Read the full disclaimer here.

One Comment
Comments are closed.