How To Make Stickers From Hand-drawn Designs
Are you interested in how to make stickers that are cute and personalized? This post will teach you ways to customize your very own unique stickers.
Creating your own sticker sheet is most likely easier than you think. I prefer working with water color to create the designs because it is very forgiving for inexperienced artists. Also, watercolor gives off both gorgeous color and texture. However, if you prefer to use markers, colored pencils, or acrylic paint those will also work fine also. To see the process from start to finish, please watch the video on how to make stickers.
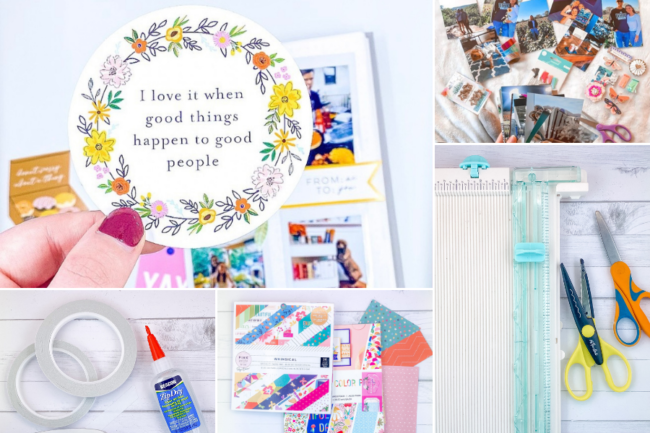
There are many different ways to create sticker sheets. This method in particular is simple, quick and has wonderful results. If you choose to follow these instructions you will need a few materials:
- Sticker paper
- Watercolor paint
- Cricut (or other cutting machine)
- Printer and scanner
Easiest How To Make Stickers Guide
1. Sketch The Design On Water Color Paper
There are so many reasons why I prefer watercolor painting over traditional painting or drawing. First, watercolor is extremely beginner friendly. There are no harsh lines you have to follow. The paint is easy to blend so if you do make a mistake it can be fixed. Second, using watercolor to paint is mesmerizing and so much fun! If you happen to prefer traditional painting or drawing with markers you may absolutely do that to make stickers. Water coloring is not necessary but it is the easiest in my opinion.
To Begin, you will want to sketch out your drawings using a pencil. These can be any design you choose and it also does not matter the size. I will show you how to resize the images later on. If you are drawing a specific design, a little trick I like to do is to pull up the image online. With your computer brightness all the way up, place the paper in front of the screen and the design should project through onto the paper. This will allow you to trace the design from your computer. If you do find a design you like online just be sure you are not copying another artists’ work, especially if you plan to sell the sticker.
As soon as you sketch out all the designs, it is time to start painting! This is pretty self explanatory so just have fun with it. For smaller detailed items such as letters you may want to use a regular marker to go over it. Let all the paint dry when you come across the desired look. Once dry, you may erase the pencil markings to give the images a softer look.
2. Scan The Paper With Designs
The second part of this process is to scan the paper you just painted. This step is necessary to get a digital copy of your designs so they can be edited and resized. I used the most basic scanner out there and it works just fine. If you do not have a scanner then you may be able to find one at your local library. Save the scanned image onto your computer for the next step.
3. Get Transparent Background

After the image has been scanned and saved on your computer it is time to get rid of the background. The reason for having a transparent background is so that the paper is not longer included. Also, removing the background will allow us to separate each design.
A free and effective way to achieve a transparent background is through Lunapic. Go to Lunapic.com and under “file” choose upload image. Here, you can upload the scanned image of your paint drawings. After you see your scanned image on screen hit “edit” and then choose “transparent background.” Click anywhere on the paper that you want the background removed. This includes the tiny spaces between letters and objects with holes. No doubt, this part can be tedious but it is essential for getting the best looking stickers. Once the entire background is transparent save the new image and send it to your iPad or tablet.
{Recommended Post You May Like: “SCRAPBOOK SUPPLIES LIST FOR NEW CRAFTERS“}
4. Edit
Now that the background is transparent we will need to do some final editing. No worries if you are not super tech-savvy. The editing used for this sticker sheet is minimal, and all you will need is a basic iPad or touch tablet.
The purpose of editing is to smooth out any rough edges and to create a white border around each design. This will also allow an opportunity to fix up any errors from the paint. When it comes to editing there are tons of editing apps you can use. A free editing app that I enjoy using is called Sketchbook. Not only is it free but also user-friendly and compatible with most tablet devices. However, Sketchbook is not the only app you can edit the designs with. Feel free to use other apps of your preference. More advanced apps include Procreate and Adobe Illustrator. Regardless of the application you use, be sure it will allow erasing and coloring of fine lines.
First, upload the sheet of designs with the transparent background we just saved. Pick one design to work with a time. Go ahead and erase the other designs around it as we will want to save each design on its own. If the scanned image has become a bit pixelated now is the time to smooth the edges and make any corrections. Use the eraser tool to go around the design and smooth out any pixels. It helps to use a smaller sized eraser tool. Next, color correcting will enhance any areas where the paint smeared. Using the paint brush tool, pick and color and go over any areas that may need some fixing. Here, we can make colors more vibrant.
Lastly, if you want to add any words you may do so now. In my video example with the taxi the words messed up and I was able to redo them with the app tools. I love utilizing an editing application in addition to my painting because it allows the correction of finer details
5. How To Make Stickers With White Border

The best way to achieve a clean, crisp cut of a sticker is by adding a white border around the design. Plus, having a white border allows the sticker designs to pop on the journal or scrapbook page. To do this yourself is very easy. First, add a bottom layer in the app. This causes anything you draw to appear behind your original design. Secondly, grab the paint brush tool in the app and set it to a medium-small tip. Then, go around your design while drawing a white line around it. Choose how thick of a border you want beforehand. Some people may prefer it thicker than others, although it is totally personal preference!
Next, you will want to fill in the middle part so it is white behind the design as well. Filling the inside of the border can be done in seconds with the “fill” tool. Simply tap the inside and it will completely color in the whole area inside the border.
After creating the border, save the image again keeping the background transparent and send to your computer. Repeat these steps with each of your designs until they are all finished. At this point each image should be saved separately and ready to cut out.
6. Design Your Sticker Sheets
For this next step you will need a cutting machine. A Cricut machine or Silhouette Cameo will work perfectly. Personally, I use a Cricut and the directions are as follows. First, decide how large you want your sticker sheets. I make mine 4 1/2 by 6 inches. Add that rectangle shape into design space. Next, upload all your sticker designs. Since the background should already be transparent this part should take no time. Once all the sticker designs are uploaded take the time to resize however big you would like them to be. One thing to point out in Cricut design space is images always looks smaller than they appear in real life. For most stickers I make them around 1-2 inches which is the best size for planner and scrapbooks. If you plan on using the stickers on water bottles or laptops you may want to increase the sizing.
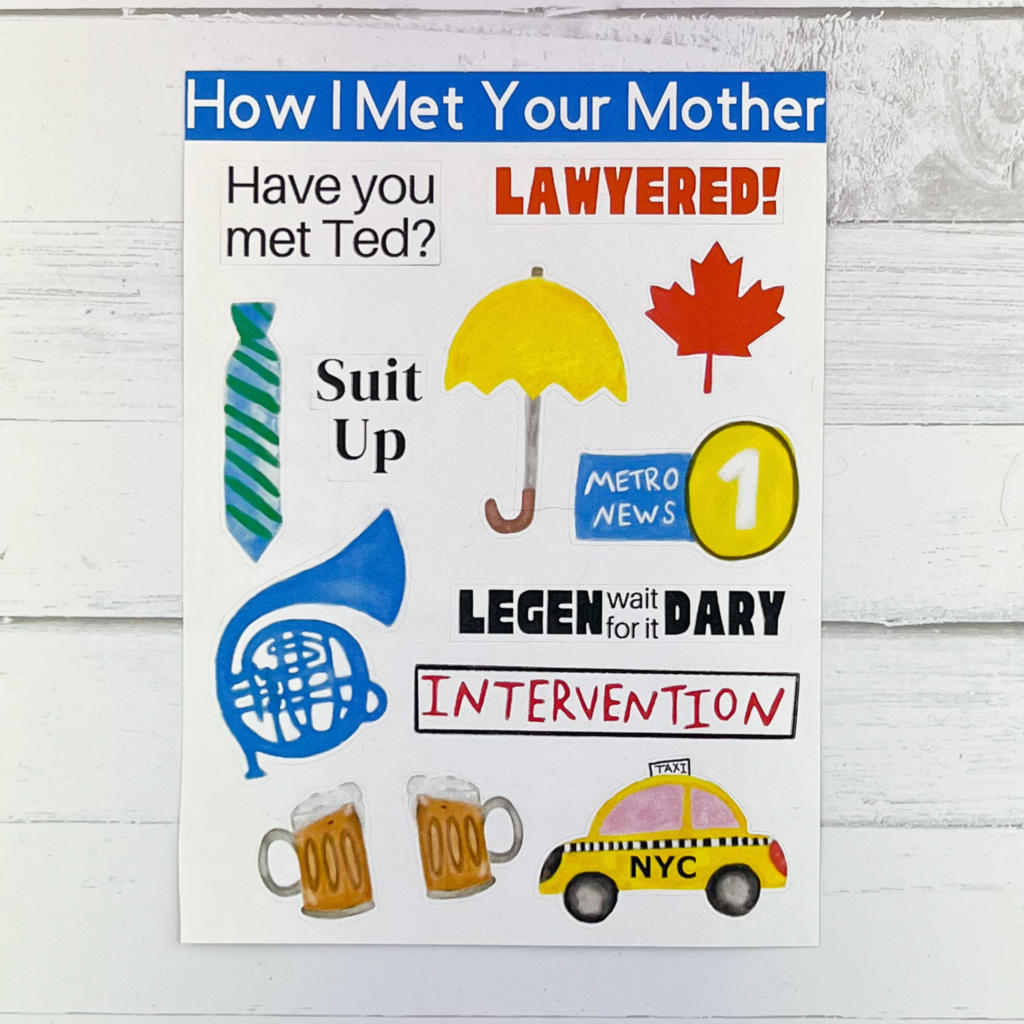
Finally, the designs can be added to the 4.5 by 6 inch rectangle sheet. Arrange each image any place you prefer. I like to place some at different angles to create a fun layout. If you want to add a title you may do that now as well. As soon as everything is placed exactly how you want it remember to selection everything and click “attach.” This will ensure everything stays in place for the cut. Print out the sheet for Cricut’s print and cut.
7. Cut & Enjoy!
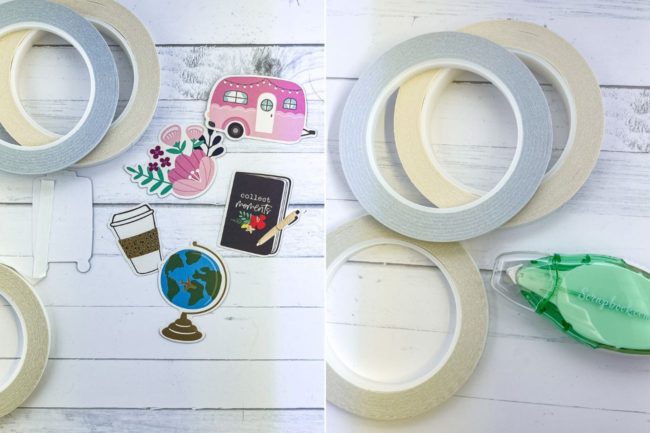
Once the stickers are ready to cut, click “make it” on Cricut design space. My preferred sticker paper I use is the Avery repositionable paper. This is my favorite paper to cut stickers out of because of it’s high quality and it is also repositionable for paper crafting. Before the cut you will need to select the cut settings on the machine. For this particular paper the washi tape cut setting works perfectly. If you plan on using thicker paper, there is an adjustable setting to find the appropriate cut.
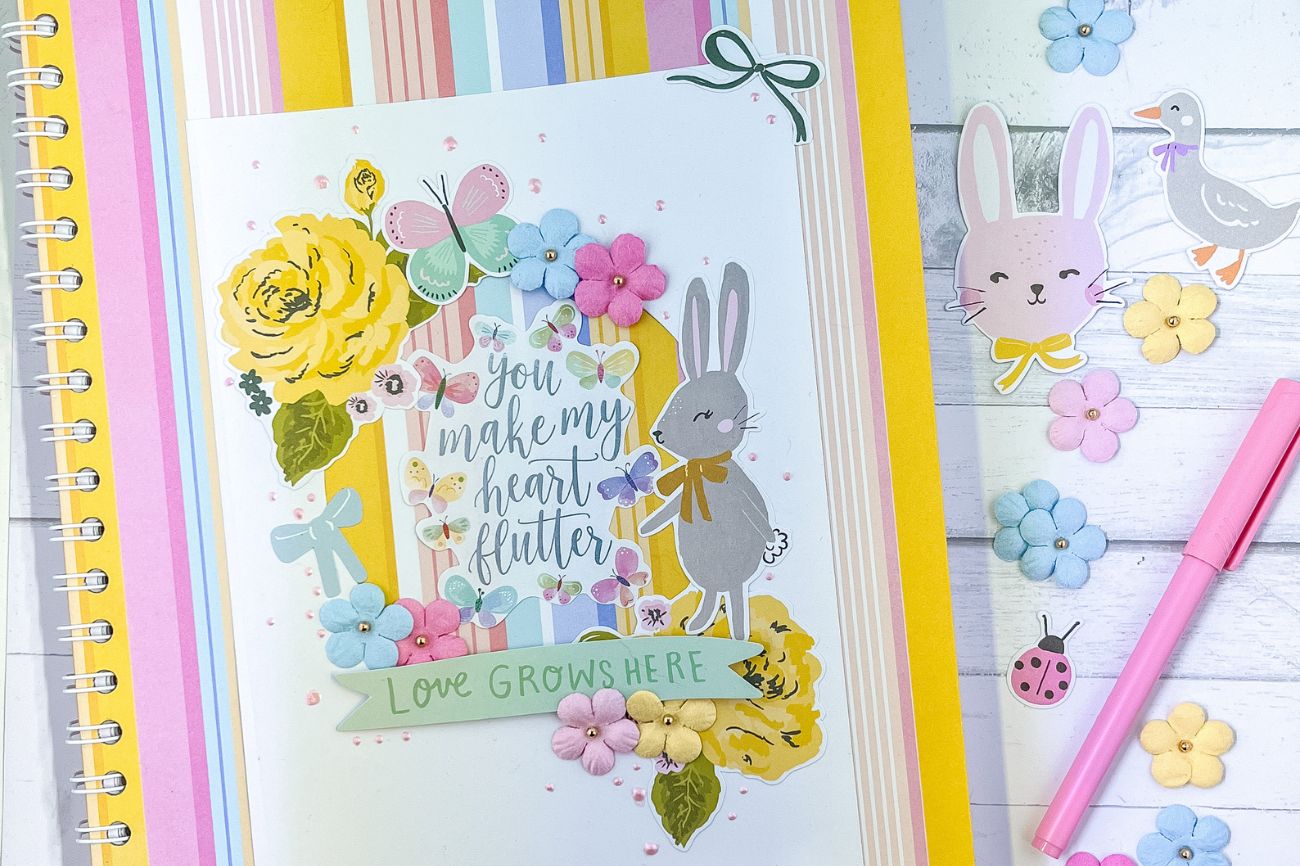
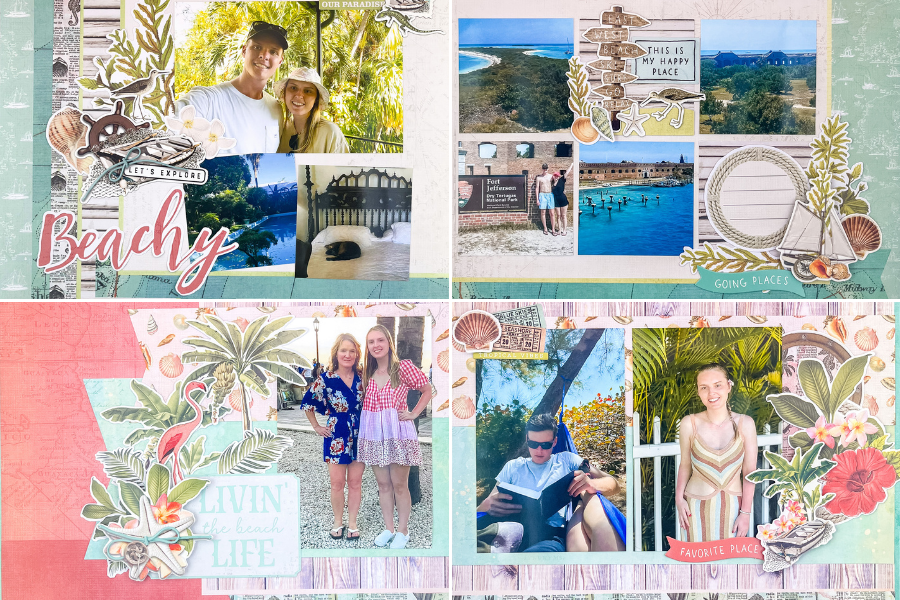
Place your paper into the machine and at last you will have adorable, handmade kiss-cut stickers. Finally you can use them in planners, journals, scrapbooks and any other craft you please.
Tips for Cricut’s print and cut
When I first starting creating my own sticker sheets one problem I encountered was Cricut not cutting out the designs in the right areas. The cut would often be off a few millimeters from where it was supposed to cut out. After multuple failed attempts and wasted paper, here are some tips that worked for me.
1. CalibrateYour Cricut Cutting Machine
The first solution I read about from other users was to recalibrate my machine. Essentially, this is like a reset to ensure all the machine has the correct settings. On the home page in the top left hand corner there are settings. Click on the calibration option for print and cut. It will then ask you to print off a piece of paper with different markings. Once that it printed, adhere that to the mat and place in your machine.
Cricut will then cut out each tiny line of the sheet of paper; Both lengthwise and width. Once it is complete remove the paper from the mat and inspect which lines had the most direct cuts. Be sure to choose the lines where Cricut was able to cut directly on it. Cricut design space will then ask you which line number are most accurate. For some machines, calibration is all it needs to perfect the print and cut. If you are still having issues after calibration, read the other tips.
2. Clean The Light Sensor
The Cricut machine relies on the light sensor to help see where the lines are. The light is located right near the knife. It is possible the light may have collected dust and is throwing off the markings. In order to clean the light take a dry rag and carefully remove any dirt that has built up.
3. Try A Different Printer/ Ink
Unfortunately, recalibrating your machine or clearing the light sensor may not have had any improvement to the print and cut. In my experience, changing my printer was the best solution. Before, I was using a cheap printer that was a couple years old. The color of the ink was not as vibrant or defined. I determined it was time to finally get a new printer and chose a laser printer. Laser printers can be expensive but I was able to purchase one for under $150.
This may not be what you want to hear and I definitely do not encourage you to completely ditch your printer before trying out the other solutions. While I am not sure there are any others who have had similar experiences, it seems to me that having good quality prints make a huge difference. It may just be that you need a new cartridge of ink. If you have a friend who owns a higher quality printer ask them if you can print a page off and test it. This way you can determine if this is the correct solution.
This post is all about how to make stickers
Please Note: Some of the links above are affiliate links where I may receive a small commission. You are supporting my passion project by clicking a link above and making a purchase (at no extra costs to you).