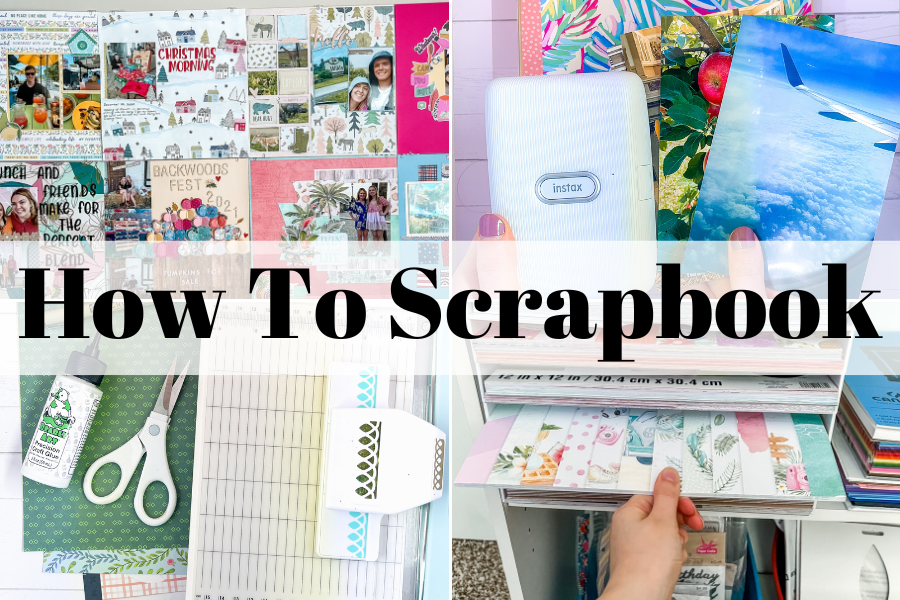
How To Scrapbook
Everything you need to know when learning how to scrapbook.
This post will teach you how to scrapbook with straight-forward directions. Starting a new hobby is exciting but can also be overwhelming. There are so many tools, brands, and techniques that you may have no clue about. If I was starting out again, here are the top scrapbooking tips I would want to know first.
How To Scrapbook As A Beginner
The great thing about scrapbooking is how accessible it is to everyone. You don’t need to spend a ton of money on supplies, pictures, or lessons. Every album can be totally customizable to each person and allows as much creativity as one possesses.
1. Print Your Photos
The entire purpose of creating a scrapbook is to store and document your memories.
First, you will need to think about what specific photographs you would like to include in your album. You may want to do an entire album of a specific event or time period in your life. For example, I have albums specifically for college, vacations, and childhood photos.
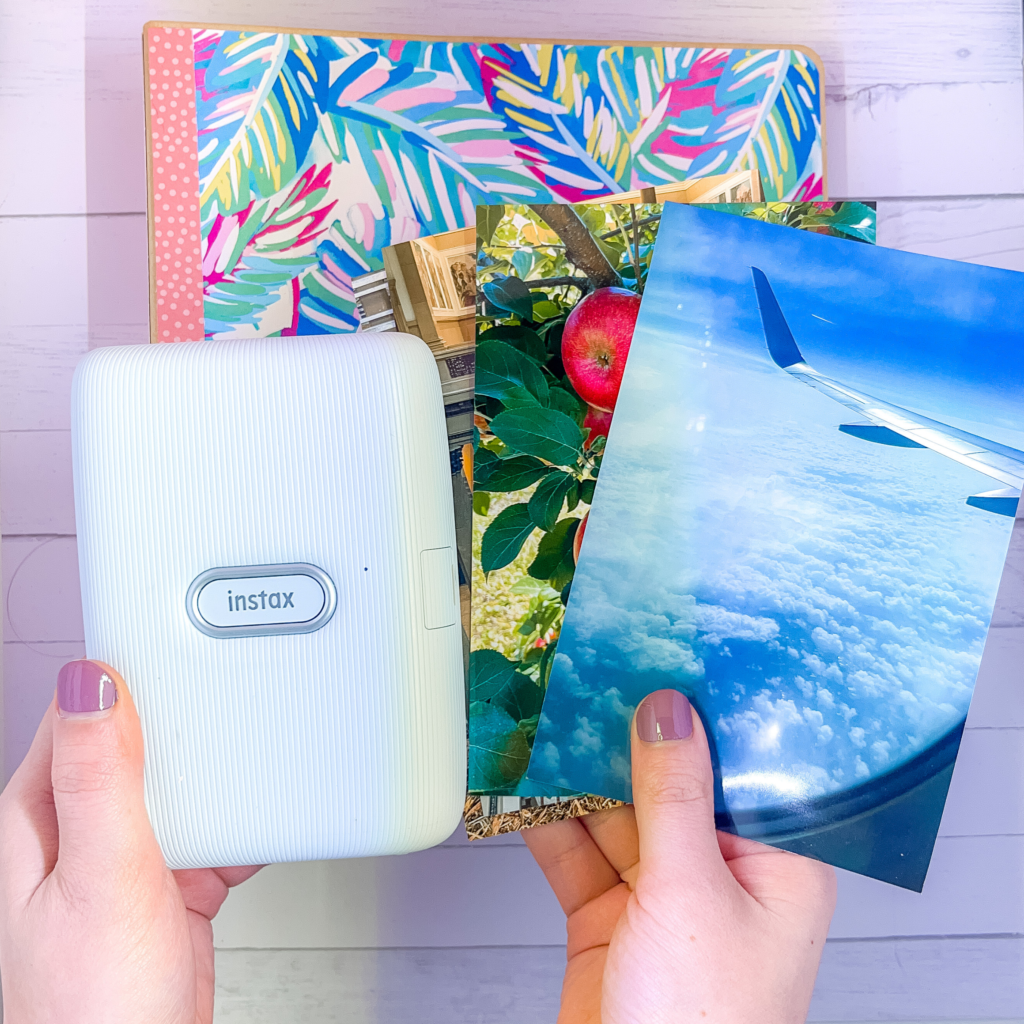
Choose which photos you want to scrapbook and print them out. There are a few options for photo printing. Here are the ways I print my photos and recommend to others:
- Instax photo printer – This is a great printer if you prefer polaroid prints. My favorite thing is that it does not require ink and gives your photos a vintage look to them.
- Shutterfly – Shutterfly is an app and they also have a website where you can upload your pictures to be printed and shipped to your home. This is a great hassle-free option and the prints are also great quality. The only downside is it can take a week or two for the photographs to arrive.
- Walgreens or CVS – Convenient stores have their own photo printing services that are another good option. You can print off your photos in seconds. Typically, it costs around 25 to 30 cents per photo.
All the options mentioned above give exceptional quality. This is important if you plan on keeping your albums around forever.
Once all your pictures have been printed, sort them by how you want them to be displayed. Now is the time to choose if you want them chronological, by color, or do multiple photos per layout.
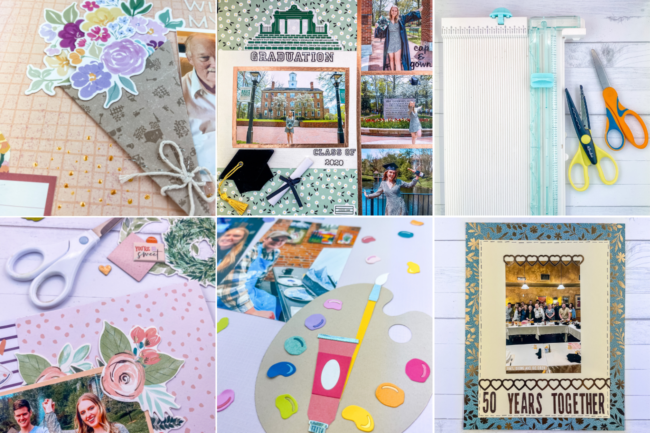
2. Gather Basic Supplies
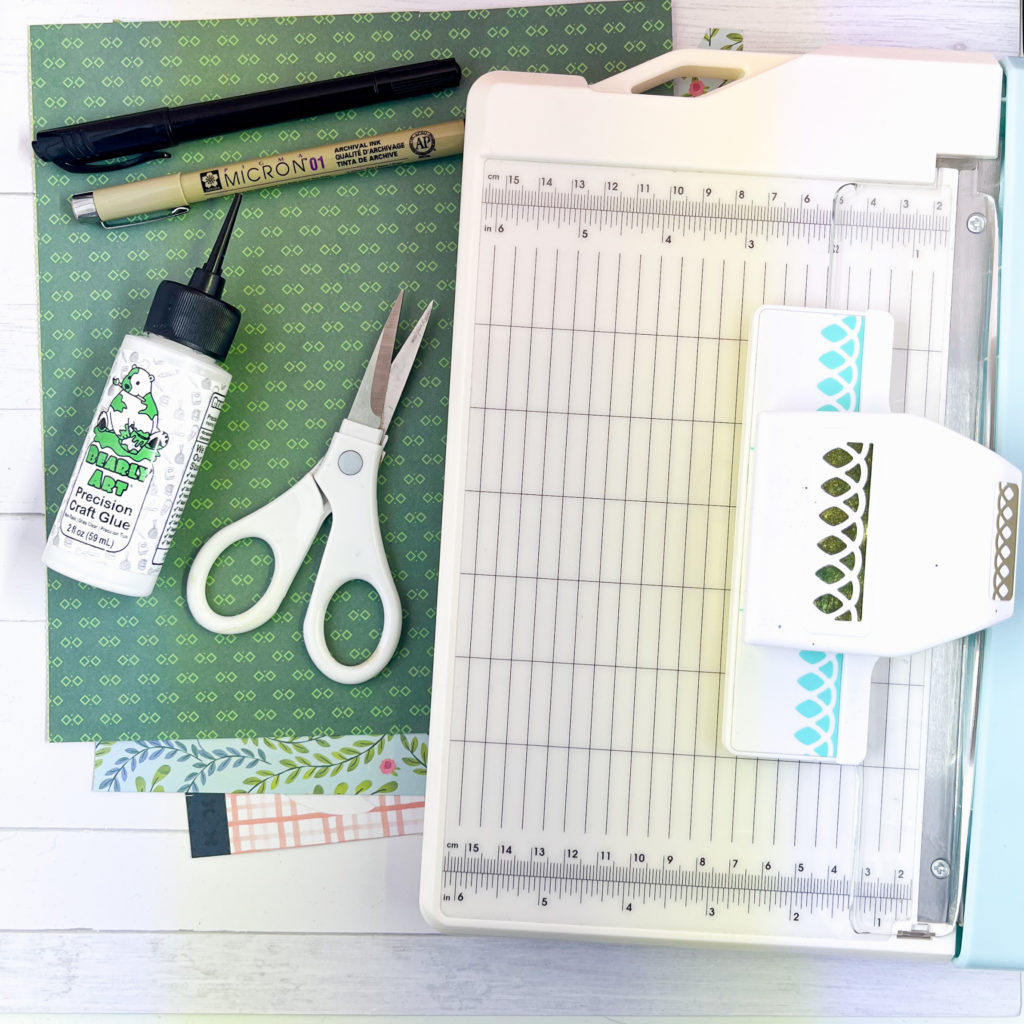
In order to design your scrapbook you will need a few basic supplies.
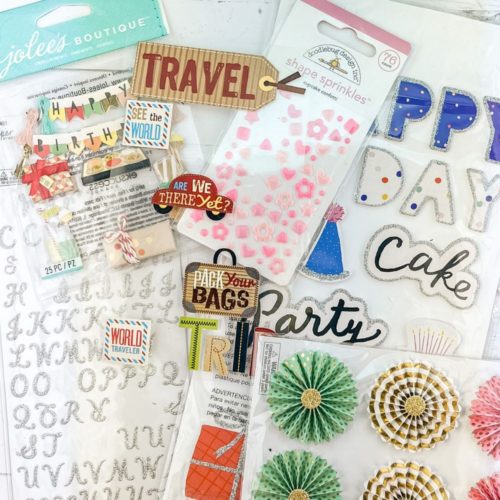
Shopping for cute supplies is a whole different hobby in itself. However, you definitely do not need to spend a ton of money to get pretty embellishments.
In fact, many embellishments can be found in your home. Some ideas for things you can decorate your layouts with are buttons, glitter, sequins, dried flowers, and stickers.
The main supply item you will be working with is scrapbook paper! Patterned paper can be found in all colors and themes. You can also find kits that come with multiple patterned paper, stickers, and ephemera pieces. Some of my favorite brands for scrapbook supplies are Simple stories, Pinkfresh Studio, Carta Bella Paper, Echo Park, and American Crafts.
Other supplies you will need to pick out are scrapbooking tools. These items include scissors, tape, glue, rulers, and a cutting mat. While these may not be the most exciting to pick out they are absolutely necessary.
Lastly, the last two items that are a must are the actual scrapbook album and page protectors.
Scrapbook supply list for beginners:
As always you can also shop for supplies at brick & mortar craft stores such as Michaels and Joann Fabrics. Oftentimes they have a different selection of products and brands that are fun to search through.
Many of these stores have sales throughout the month so plan before you buy. Before you go out and buy supplies, make a list of the absolute necessities that way you do not go overboard. Then, as time goes on you can slowly build up your stock of supplies.
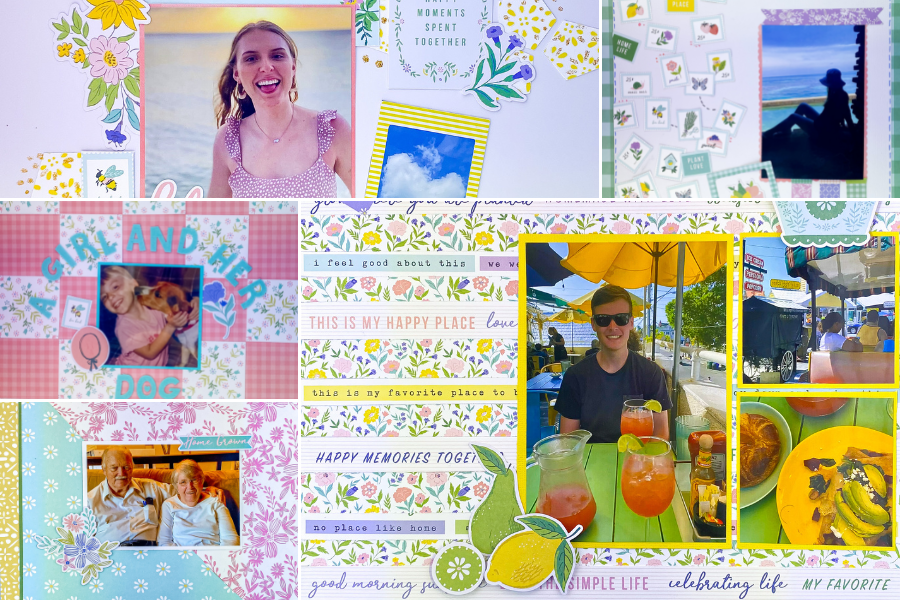
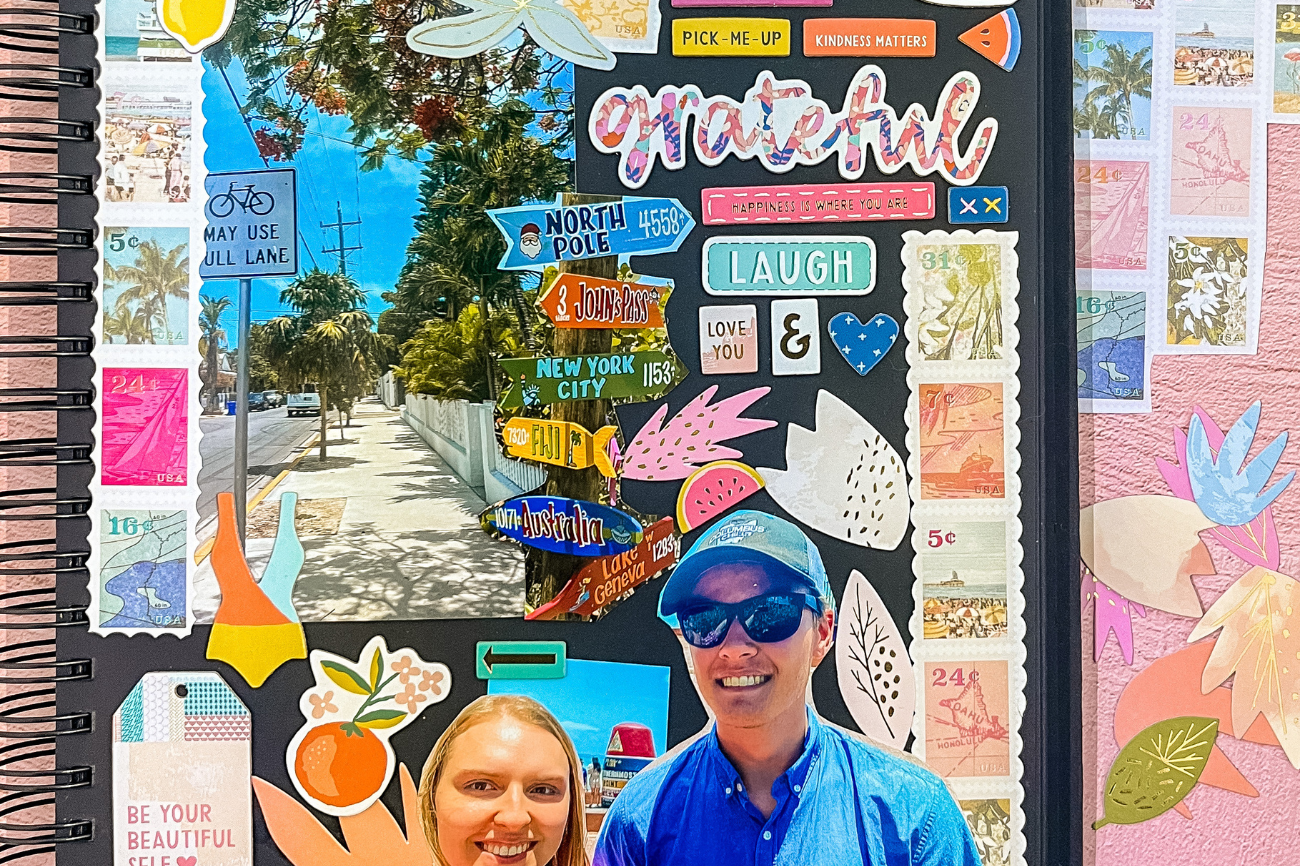
3. Choose Your layout Theme
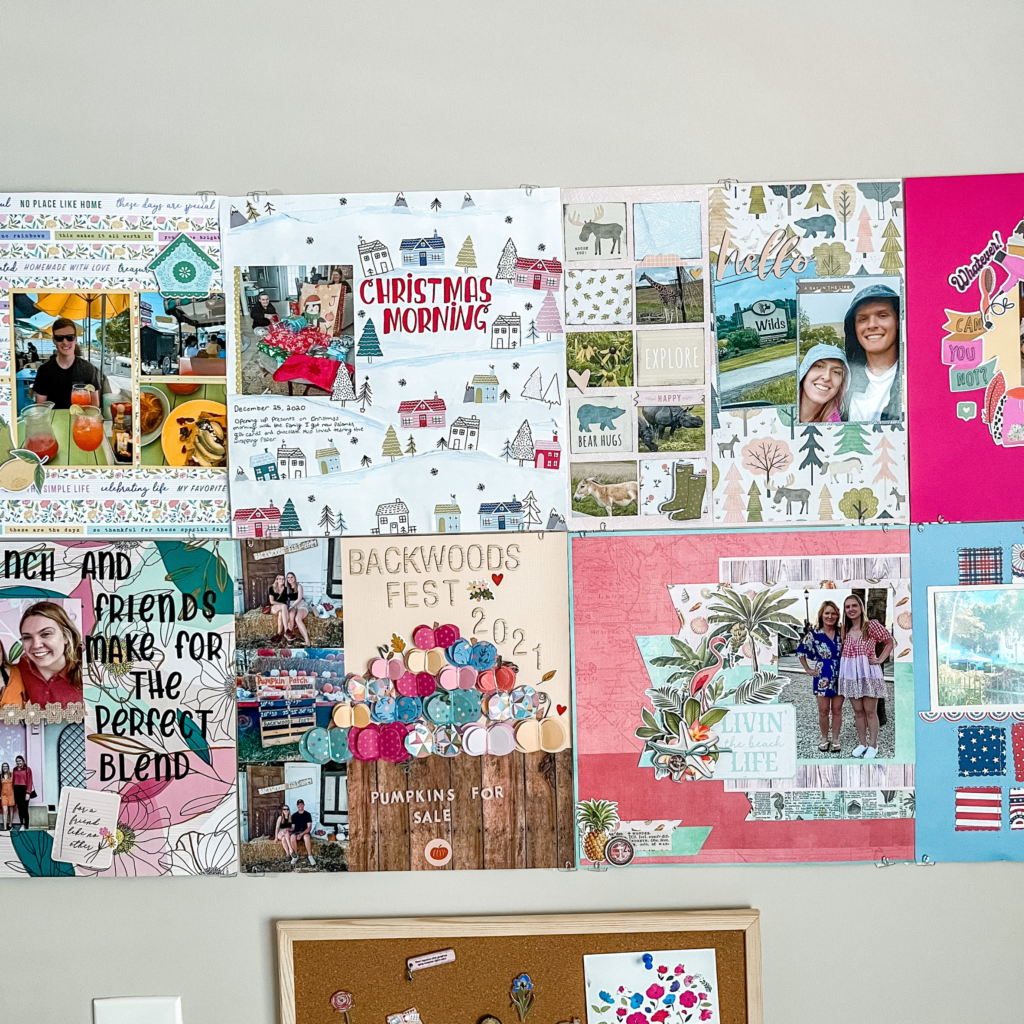
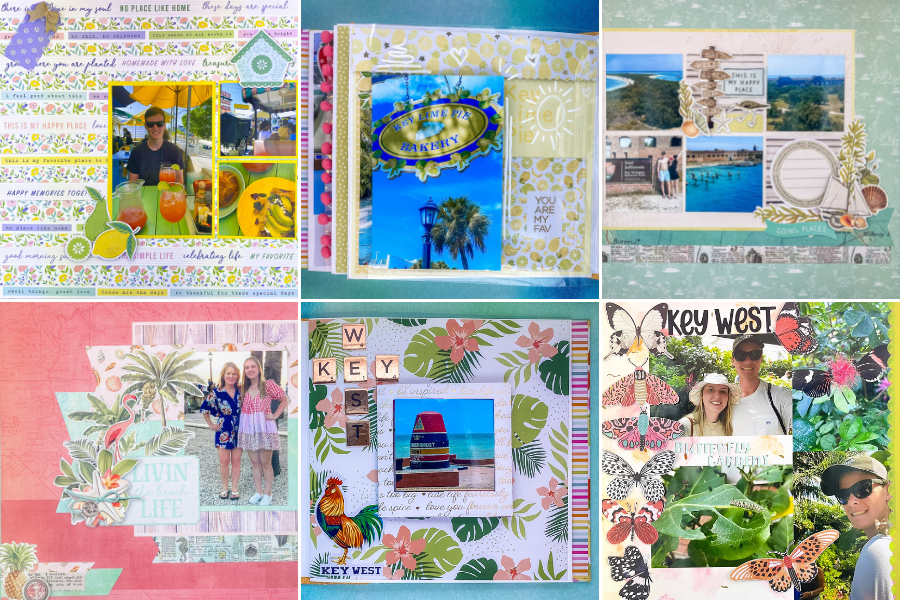
The third step as you learn how to scrapbook is choosing a layout theme. This means, deciding on the design and the color scheme of your layout.
There are lots and lots of ways to layout your photographs. You may decide to do one photo per page or have multiple. I enjoy including 1-3 photos per page.
If you need inspiration on how to map out your pages, Pinterest has many different ideas. By typing in “scrapbook page maps” you will find different templates with directions on where to place paper, embellishments, and your pictures. These templates will also give you the exact sizing of everything you need to cut out.
Before adhering everything it is a good idea to first figure out where you want each embellishment to go. Play around with the sizing and location of your designs. The worst mistake is gluing something down and ending up not liking how it looks.
Once everything is glued down it is difficult change anything. So you definitely don’t want to miss this step.
4. Adhere And Preserve
Once you have a good idea on where you want everything to be placed, it is time to adhere.
The goal when choosing an adhesive is to pick one with the longest longevity and will not ruin your decorations. You may choose from either adhesive tape or glue.
There are pros and cons to both as they both work better depending on what you are adhering.
For paper and pictures, using an adhesive tape is the better option as opposed to using glue. Double sided tape lays flat and will not cause any air bubbles. Also, tape is oftentimes stronger and more durable than paper glue.
One thing to remember when choosing an adhesive tape is to pick one that is non-acidic. Printed photographs have acid in them and if you use a tape with acid the two will combine and cause discoloration.
This article goes over the importance of using non-acid adhesive. In order to find good adhesive, search for terms such as “non-acid”, “acid-free”, and “archival safe”. My favorite tape from scrapbook.com is this roll of 3/4″ tape.
For ephemera bits and embellishments I prefer using liquid glue. Ephemera comes in various shapes and sizes so it can be hard to try and adhere it with straight tape. Glue makes it easy to spread into small areas.
When picking out a glue make sure it is specifically meant for paper crafting. Using regular glue will result in bubbles or the paper curling.
My all time FAVORITE paper craft glue is this Bearly Art glue. I absolutely love this glue because it has such a strong hold and does not cause any tearing or warping of paper. Also, it has two precision tips that allow you to glue small areas that prevent too much glue from spilling out at once.
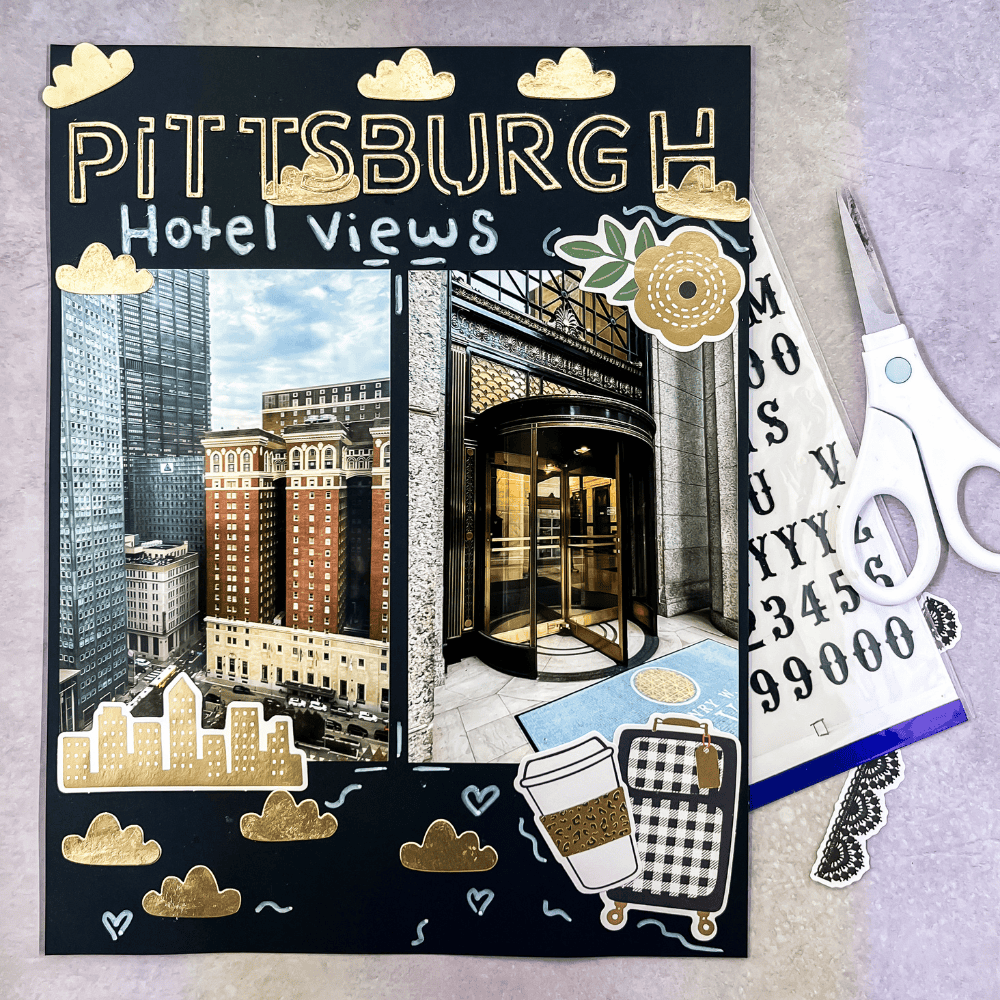
5. Journaling
One of the last steps in learning how to scrapbook is knowing how to add journaling to your page layouts.
Journaling is a crucial part in scrapbooking because it gives a chance to tell your story. While it is true that a picture will tell a thousand words, journaling will give all the details. How many times have you looked at an old picture from your grandparents stash and wondered when it was taken, where, and who is in it?
A few details you must include on your layout is the date, where it was taken, and each person in the photo.
Those three details should be included at the very least. If you want to include more you can write a little blurb about your why.
Think of a funny store that happened right before the photo was captured. Or perhaps it is a special occasion or a family tradition that you want to remember. When writing my own journaling pieces I always think about who may be reading it and what they might be wondering about. I try to include family stories that I want to be passed down from generation to generation.
Most of the time I will hand-write the journaling on each page. Other times if I want a nicer look I use my label maker. I do not always have the best handwriting so using a label maker is a good option.
6. Share With Friends And Family
Finally, your layout is complete! After all of your hard work your story deserves to be shared with others.
I absolutely love going through my grandparents old photo albums and I know one day my family will want to look through mine. At least one album of mine is always sitting out when family comes over so they can look through it.
During my graduation party I had all my photo albums sitting out that gave guests something to look through and see all my school accomplishments. Next time you have a family party think about setting out one of your albums.
Scrapbook.com also has a gallery page where you can post pictures of your finished layouts. It is so much fun to share your own artwork and to see others’ as well. It is also a great place to go to find inspiration. Plus, this will give you a digital library with copies of all your layouts.
It is always a good idea to have a digital backup of your photo albums.
Frequently Asked Questions
1. What is the main purpose of scrapbooking?
The main reasons people start a scrapbook is to document and preserve their memories, and to pass on to future generation.
People scrapbook for different reasons. For some it’s a creative outlet, while for others it’s a way to tell their stories. Each layout you creative will likely have it’s own purpose.
2. How to make a scrapbook look good?
You’ll first need to determine the overall aesthetic that you want your scrapbook to have. Choose coordinating colors and paper patterns. This will give your pages a cohesive look that will elevate the design.
Take time cutting the photos and paper. Uneven cuts and rigid edges can easily make layouts not look good in my opinion.
Also, make sure each page tells a story and has supporting elements to it. Use embellishments that correspond with the theme to help tell the story. This is make any scrapbook page look well put together.
3. How long does it take to make a scrapbook?
On average, a single scrapbook layout can take anywhere from 15 minutes to a few hours. It all depends on how many pictures and embellishments you incorporate.
I typically take 30 minutes to 1 hour to complete a layout. This gives me enough time to add my pictures and journaling without over doing it.
How To Scrapbook For Beginners
Please Note: Some of the links above are affiliate links where I may receive a small commission. You are supporting my passion project by clicking a link above and making a purchase (at no extra costs to you).
One Comment
Comments are closed.