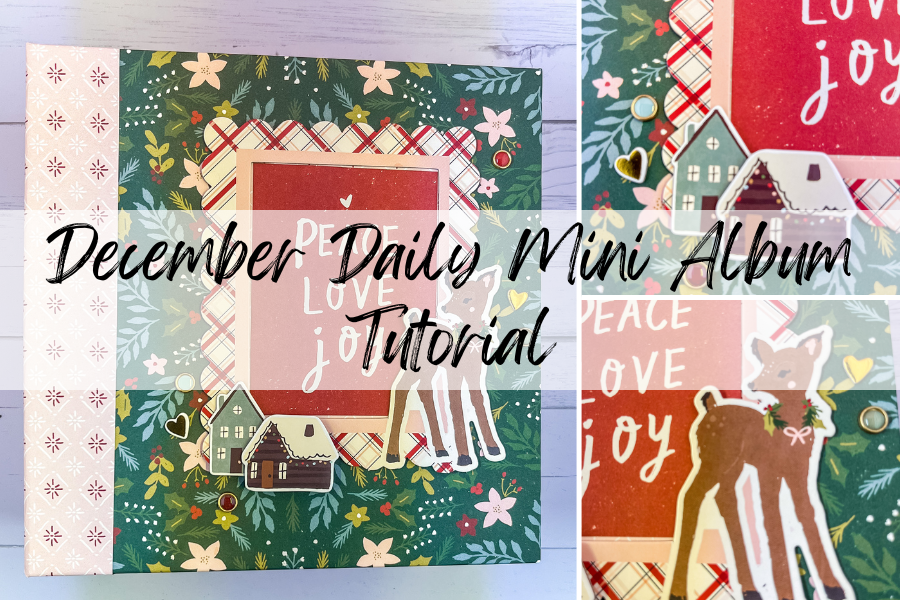
Easy December Daily Mini Album Tutorial In 9 Steps
This December daily mini album tutorial includes step by step instructions on how to create a customized album. Included in this blog post are video instructions, as well as written steps; Making it easy to follow along.
Not only is this December daily mini album tutorial easy, it is totally customizable. You have the option to change the size and patterns to meet your own preferences. As Christmas comes upon us, this is the perfect project to create for yourself, or your family, to gift during the holidays.
Creating your own mini album for December daily now only allows for more customizations but can also be cost effective. The supplies you will need for this project are minimal and can often be found right in your craft room.
Supplies Needed for December daily mini album:
Easy December Daily Mini Album Tutorial
Customizable Album Cover
1. Cut down two chipboards 8×8 inches and one 3 1/4 inch
The first step is to cut down the chipboard. This album in particular is an 8 by 8 inch mini album. I love this size because it fits everything I need for my December daily, and gives plenty of room for both photos and journaling. After cutting two 8×8 inch chipboard pieces, cut down the spine which is 3 ¼ inches by 8 inches.
This chipboard is really nice because it is thick and makes the album feel durable. Because this chipboard is a bit thick, trim it on both the front and back side. Only trimming it on one side would not cut it all the way through.

2. Cut down patter paper 10×10 inches and one 6×10 inches
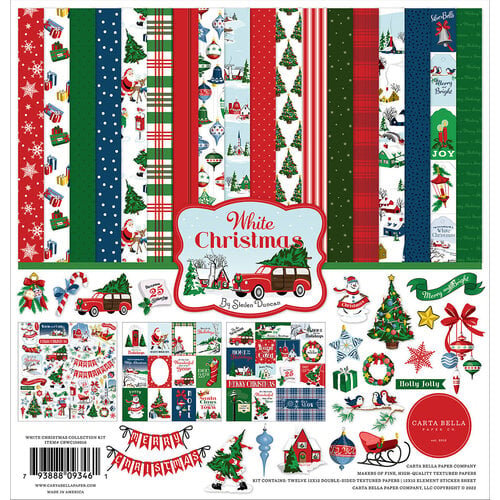
For my project I used this gorgeous green paper. This is from the Winter cottage collection by Simple Stories. I love the dark green color and all the floral bits and pieces on it. For the cover patterns, cut it down 10 by 10 inches. Making it purposefully bigger than the chipboard piece, that way it can wrap around comfortably and cover all of the chipboard.
Next, cut down a pattern paper that will be covering the spine. This will measure 6 by 10 inches. Some of the paper will also cover the front and back cover as well, so make sure it goes well together. Once the paper and chipboard are cut down to their correct sizes it is time to cover the chipboard. Double sided tape or mod podge can be used for this step. In this December daily mini album tutorial I am using double sided tape. I love this adhesive because it is really strong and also easy to peel the backing off of unlike some others I’ve used.
3. Adhere paper to chipboard and fold over edges
When adhering the paper to the chipboard, it is important to make sure that the paper is as straight as possible. Just to make sure the pattern is not crooked or off center.
Once the paper is down securely, the next step is to cut off the corners. This makes it very easy to fold over the extra paper hanging off. The trick to doing this is to leave just about 1 millimeter of space between your cut and the corner of the chipboard.
And of course the next step once the corners are cut off is to fold them over. Put tape down again on the edges of the paper on all four sides. This is optional, but I recommend taking some paper glue and putting that down as well to give it a bit of extra hold. Make sure to use specifically paper glue so it will not wrinkle the paper when wet.
The easiest way I have found to fold over the excess paper is to first fold it using the table, that way there is a crease. Then, use your hands to fold it directly to the chip board. The scraper tool is also great at helping to secure the folds and adhere the paper.
One thing to point out after the first fold is that the corners will need to be covered. This is where the millimeter of space comes in handy that was left when cutting the corners off. Simply take that little bit of extra paper and curve it around the edge. It is very easy and be sure to repeat this on all four edges.
{Recommended Post You May Like: “NEW DECEMBER DAILY ALBUM IDEAS YOU HAVEN’T SEEN BEFORE“}
4. Combine the spine and two covers together
Next, is to do the spine part of the album. This process is a bit different than the covers. Take the 6×10 inch paper that was cut for the spine and lay that down flat. Make sure it is straight and not crooked. Next, take the chipboard spine and lay that down flat directly in the middle of the paper. There should be a few inches of paper hanging off on all four sides. Having a cutting mat with measurements will help make this part super easy.
Once the chipboard is adhered it’s time to adhere the covers. Now, the two covers and the spine should not be touching directly, or else the album won’t be able to open and close freely. Instead, there needs to be a bit of space between the two. The best trick to use that works every time is to take two of the chipboard pieces and use the width of those to determine the spacing. Once that is complete you should be able to open and close the album perfectly.
Now, the leftover paper needs to be folded over the edges of the spine. Using the same technique as before, fold over the paper and adhere it to the chipboard. At this point, all of the edges should be covered by now.
5. Decorate the inside of the album
Finally, it is time to decorate the inside and make it pretty. For my project, I precut this Christmassy red paper. I cut it down a little less than 8 inches by 10 inches because I like when a bit of the cover pattern shows through on the back. Using the double sided tape again to adhere it down. It is also a good idea to go over the fold, or the creases that hold the album together because that’s where a bunch of air bubbles can accumulate.
6. Create the spinal page holders
Before the inside is fully finished, the last step is to do the inside spine that will hold together all the pages. This is arguably the hardest part of completing a mini album, but I will show you a super easy way to do it.
If you try this yourself you are going to need a paper score board like the one I have here with all the measurements. At the notecard I have at the top, it has all the measurements you are going to score at. The measurements here make 6 arches that will hold 12 pages. If you need to fit more pages in your mini album, just continue on scoring using the measurements. The measurements go in the sequence of ⅜ inch to ½ inch and another ½ inch and then follows the same sequence starting again at ⅜ inch. You can adjust these measurements yourself depending on how much space you want between each of your pages. I find that ⅜ inch is enough room for my albums.
In this particular album I wanted 14 pages in total, so I needed to make 7 arches so I simply continued on with the scoring following the sequence of measurements. If you do decide you want more pages you may need to either make the spine wider or adjust the measurements a bit.
Once the scoring is complete, I am cut the length of the paper down to 8 inches to match the length of the album.
7. Fold together the page holders accordion style


Now, it is time to fold it together almost like an accordion. Simply fold at all the score lines that are between each of the 2 ½ inch marks. And these will be the peaks you adhere your pages to.
To summarize, all the ½ inch pieces will be adhered to one another and in between each set of those are the ⅜ inch spaces. I suggest adhering the paper together with the same double sided adhesive, and also using paper glue as well just for some extra hold. After everything is taped together, if there is any leftover paper it is time to cut it off.
8. Adhere the accordion style page holders to the spine
Finally in this December daily mini album tutorial, it is time to adhere the page holders to the inside of the album. Put some tape down as well as paper glue to ensure it has a strong hold and will not come up once the pages are inserted. Taking the scraper tool, use it to go in between all the arches and smooth everything down.
And that is everything to construct a mini album! The hard part is finally over, and now the fun can begin on decorating the front cover!
{Recommended Post You May Like: “13 FESTIVE DECEMBER DAILY FOUNDATION PAGES YOU’LL LOVE“}
9. Decorate the cover!
This is the part where you can fully customize to fit your liking. Take fun frames, stickers, or photos and decorate to celebrate the Christmas season!
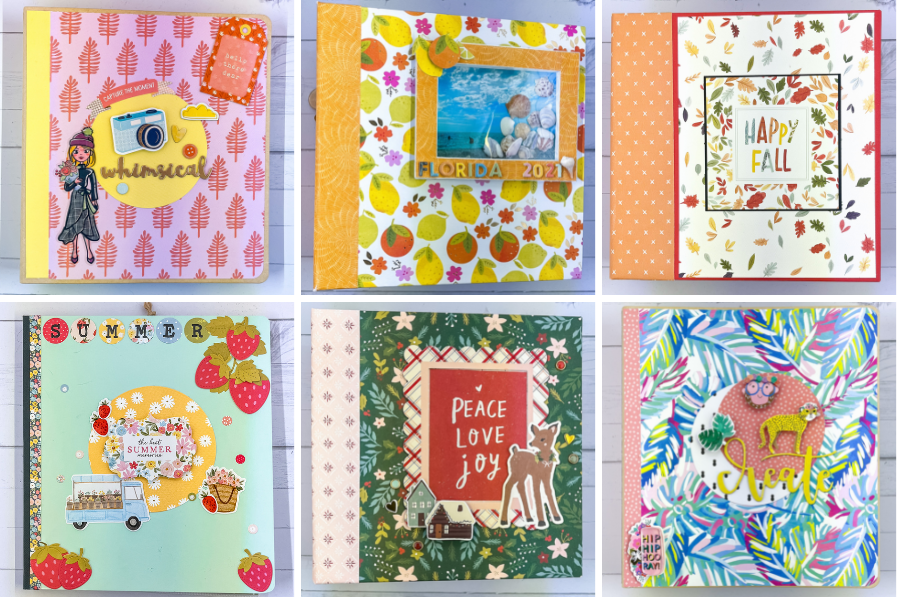
For my project, I really loved the cover pattern so I wasn’t sure I wanted to decorate it at first. However, I had these left over chipboard frames and thought it would be really cute to use one. I adore this little reindeer frame that matches the same red and white plaid pattern that was on the backside which was covered up. I like that it has a lot of the same colors to coordinate. Inside the frame I am placing this 4 by 3 inch journaling card that reads “peace, love and joy”.
To add some extra embellishments I used up leftover chipboard stickers that include mini snow cabins. I also love utilizing enamel dots and placed those sporadically over the front cover.
I adore how this December daily album turned out. It feels so bright and cozy, perfect for the Christmas season.
This December daily mini album tutorial is easy to follow and includes video instructions
Please Note: Some of the links above are affiliate links. You are supporting my passion project by clicking a link above and making a purchase (at no extra costs to you).


2 Comments
Comments are closed.