7 Genius Die Cut Machine Crafts For All Occasions
Popular die cut machine crafts you must try for yourself.
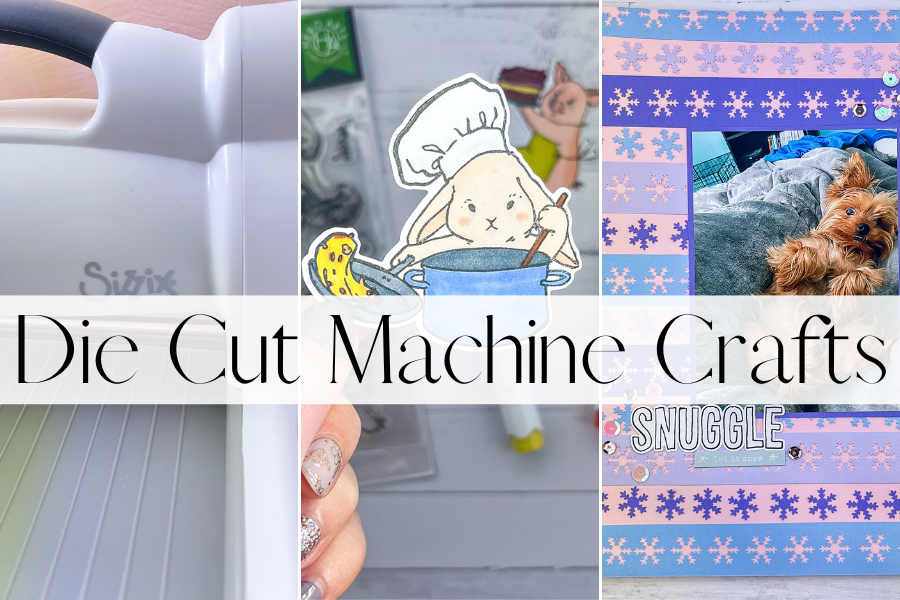
These die cut machine crafts are simple and easy to recreate. Most people with a cutting machine only use them for card making. But did you know there are tons of other project ideas that the machine is good for?
Before you begin, learn how to die cut using the Sizzix bigshot. You may be surprised with how many materials the machine can cut through. You can work with felt, light chipboard, glitter cardstock, and pretty much any paper you can think of.
Supplies:
What Die Cut Machine Crafts Can I Make?
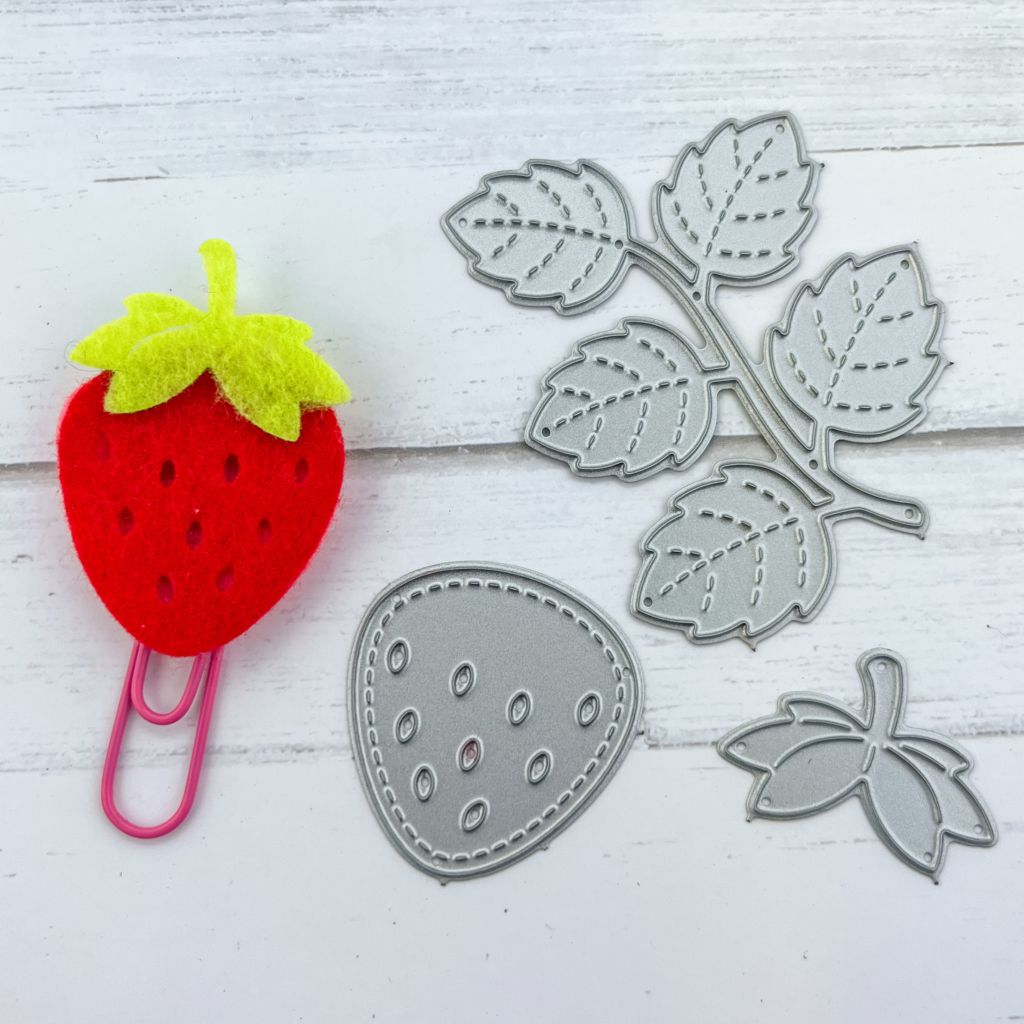
1. Design Paper Clips DIY
Supplies:
One of my favorite die cut crafts are custom paper clips.
There are so many ways to use paper clips, including the use for books marks and journaling accessories. Paper clips are not only practical but super easy to make.
Before you begin making your paper clips choose a die cutting pattern that you enjoy. Make sure the design is not too large so that it will fit on the end of the clip. 1-2 inches is ideal.
Next, pick out the material. I love using felt for paper clips but you can also use traditional paper. If you do choose to use felt keep in mind that some of the smaller details may not be as visible. For example, some facial details might not come through on the felt material.
Above you can see a few paper clip designs I made using my manual die cut machine. I ended up using paper for the Angel’s face so the smile and eyes would be visible.
Once you have cut out the pattern it is time to assemble it onto the clip. The most durable way I have found to attach the design onto the paper clip is to use hot glue or E6000 glue.
Cut a second small piece of felt/ paper for the backing and sandwich the paper clip in-between the two. This will ensure that the design will not fall off while using.
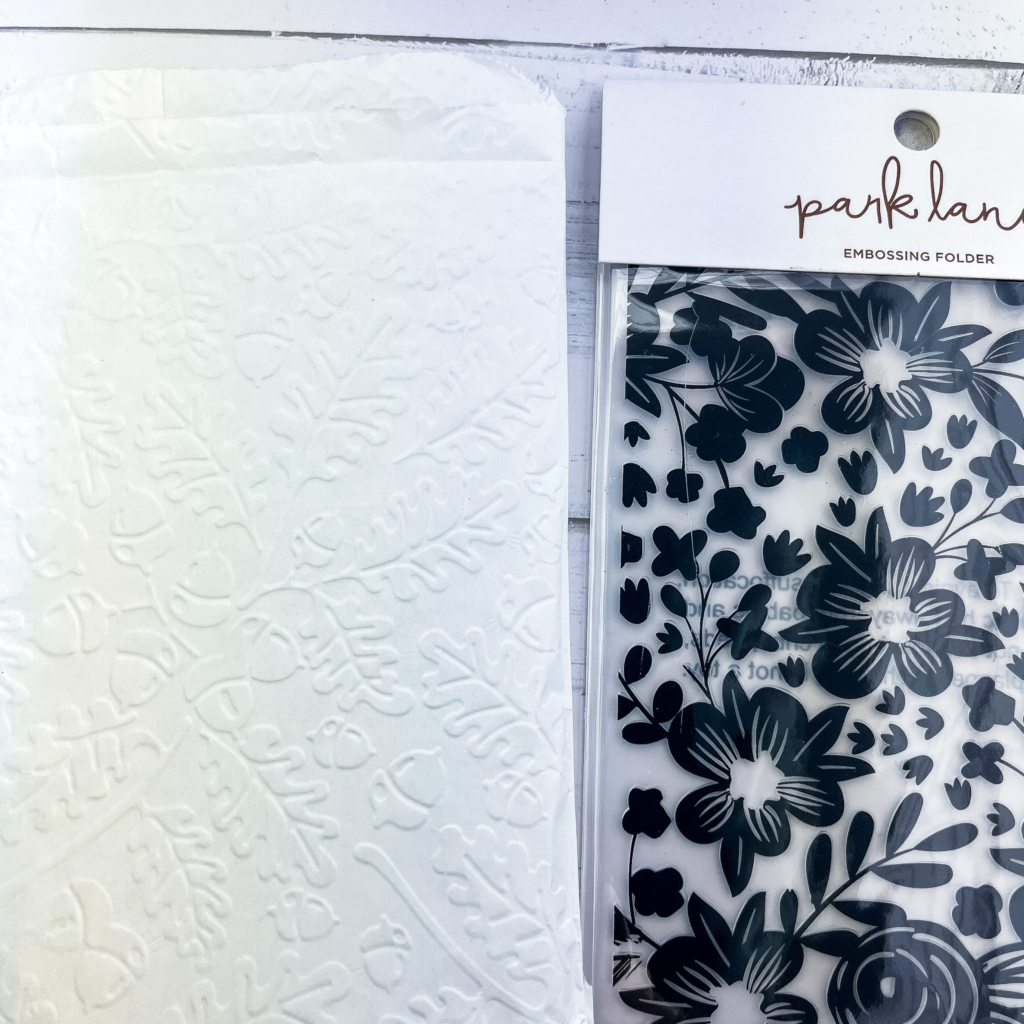
2. Embossing Paper And Treat Bags
Supplies:
Embossing is quite literally one of the coolest techniques you can do on your die cutting machine.
What is embossing you ask? By definition, it is the process of pressing paper to create raised surfaces. In the end you’re left with cute designs and texture on the material.
I absolutely love embossing to give any paper subtle detail and dimension. However, it is not only scrapbook paper you can emboss on.
One of my favorite die cutting hacks is to use the machine to emboss treat bags. These make the perfect gift bag for holidays or parties.
In order to make fun embossing designs with your die cut machine you will first need any embossing folder. You can find tons of embossing patterns with florals, abstract designs, or geometric patterns of your choice. Check online or at your local craft store.
Next, take your piece of paper and place that in-between the embossing folder. Finally, run it through the machine. Once you take it out you will find the exact pattern pressed onto the material. It is that easy!
In addition to the treat bags, I also love to emboss on scrapbooking layouts, cupcake toppers, cards, gift tags, and photo frames.
3. Shaker Cards
Supplies:
If you are looking for die cut machine crafts that are beginner-friendly then making a shaker card is an excellent project.
Shaker cards will elevate any handmade card creation and bring a fun interactive element as well. Perfect for any holiday or celebration. Plus, they are so much fun to create.
In order to create a shaker card you will first need to pick a die cutting pattern with an open middle section. Steer clear from dies that have tiny details such as facial elements or decorations in the middle. You will want space in the middle to put shaker beads or sequins. I chose this house die cut that I turned into a gingerbread house for Christmas.
Next, once you have chosen your die cut and shaker sequins cut out the pattern with your machine.
Then, you can begin to fill your shaker and decorate. Make sure to use 3-D foam tape to adhere the back and front pieces together. This will ensure there is enough space in the middle for the shaker pieces to move about freely.
You will want to use clear acetate for the front facing view so you can see the shaker pieces on the inside.
Whoever will receive these shaker cards is guaranteed to love them. The cards are so much fun to play with as you can customize them for any holiday. You can find lots of shaker pieces that correlate with different seasons and holidays.
4. Stencils
Here is a die cut craft you may not have thought of. Specific die cut shapes can be used a stencils. Stencils are great to use if you plan on painting, inking, or coloring in something.
They are also fun to use as backgrounds on scrapbooking projects. You will just want to make sure that the die cutting pattern you choose has a distinctive outline once the it is cut out.
Stencils can be made out of paper, light chipboard, or acetate. If you make a stencil using a thicker material just make sure you run it through your machine at least two times to make sure it cuts it out.
Some ideas for stencils are hearts, dots, snowflakes, flowers, and animals. You can also create your own patterns by using a combination of shapes to create a unique abstract design.
Furthermore, these stencils can be used more than once. Just make sure you store them properly and without bending them.
5. Paper Wreath
One of my favorite die cut machine crafts on this list is a paper wreaths.
Wreaths are so much fun to make during the change of seasons and holidays. Plus, buying a wreath at the store can be a bit pricey so this should save you some money.
All you need in order to create a stunning handmade paper wreath is floral die cut patterns. Choose a combination of different flowers and leaves to add different dimensions.
You will need either a ribbon or a wired wreath frame to attach the flowers onto. Super glue or hot glue works best when adhering paper onto metal.
Next, you will want to pick out vibrant colors that match the theme or holiday. If you want to add in more fun details you can even choose patterned scrapbook paper. The possibilities are endless with paper wreaths!
When it is finally time to hang the wreath make sure you keep in inside of your home. Since we are working with paper you want to keep it away from the outside elements. Water and wind can easily damage fragile paper. This way, you will be able to admire your hard work in any room of your home.
Recommended Post: {“CUTE SCRAPBOOK IDEAS FOR EVERY OCCASION“}
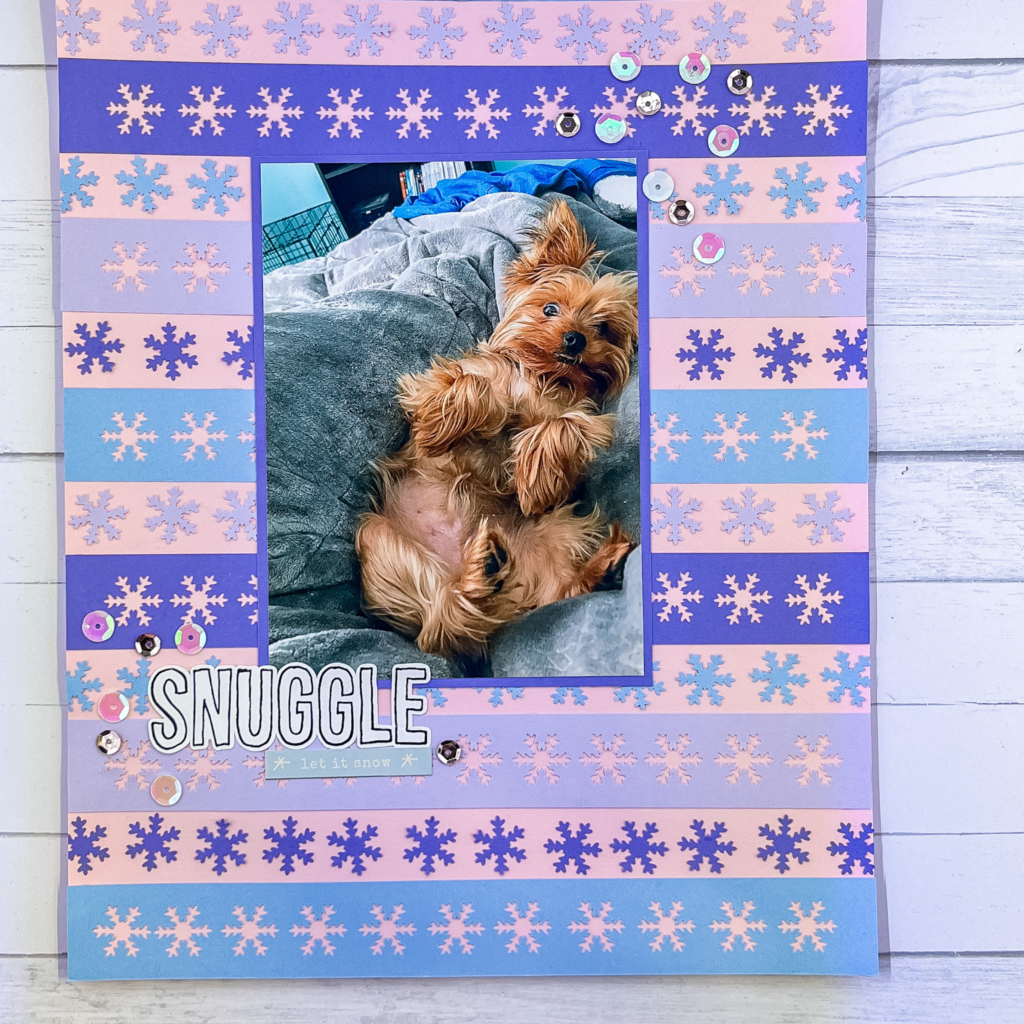
6. Die Cut Embellishments For Scrapbooking
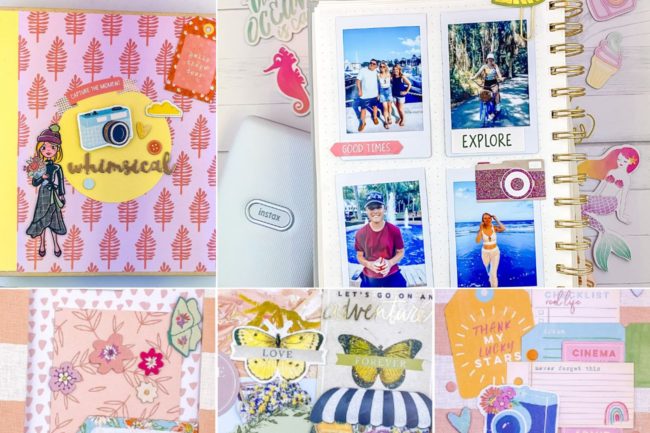
This one may be obvious but I had to include scrapbook embellishments on the list.
Handmade embellishments are by far what I use my die cut machine for the most. There are endless possibilities for what you can make out of die cutting. Any idea or theme you have in mind there is guaranteed to be a pattern out there for you.
I always say scrapbooking is a place to share your stories through pictures. And you will want embellishment that will compliment your stories. Plus, they are super fun to make.
Perhaps one of the best things about die cutting is that you can reuse the metal patterns over and over again. Unlike stickers or paper embellishments that can only be used once.
7. Die Cut Stickers
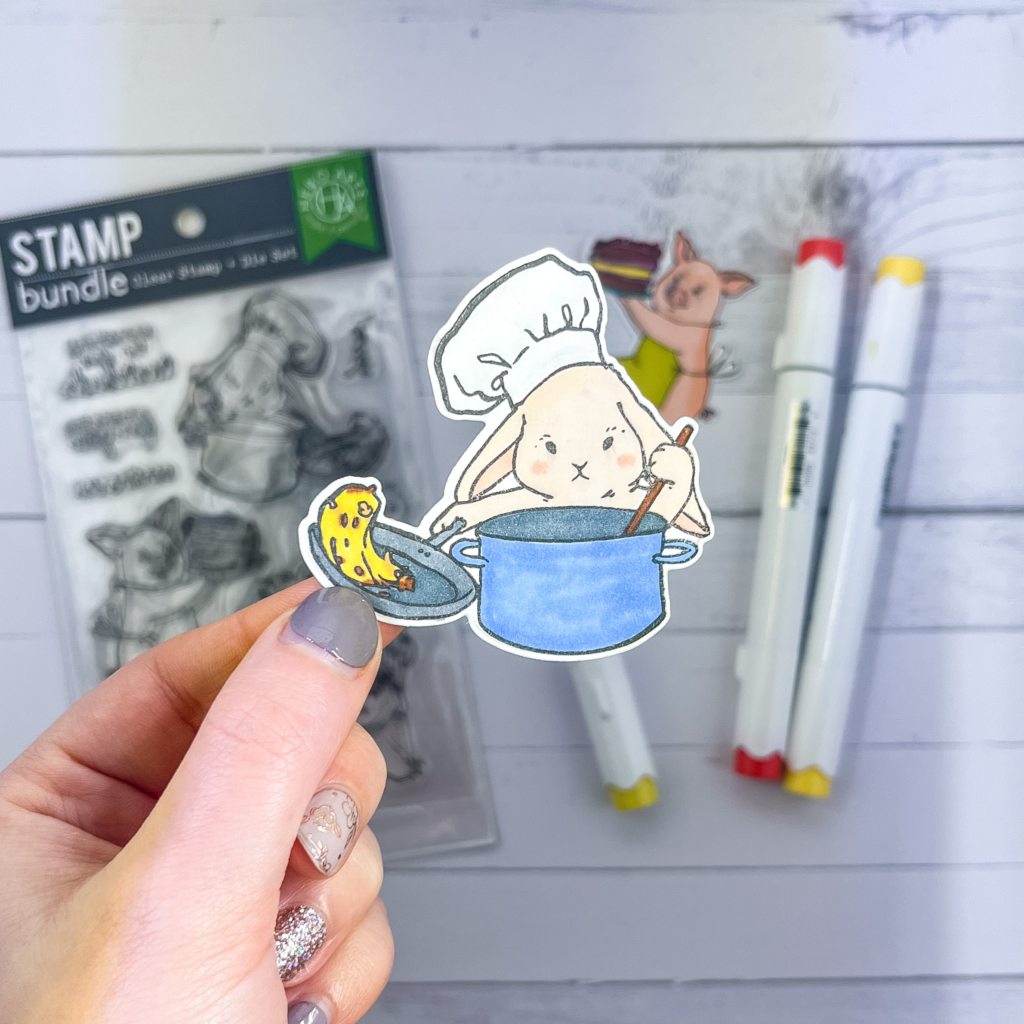
Supplies:
This is another favorite from the list of die cut machine crafts. Die cut stickers are so cool and the fact that you can customize them is even better. These stickers are a unique gift to give your friends or are a nice addition to any scrapbook or journal page.
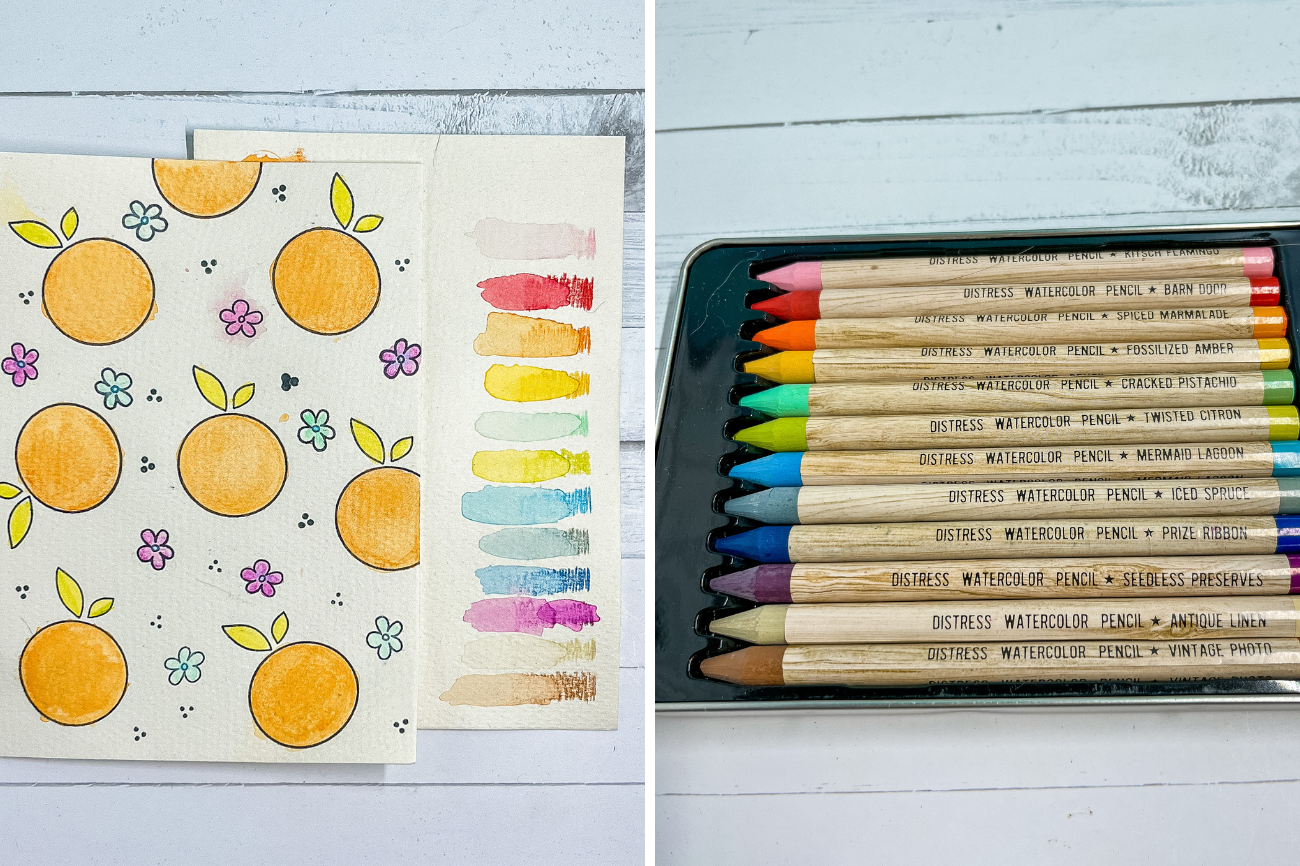
If you want to create realistic looking stickers I recommend using a stamp and die cut set. The stamp will provide the image that you can then color in.
Alcohol markers or colored pencils work great when adding color to the image. Most importantly you will need to pick a sticker paper. I recommend choosing a matte sticker paper as opposed to glossy because ink will not smear. Then, you can cut out the image from the sticker paper using the die cuts.
Because stamps and dies are reusable you can make as many stickers as you please. Making handmade stickers will save you money in the long run. Additionally, it is nice being able to customize them into any color.
Frequently Asked Questions
1. What is die cutting?
Craft die cutting is a way to cut shapes, letters, or designs from materials like paper, fabric, or vinyl. It requires a machine and a metal template called a die.
You place the die and material in the machine, which presses them together to create the shape. In the end you’re left with cute designs to scrapbook and craft with.
2. Is a Cricut the same as a die cut machine?
While the Cricut is a type of digital die cutting machine, it differs from manual machines like the Sizzix. The Cricut does not use metal dies, and instead requires digital design files.
The Cricut is typically more expensive, but also handles other functions such as print and cut. You also have the ability to cut out custom designs using their software. (Source: “Is Die Cutting The Same As Cricut?“)
3. What is the best die cutting machine for crafting?
The Sizzix Big Shot is one of the best die-cutting machines for crafting. It’s versatile, easy to use, and works with a wide range of dies and materials.
I prefer its manual hand-crank design over electronic die-cut machines because it keeps my craft room free of extra cords. Plus, it’s compact and durable, making it a reliable tool for scrapbooking, card-making, and other creative projects.
4. What kind of paper do you use for die cutting?
The sharpness and quality of your dies will determine the level of thickness you can cut out of cardstock.
Typically, any lightweight cardstock will work great. Although it’s recommended to not use paper above 310gsm. (Source: “Which paper or cardstock is best for my project?“)
This post is all about die cut machine crafts
Please Note: Some of the links above are affiliate links. Read the full disclaimer here.