Handmade Birthday Mini Album Tutorial (With Video!)
How to make a birthday mini album using envelopes.
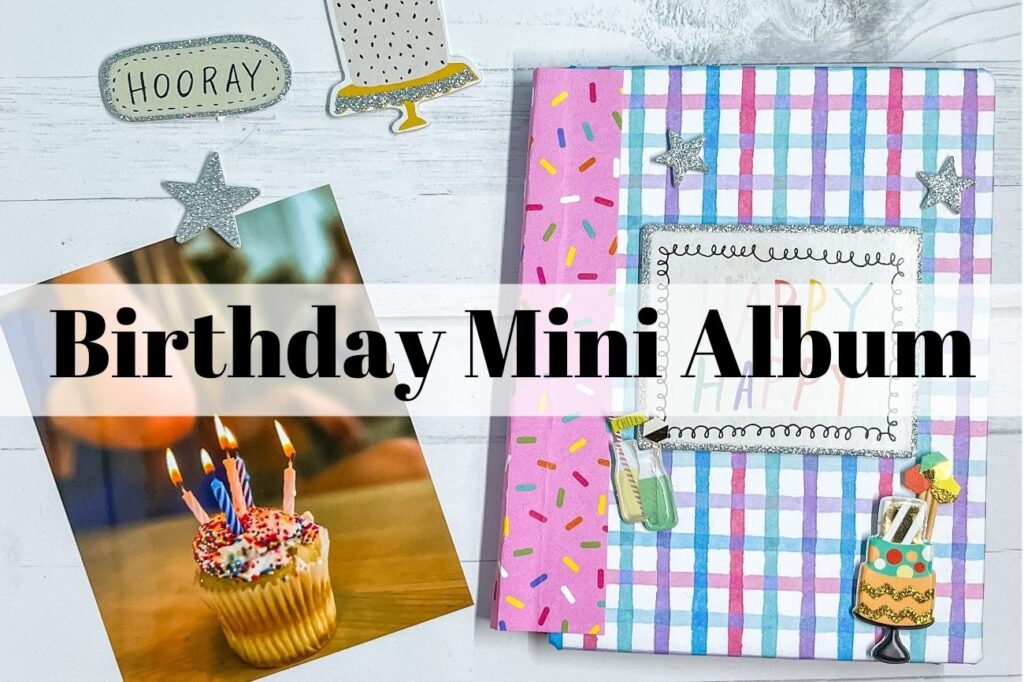
A birthday mini album is the perfect gift to make for friends on their big day. It is a great keepsake for photos and cards celebrating a special event.
By using envelopes, this album is extremely easy to make even for beginners. It also takes less than 30 minutes to assemble. Which makes it a great gift idea if you are short on time. Watch the video below for the simple instructions. Furthermore, if you need help on what to write, check out these birthday titles.
How To Make A Birthday Mini Album?
Supplies You Will Need
If you plan on making your own birthday mini album, these are the supplies you will need:
- Chipboard – Thick pieces of cardboard for the album covers
- Card envelopes – Any color or size
- Adhesive tape or glue – Permanent, archival-safe
- Scrapbook paper – Fun themed scrapbook paper
- Decorative stickers/ embellishments – Birthday themed decorations
In order to determine the measurements of your mini album, you will first want to measure the envelopes. The envelopes are the main element to your album. They will be your guidelines on how big to make your covers.
The envelopes I used are approximately 4.3×5.7 inches. However, you can use any sized envelopes you want.
You will also need birthday themed paper and embellishments. If you plan of giving this as a gift, keep in mind the recipients favorite colors. Make the album as personalized as possible.
Additionally, it is essential to use permanent adhesive for putting the book together. I recommend using double-sided adhesive as opposed to glue, to prevent warping.
Related post: {“Best Scrapbook Adhesive Tape“}
Birthday Mini Album Instructions
Making the album itself is very easy, and takes less than 30 minutes. If you are a beginner, follow these steps to make the process as easy as possible.
1. Cut the chipboard down to size
For the chipboard, I recommend cutting it slightly bigger than the envelopes. This way, the covers will fully protect the inside mini album pages.
As I stated above, my envelopes were about 4.3×5.7 inches. Therefore, I cut two pieces of chipboard to be slightly larger. The two pieces of chipboard will go on the front and back of the book. Helping to give it a sturdiness and protection.
2. Apply scrapbook paper to the chipboard
Once the chipboard is cut down to size, it is now time to decorate. Using scrapbook paper, you can adhere it directly to the covers using adhesive.
It is important to note that the paper should be larger than the chipboard to allow room for it to go around the edges. In the video, I show you how I wrap the corners by bending the paper around to the backside. Then, I will bend and adhere the paper along each of the edges. In the end, there should be no chipboard showing on the front or along the edges.
3. Attach the envelopes
Next step is to attach each of the envelopes to one another to create the pages.
The best part about this mini album tutorial is that it requires no book binding or stitching.
On each of the envelopes you will apply adhesive to the opening flap. Then, taking one envelope at a time, you will adhere the backside of the envelope to the flap of another one.
Once you attach two envelopes together, you will start to see how the pages can open and close.
In my opinion, the hardest part was getting each envelope aligned straightly. It helps to have a ruler or a flat mat to align the envelopes together. However, do not worry if your pages end up slightly crooked. The book will still be functional!
4. Attach the envelopes to the covers
The next step is to actually assemble the album together.
This part is easy once all the envelopes are bound together. You should notice that all of the envelope flaps are adhered together.
Taking the open envelope flaps, place adhesive down on the backside. This will attach to the front cover. Make sure that the body of the envelopes do not get adhered down, or else the pages may be hard to turn.
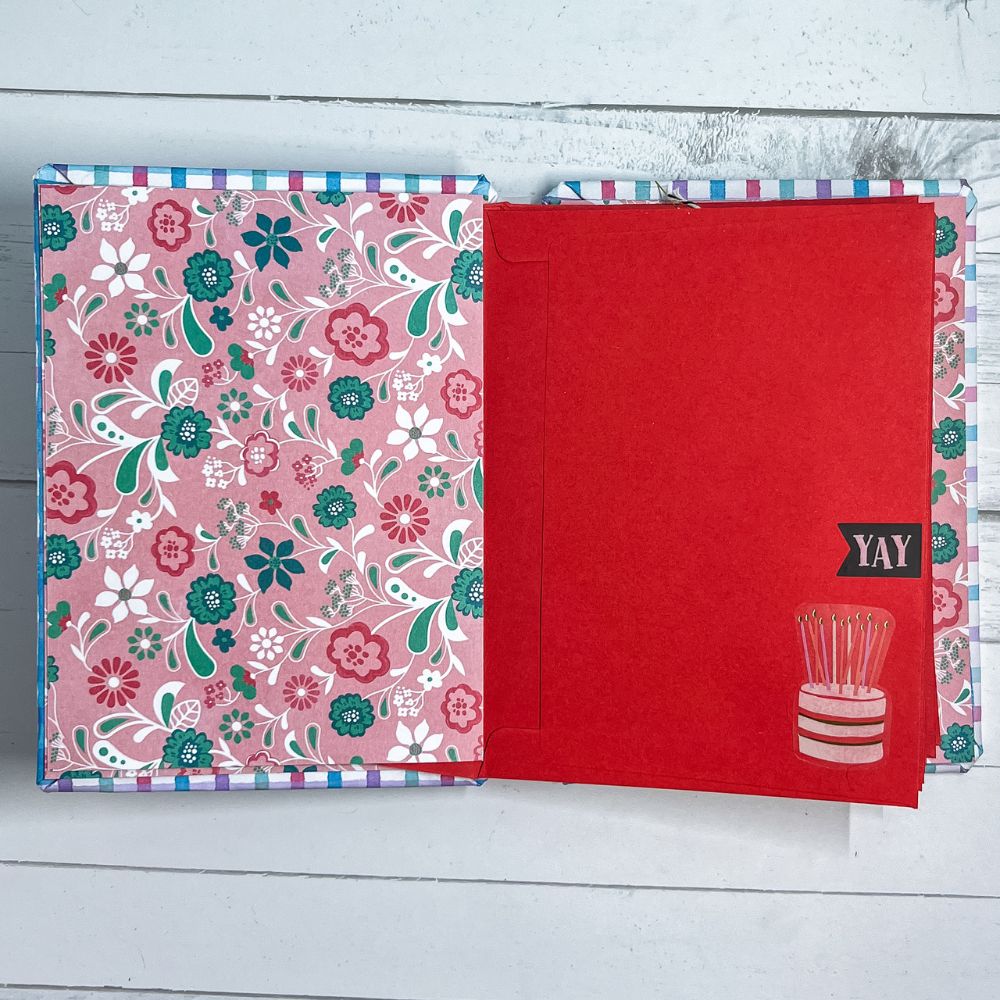
Once the front cover is attached, I recommend cutting a piece of scrapbook paper to cover the inside front cover. This will hide the envelope flaps where they are connected.
Next, it is time to attach the back cover. The easiest way to do this step is by taking the last envelop page and adhering that directly to the back cover.
Finally, you should have a somewhat completed book. All that is missing the the spine.
5. Making the spine of the album
Now that the actual pages of the mini album are completed, it is time to attach the spine.
Structurally, the spine does little to hold the album together. Instead, the spine is for decorative purposes and to hide the envelopes sticking out.
To make the spine, first cut a piece of paper the same length as the two covers. The width will depend on how big of an album you make.
In order to attach the spine, you will again use double-sided tape along the edges. Then, you will place the spine on the front cover and bend it around to the back. T
The spine should be movable and bendable for the album to open up as it pleases.
Decorate
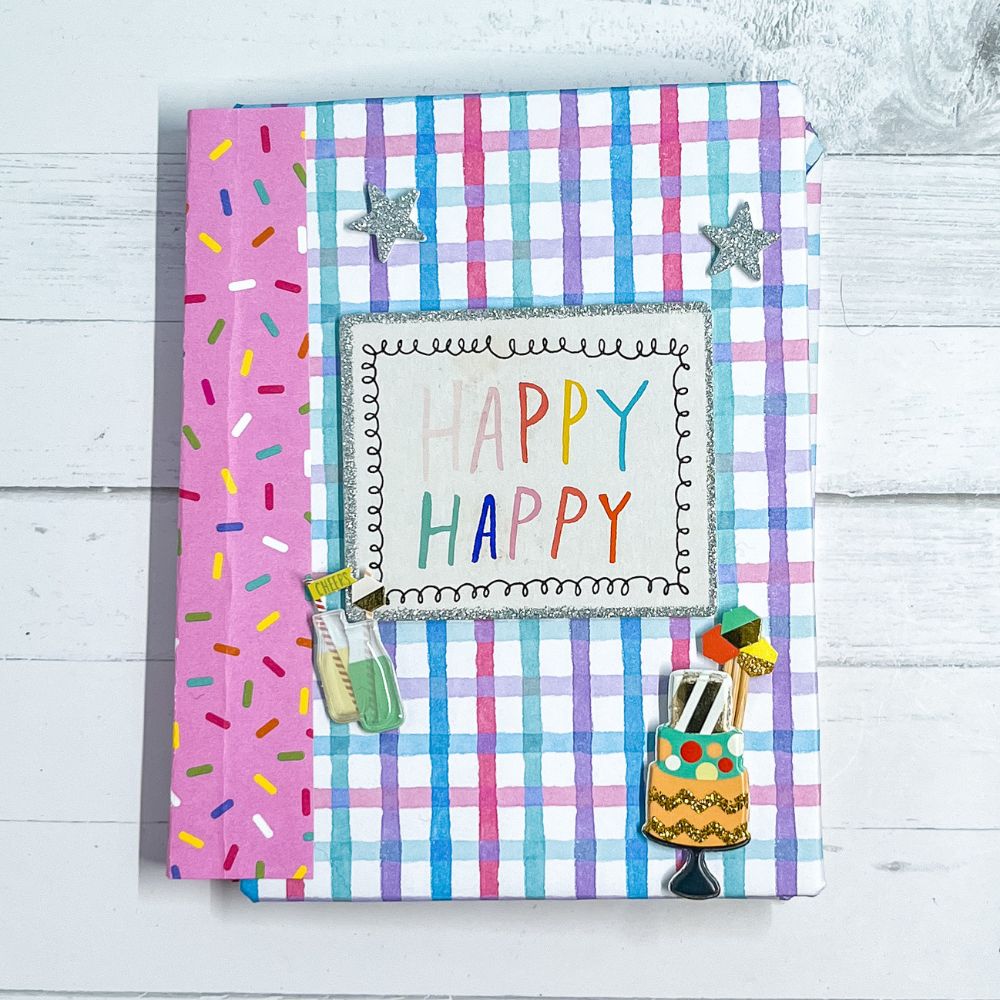
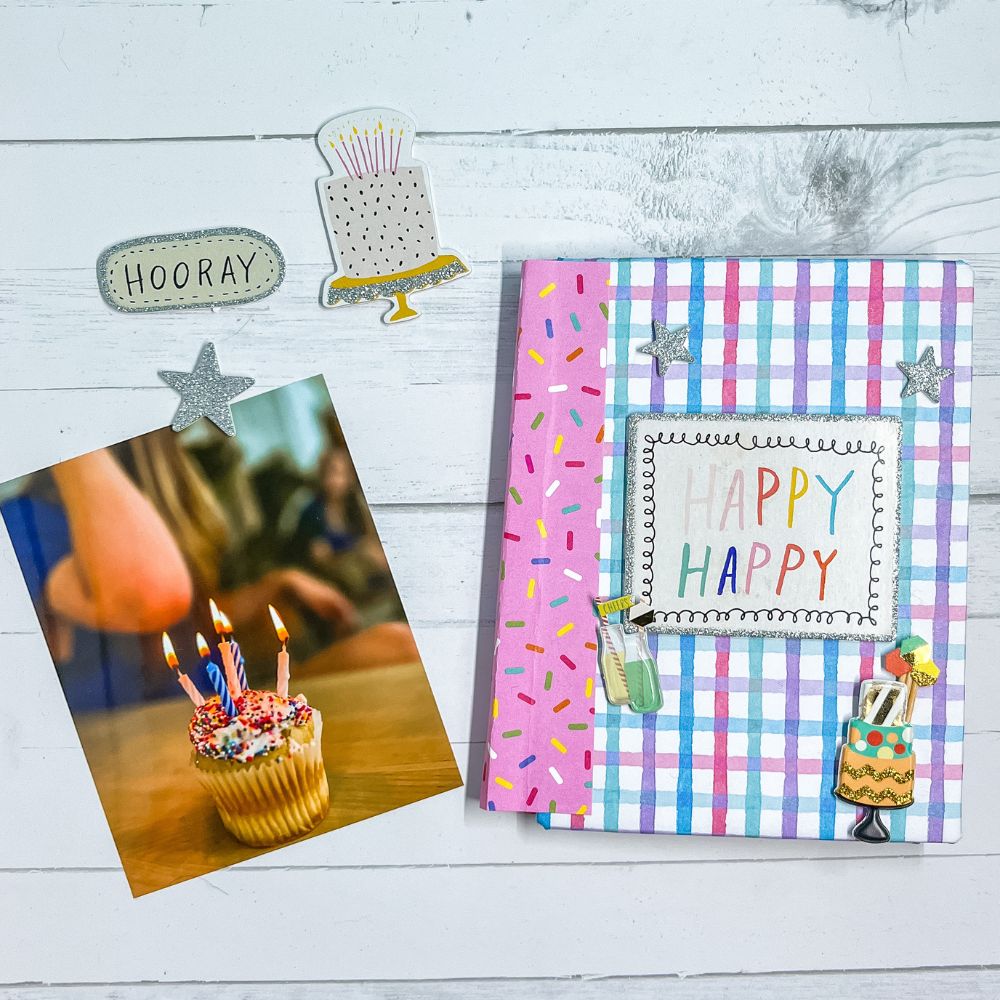
Finally, it is time to decorate the album to make it personalized.
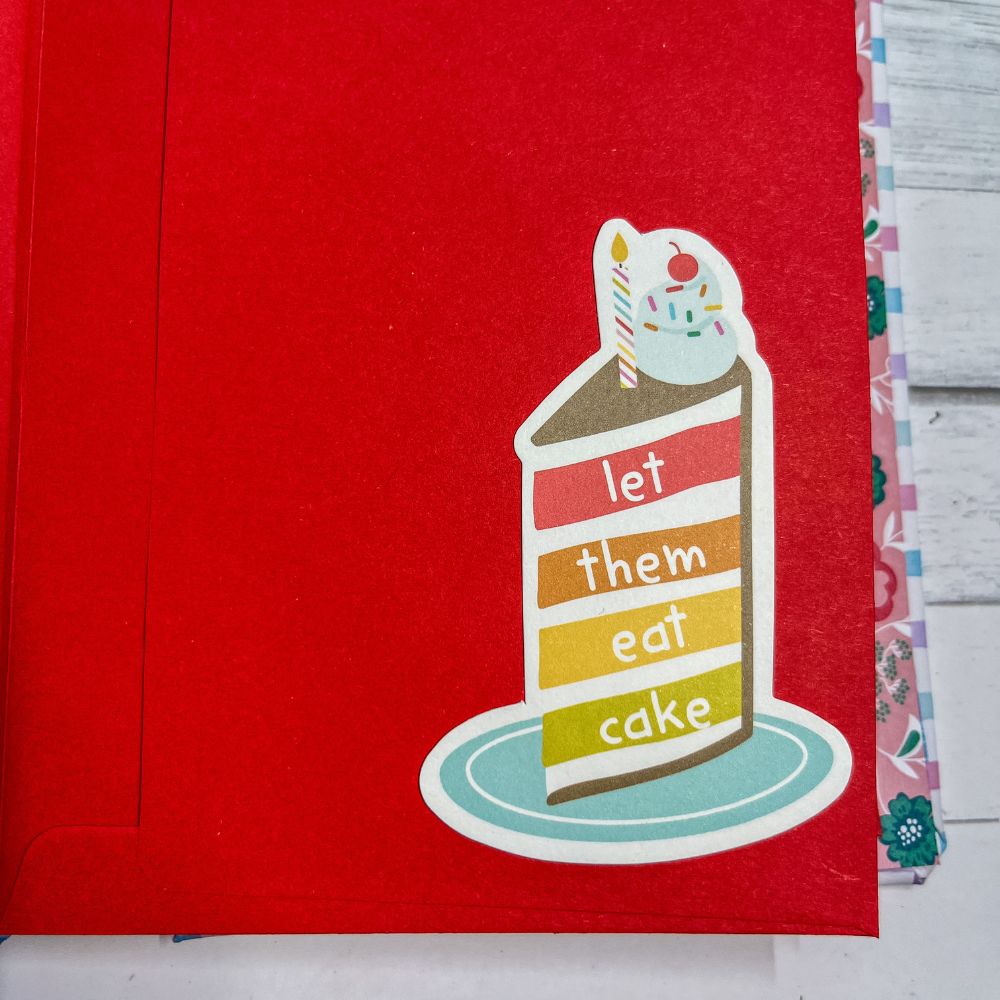
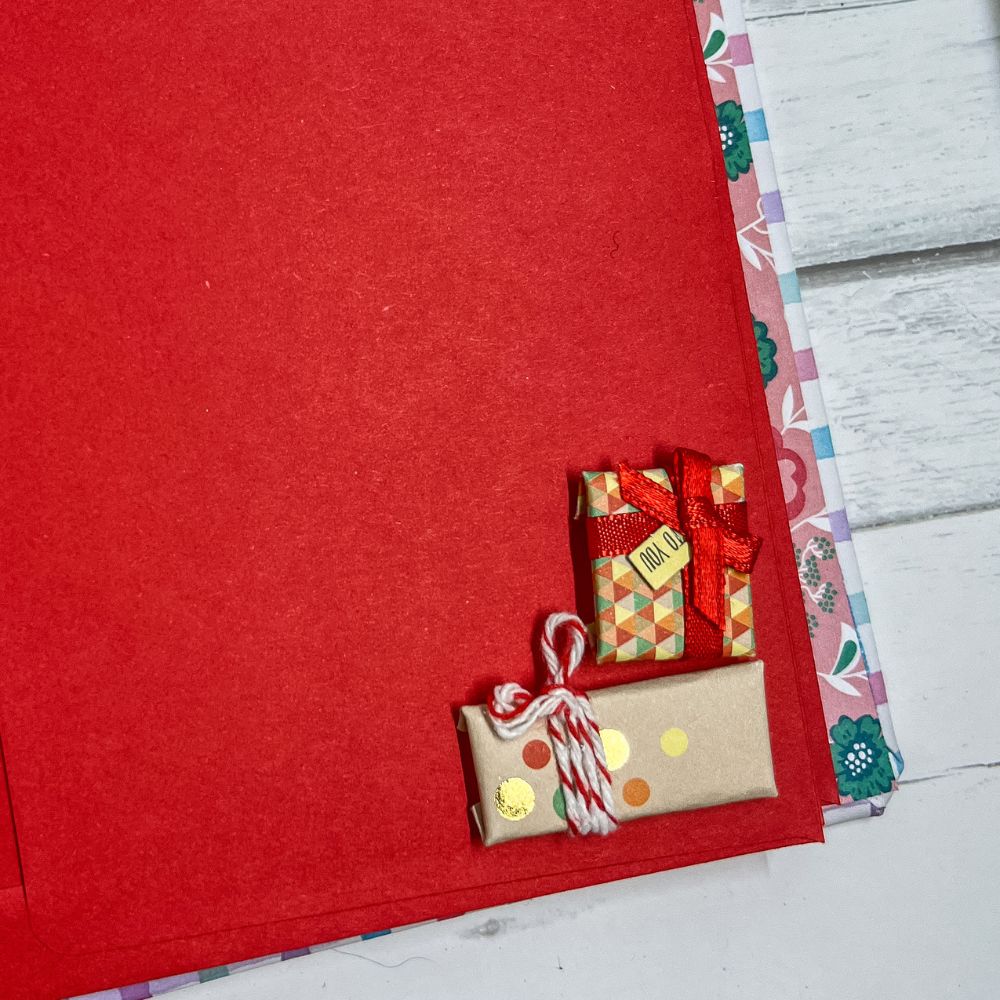
There are plenty of options to decorating the birthday mini album. You can use stickers, titles, ribbon, glitter, and all sorts of embellishments.
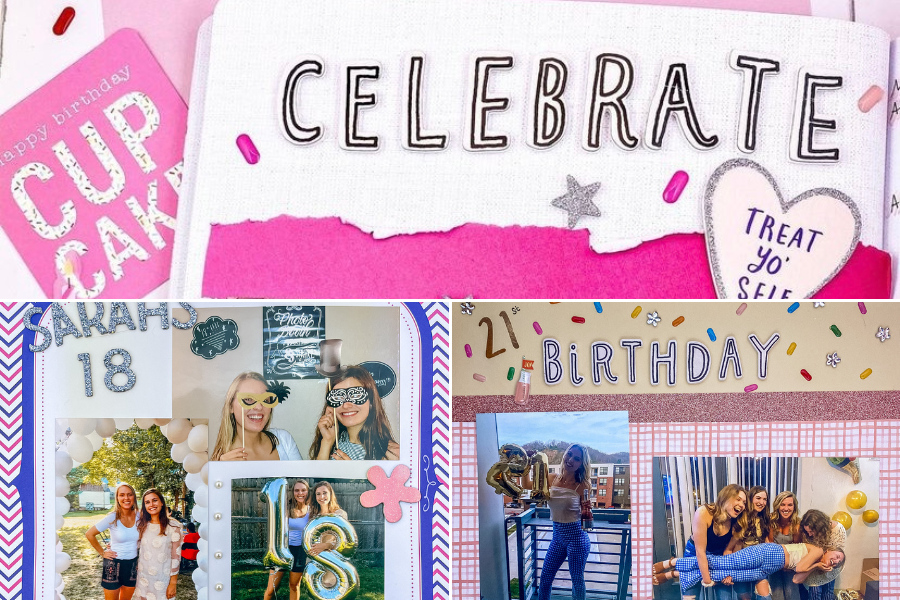
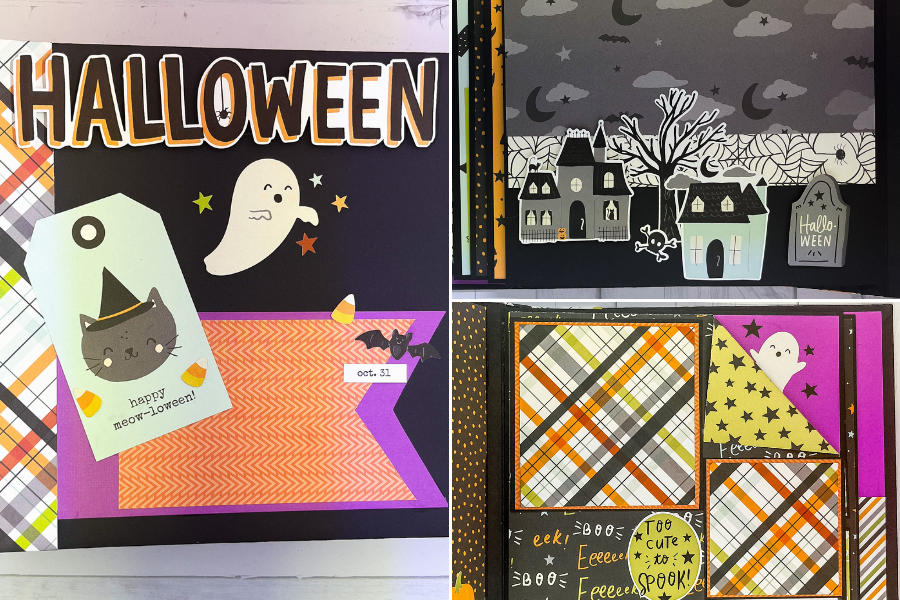
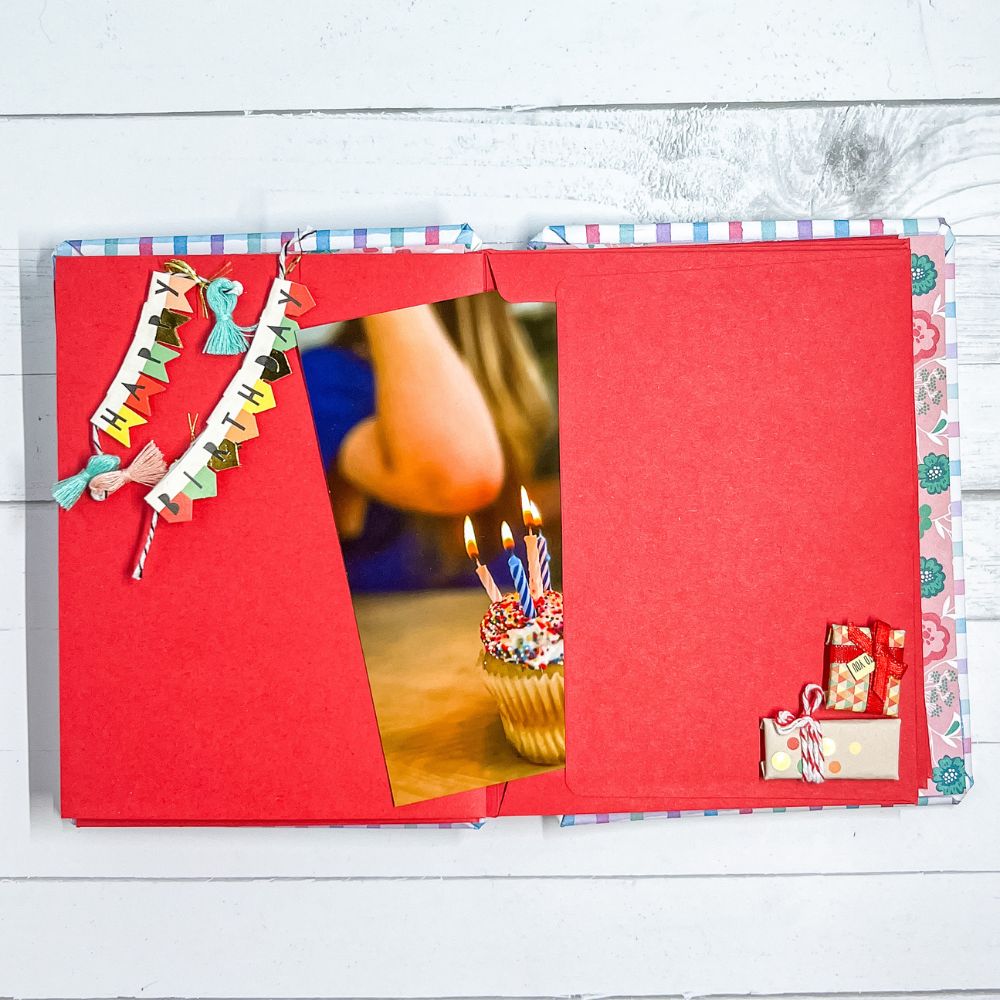
Have fun decorating the front cover to make the album aesthetic. I enjoy using fun titles to celebrate my special day.
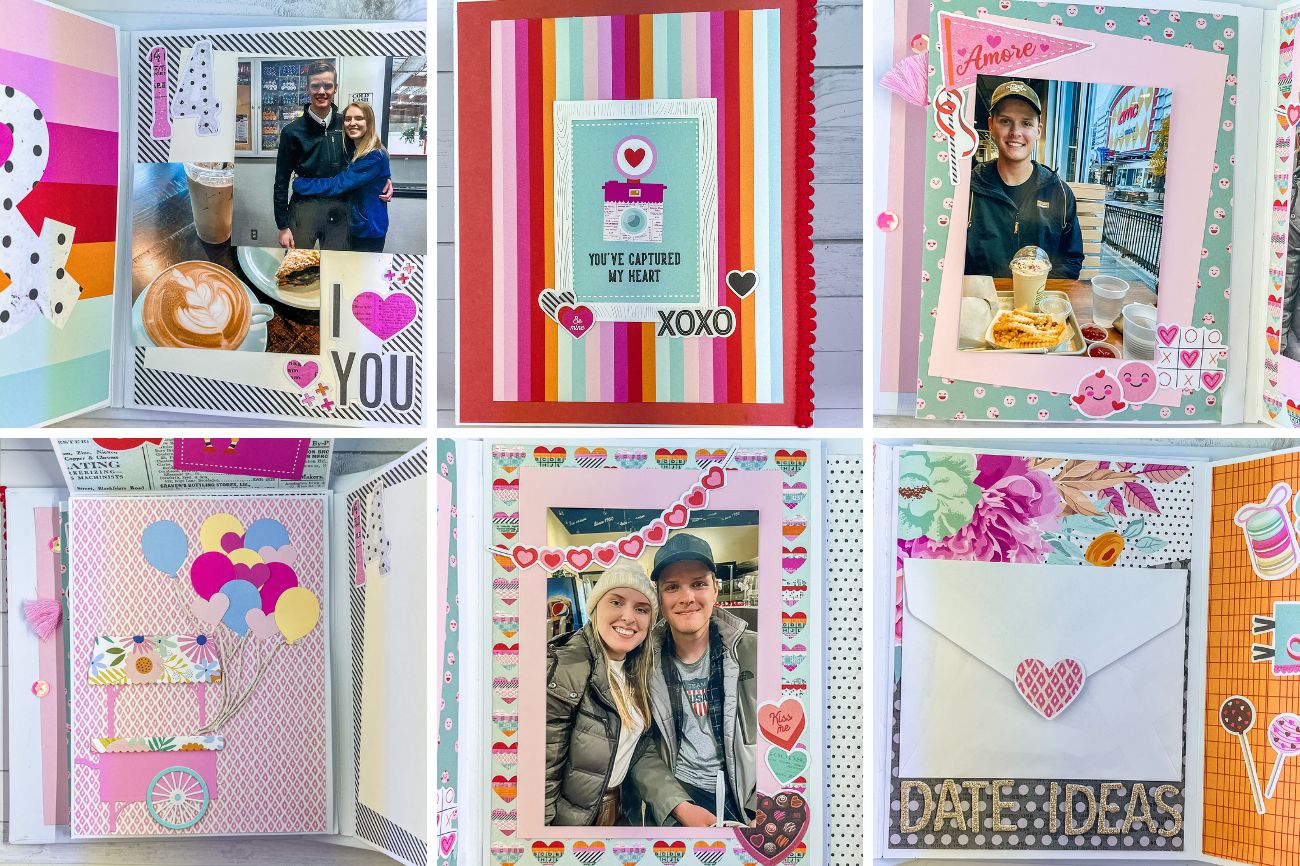
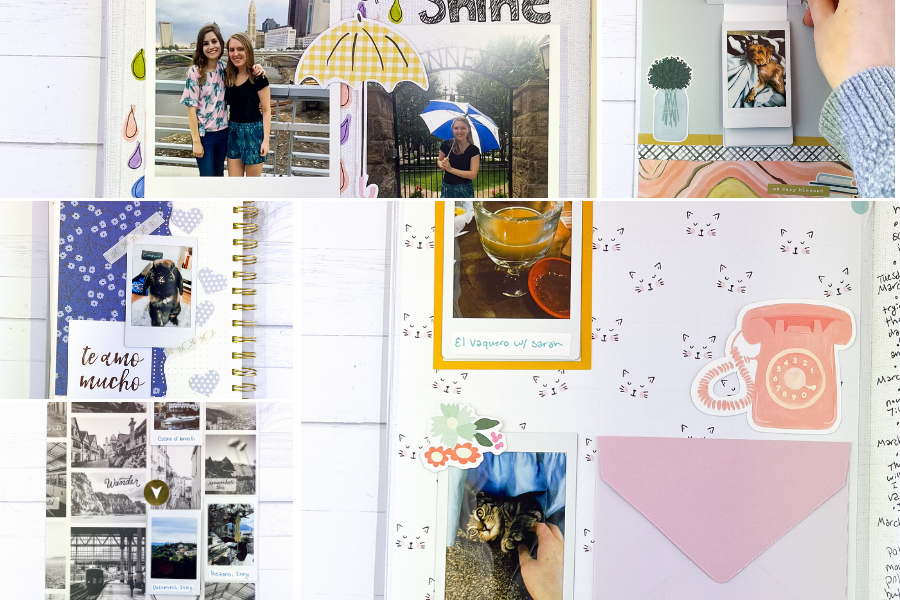
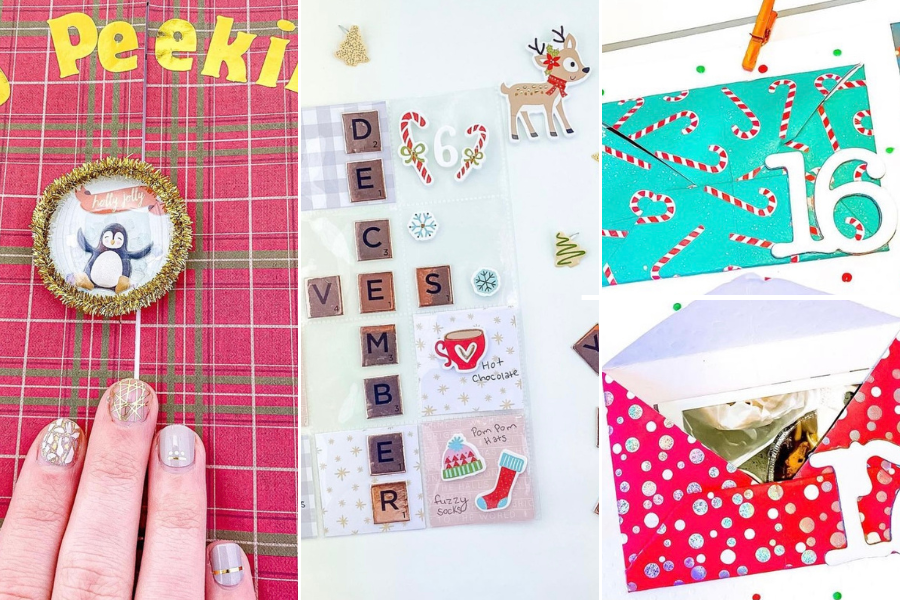
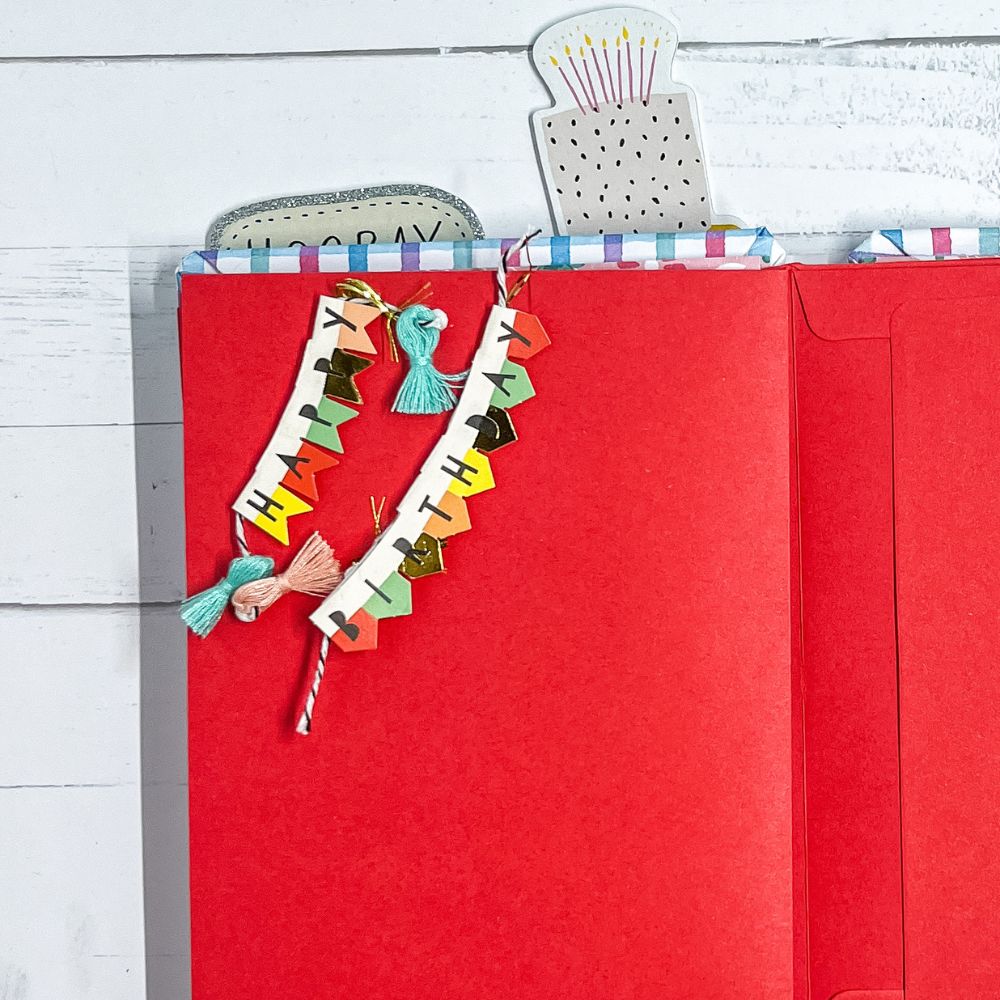
Within the envelopes, you can include photos, notes, and cards you receive. You can keep all the cards from your birthday to look back on in the future.
Birthday Mini Album Birthday Gift
Anyone who receives a custom mini album for their birthday will be grateful. As it is the perfect sentimental gift for keeping memories and cards.
You could make a tradition of gifting a personalized album for every birthday. The recipient can use it to keep all their cards and photos from that birthday party. And after many years they will have a collection to easily look back on.
This is also a great idea to use for children. As they will surely want to look back on their first birthday in the future (Source: “Birthday traditions to start at one“).
This birthday mini album is small enough to not take up too much room, but large enough to hold countless memories.
If you do decide to give this as a gift, customize the album to the recipient. Include their party theme colors, or their favorite designs. This will add even more sentiment to the gift!
This post shows fun birthday mini album ideas
Please Note: Some of the links above are affiliate links. Read the full disclaimer here.