22 Eye-Catching Layouts For Storyline Chapters That Are Guaranteed To Improve Your Storytelling
Looking for new ways to utilize your Storyline Chapters? These are unique ways you can scrapbook and memory plan in your inserts!
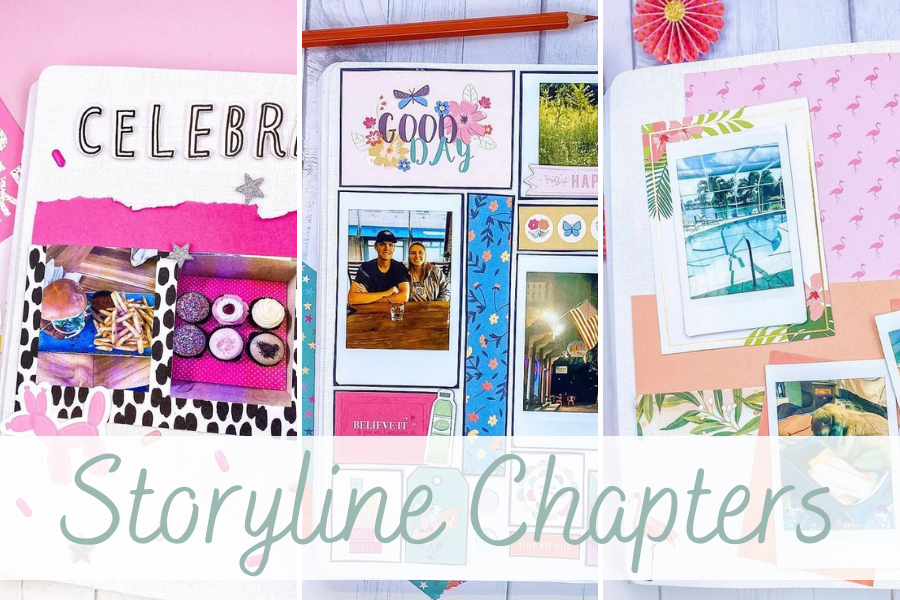
Storyline chapters are the perfect way to document your week in the life and also allow you the flexibility to create a personalized memory planner. After utilizing the inserts for over two years, here are the best tips and tricks on getting the most out of them.
If you haven’t used Heidi Swapp Storyline Chapters, or are new to memory keeping I will be sharing some simple page layouts made within these booklets. Arguably, the best thing is how they can be used as either a scrapbook, journal, planner, or all of the above.
What Is Storyline Chapters?
1. Pick The Storyline Chapters Inserts That Work For You
Supplies:
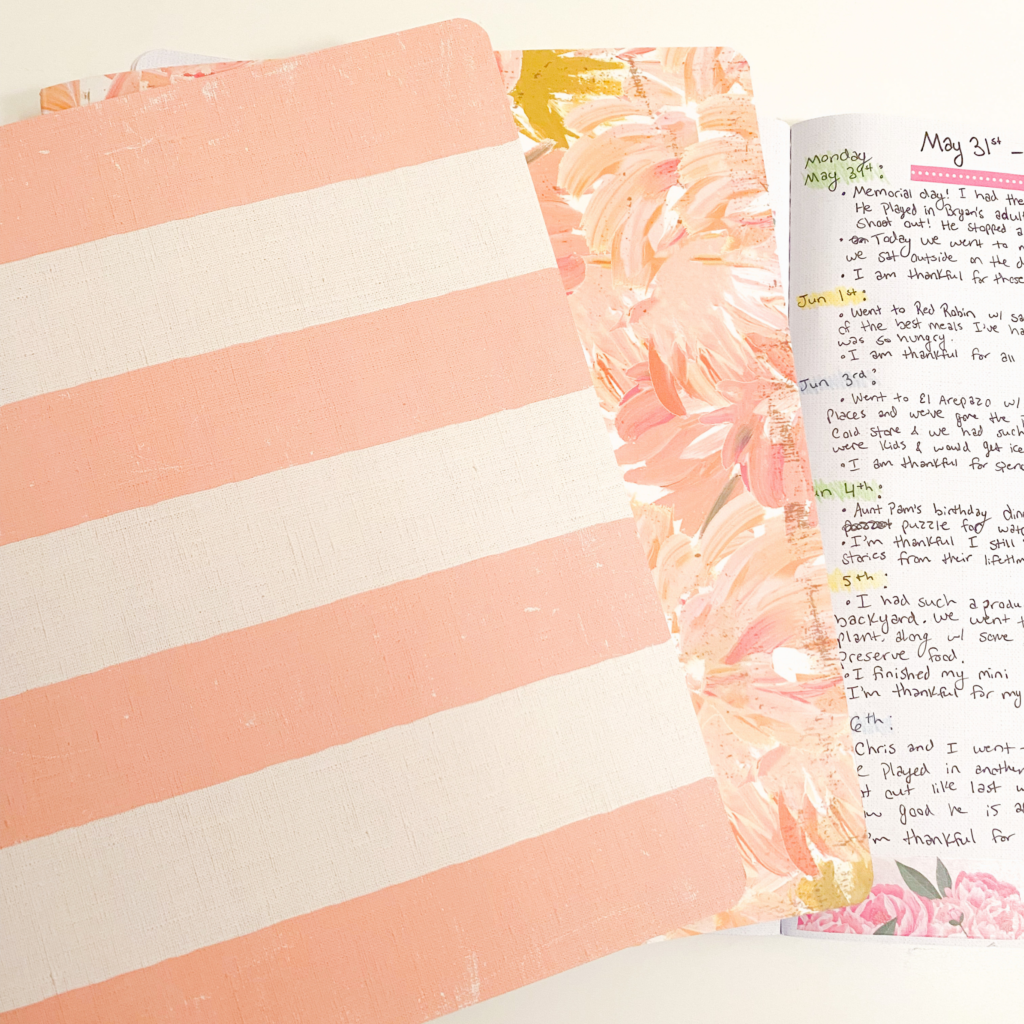
There are three different types of inserts that you can choose from – The scrapbooker, the journal, and the planner. The scrapbook insert has blank pages which allows total freedom to design the pages however you would like. The journal has both lined and dotted pages for lots of writing room. Lastly, the planner has distinct sections for each day to organize by date in your memory planner. Each pack comes with 3 inserts; which for me is more than enough inserts to document an entire year.
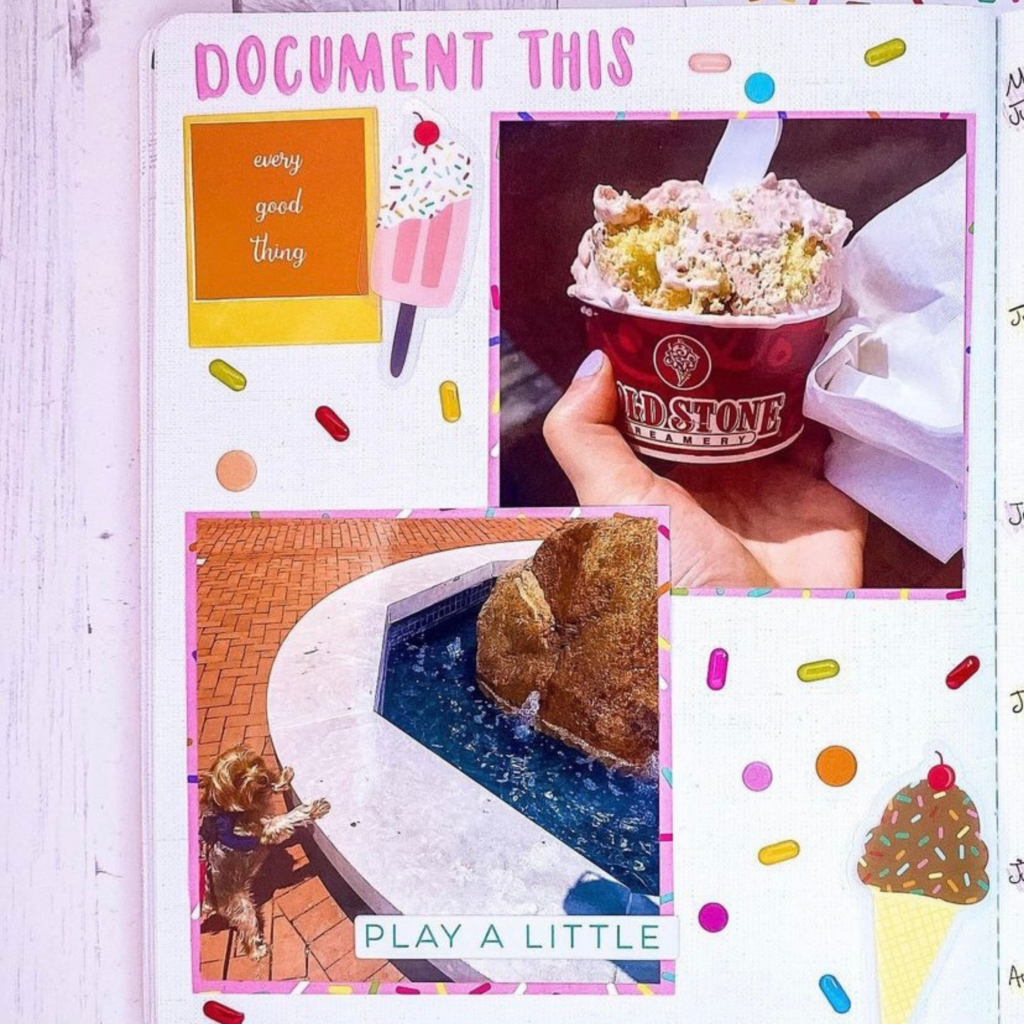
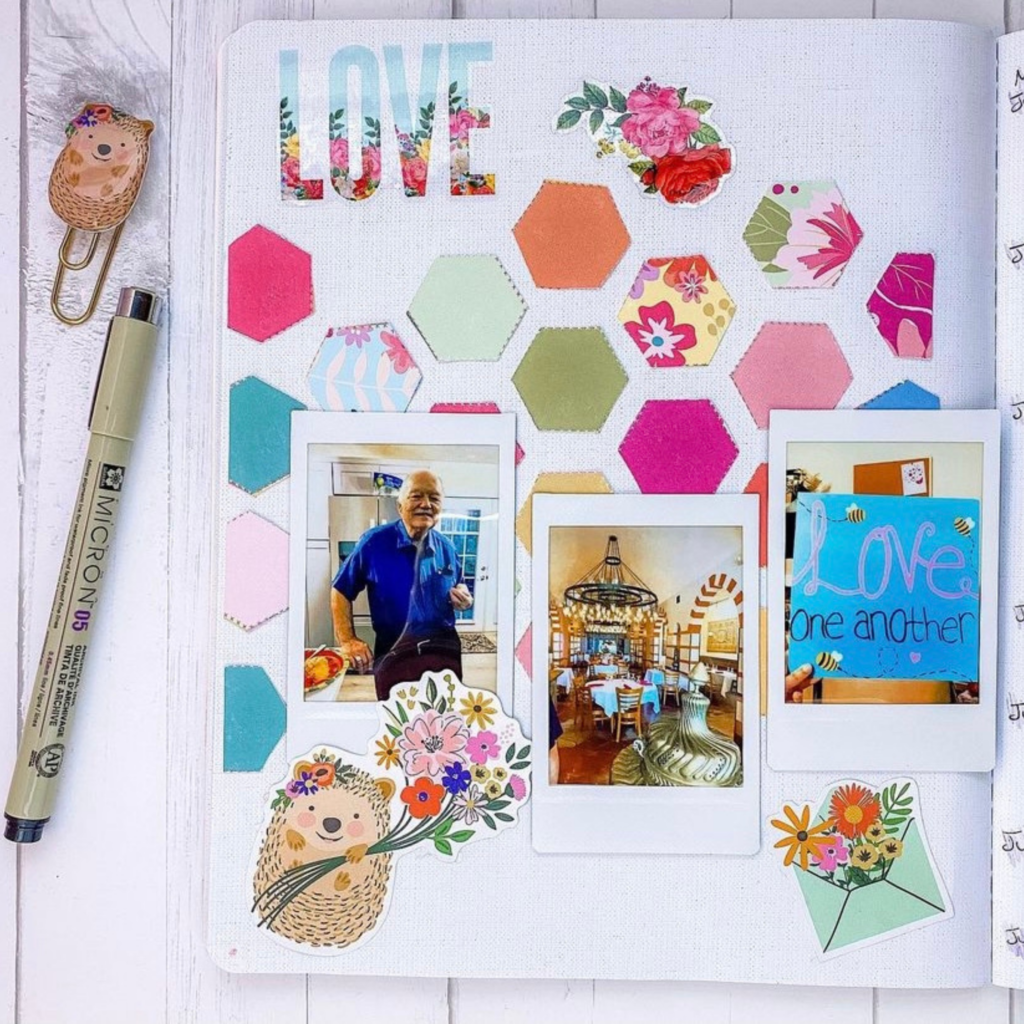
I personally love to use the scrapbook inserts so I am not restricted on where I place my journaling or photographs. If you like structure I recommend looking in the storyline chapters planner inserts. And if you enjoy to write go with the journal inserts. Using two pages in the scrapbook inserts; I use one of the pages to create a scrapbook layout with pictures, scrapbook paper, and ephemera. On the second page I will write a highlight for each day of the week and also a sentence of gratitude. You can see from the picture above I start by writing the date at the top and underneath create bullet points of what I want to share that day. Some days are more detailed than others. I love getting to use the storyline chapters as both a memory planner and a gratitude journal.
2. Gather Inspiration For Your Own Storyline Ideas

Supplies:
- 1st Layout: Water color patterned paper/ Gold Stickers (Similar)
- 2nd Layout: Park Lane “Explore” paper, Pretzel ephemera
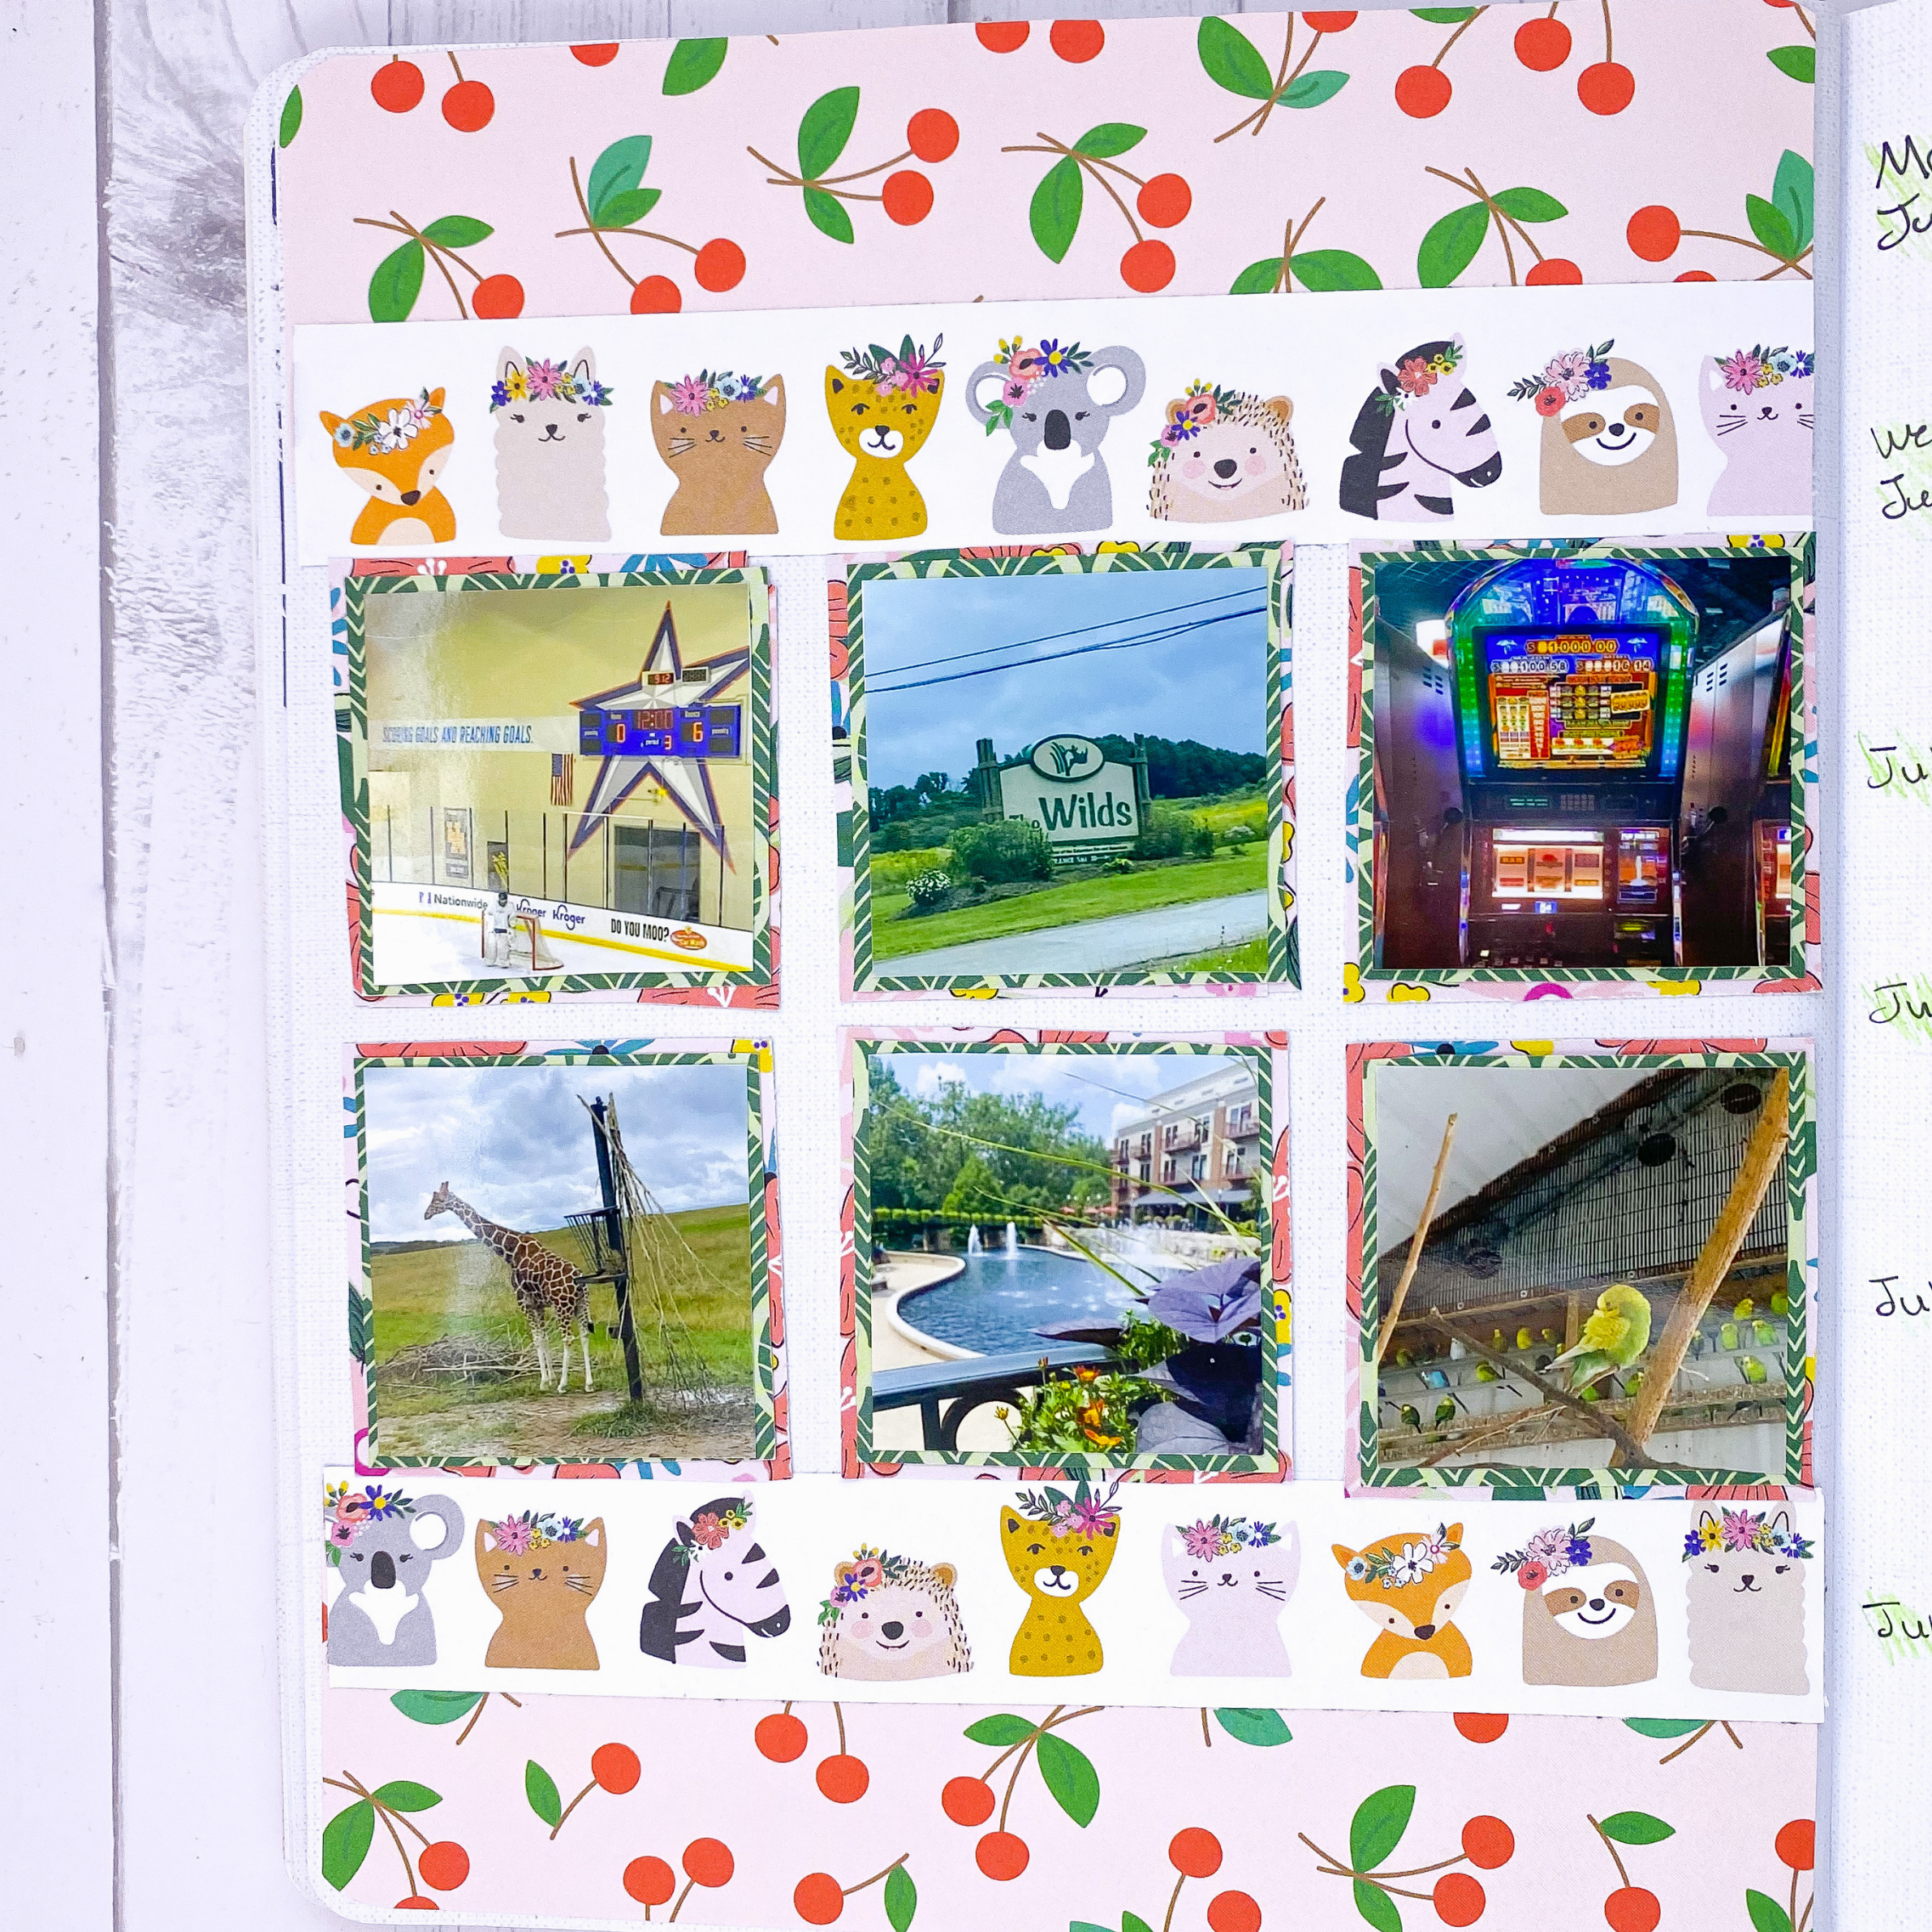
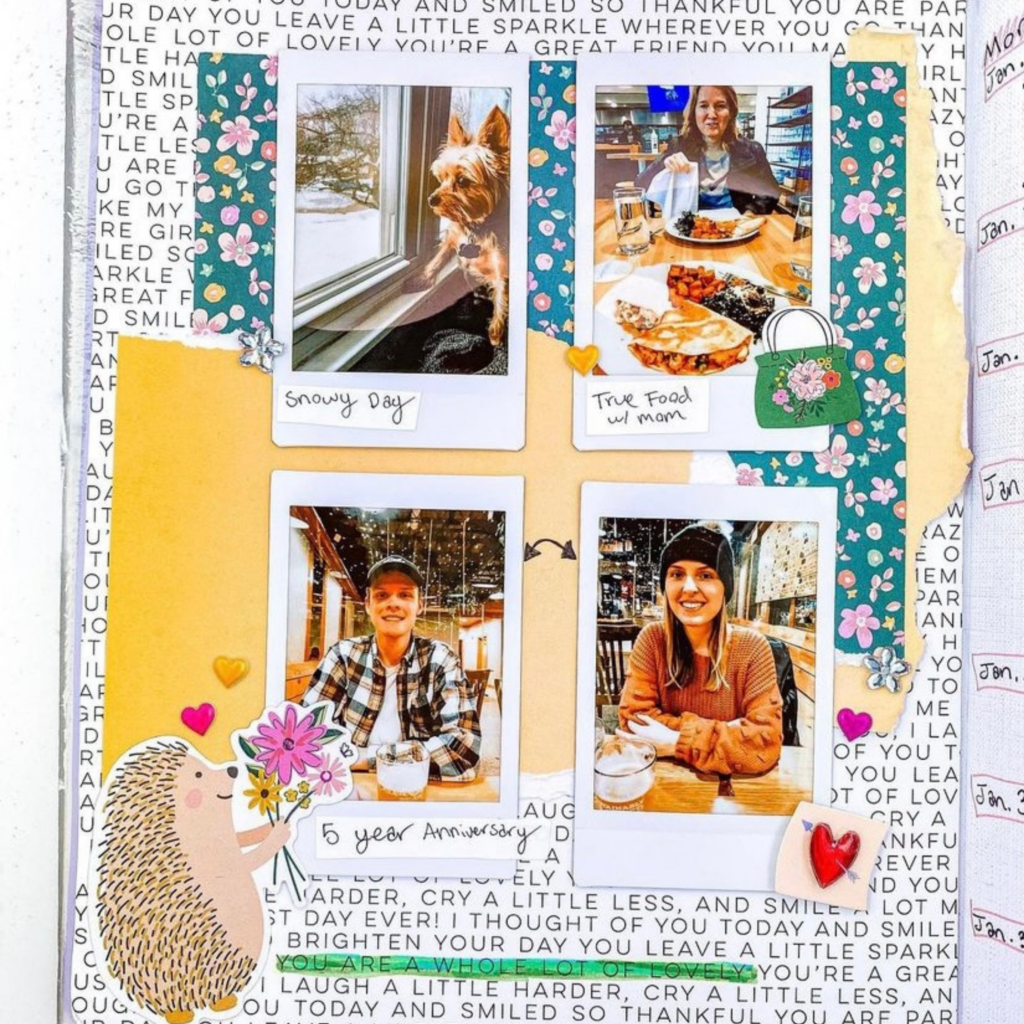
- 5th Layout: Pink Paislee “Whimsical” Paper pack, Hedgehog Paper clip
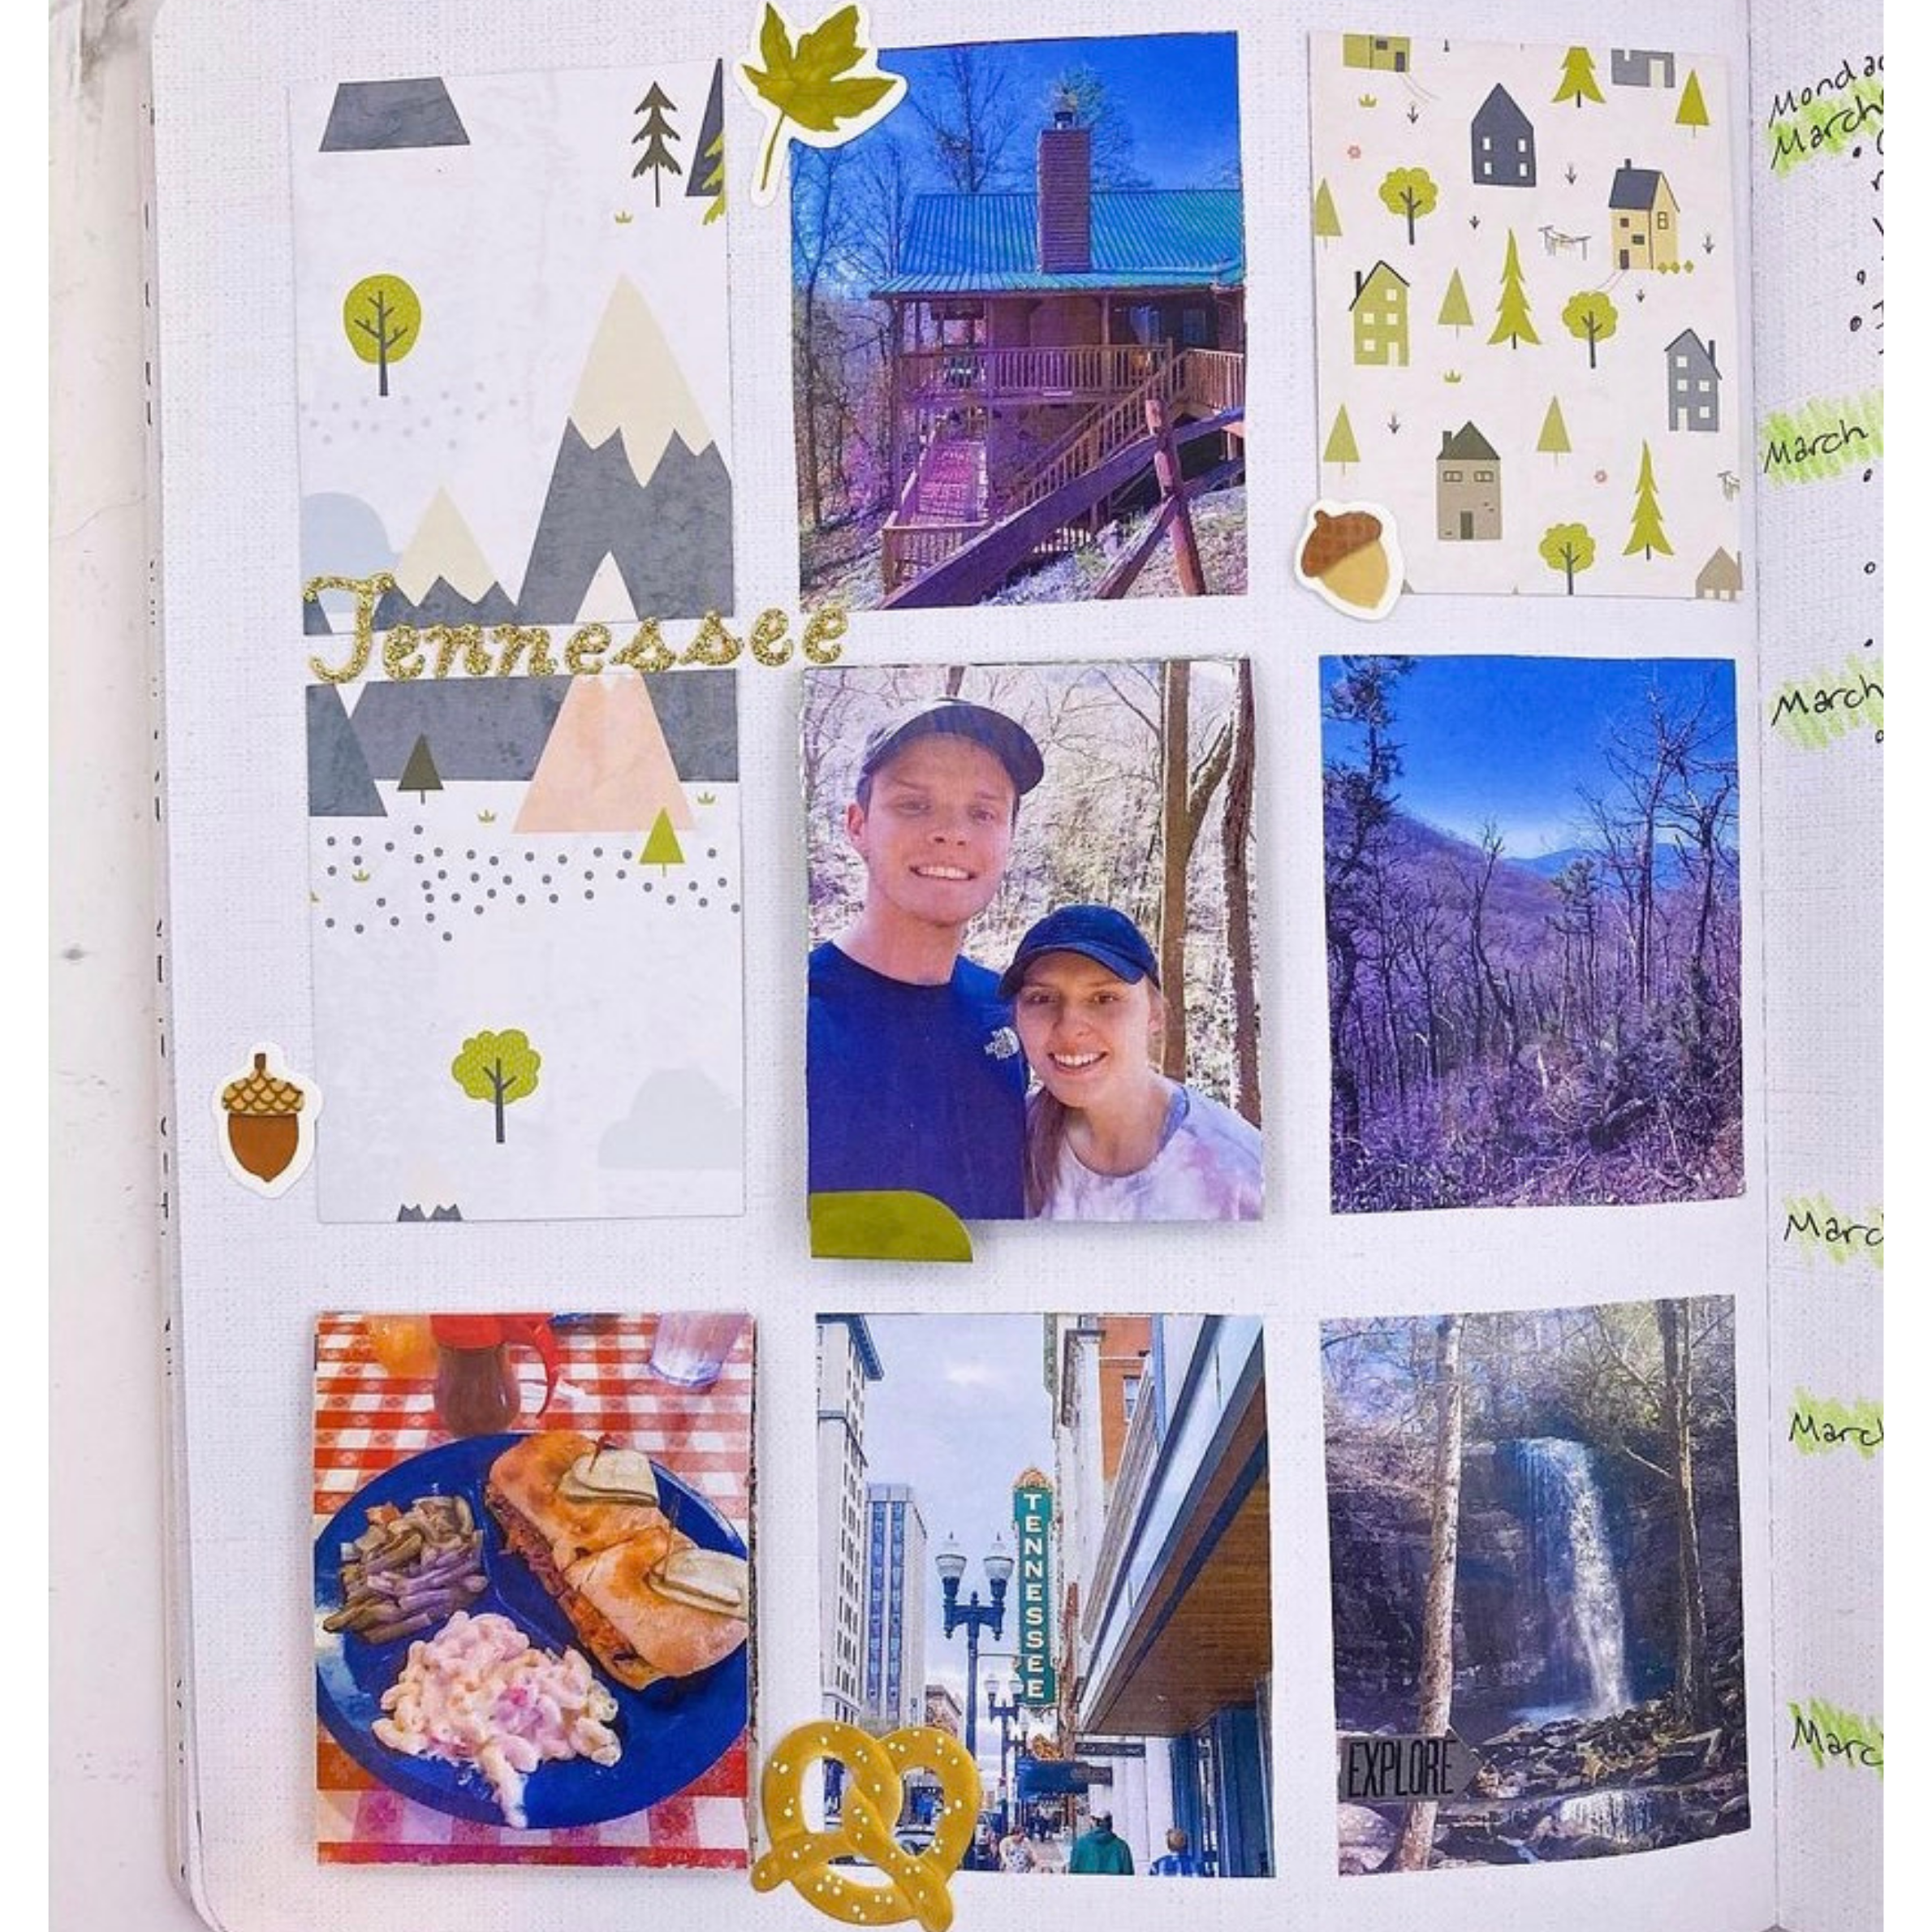
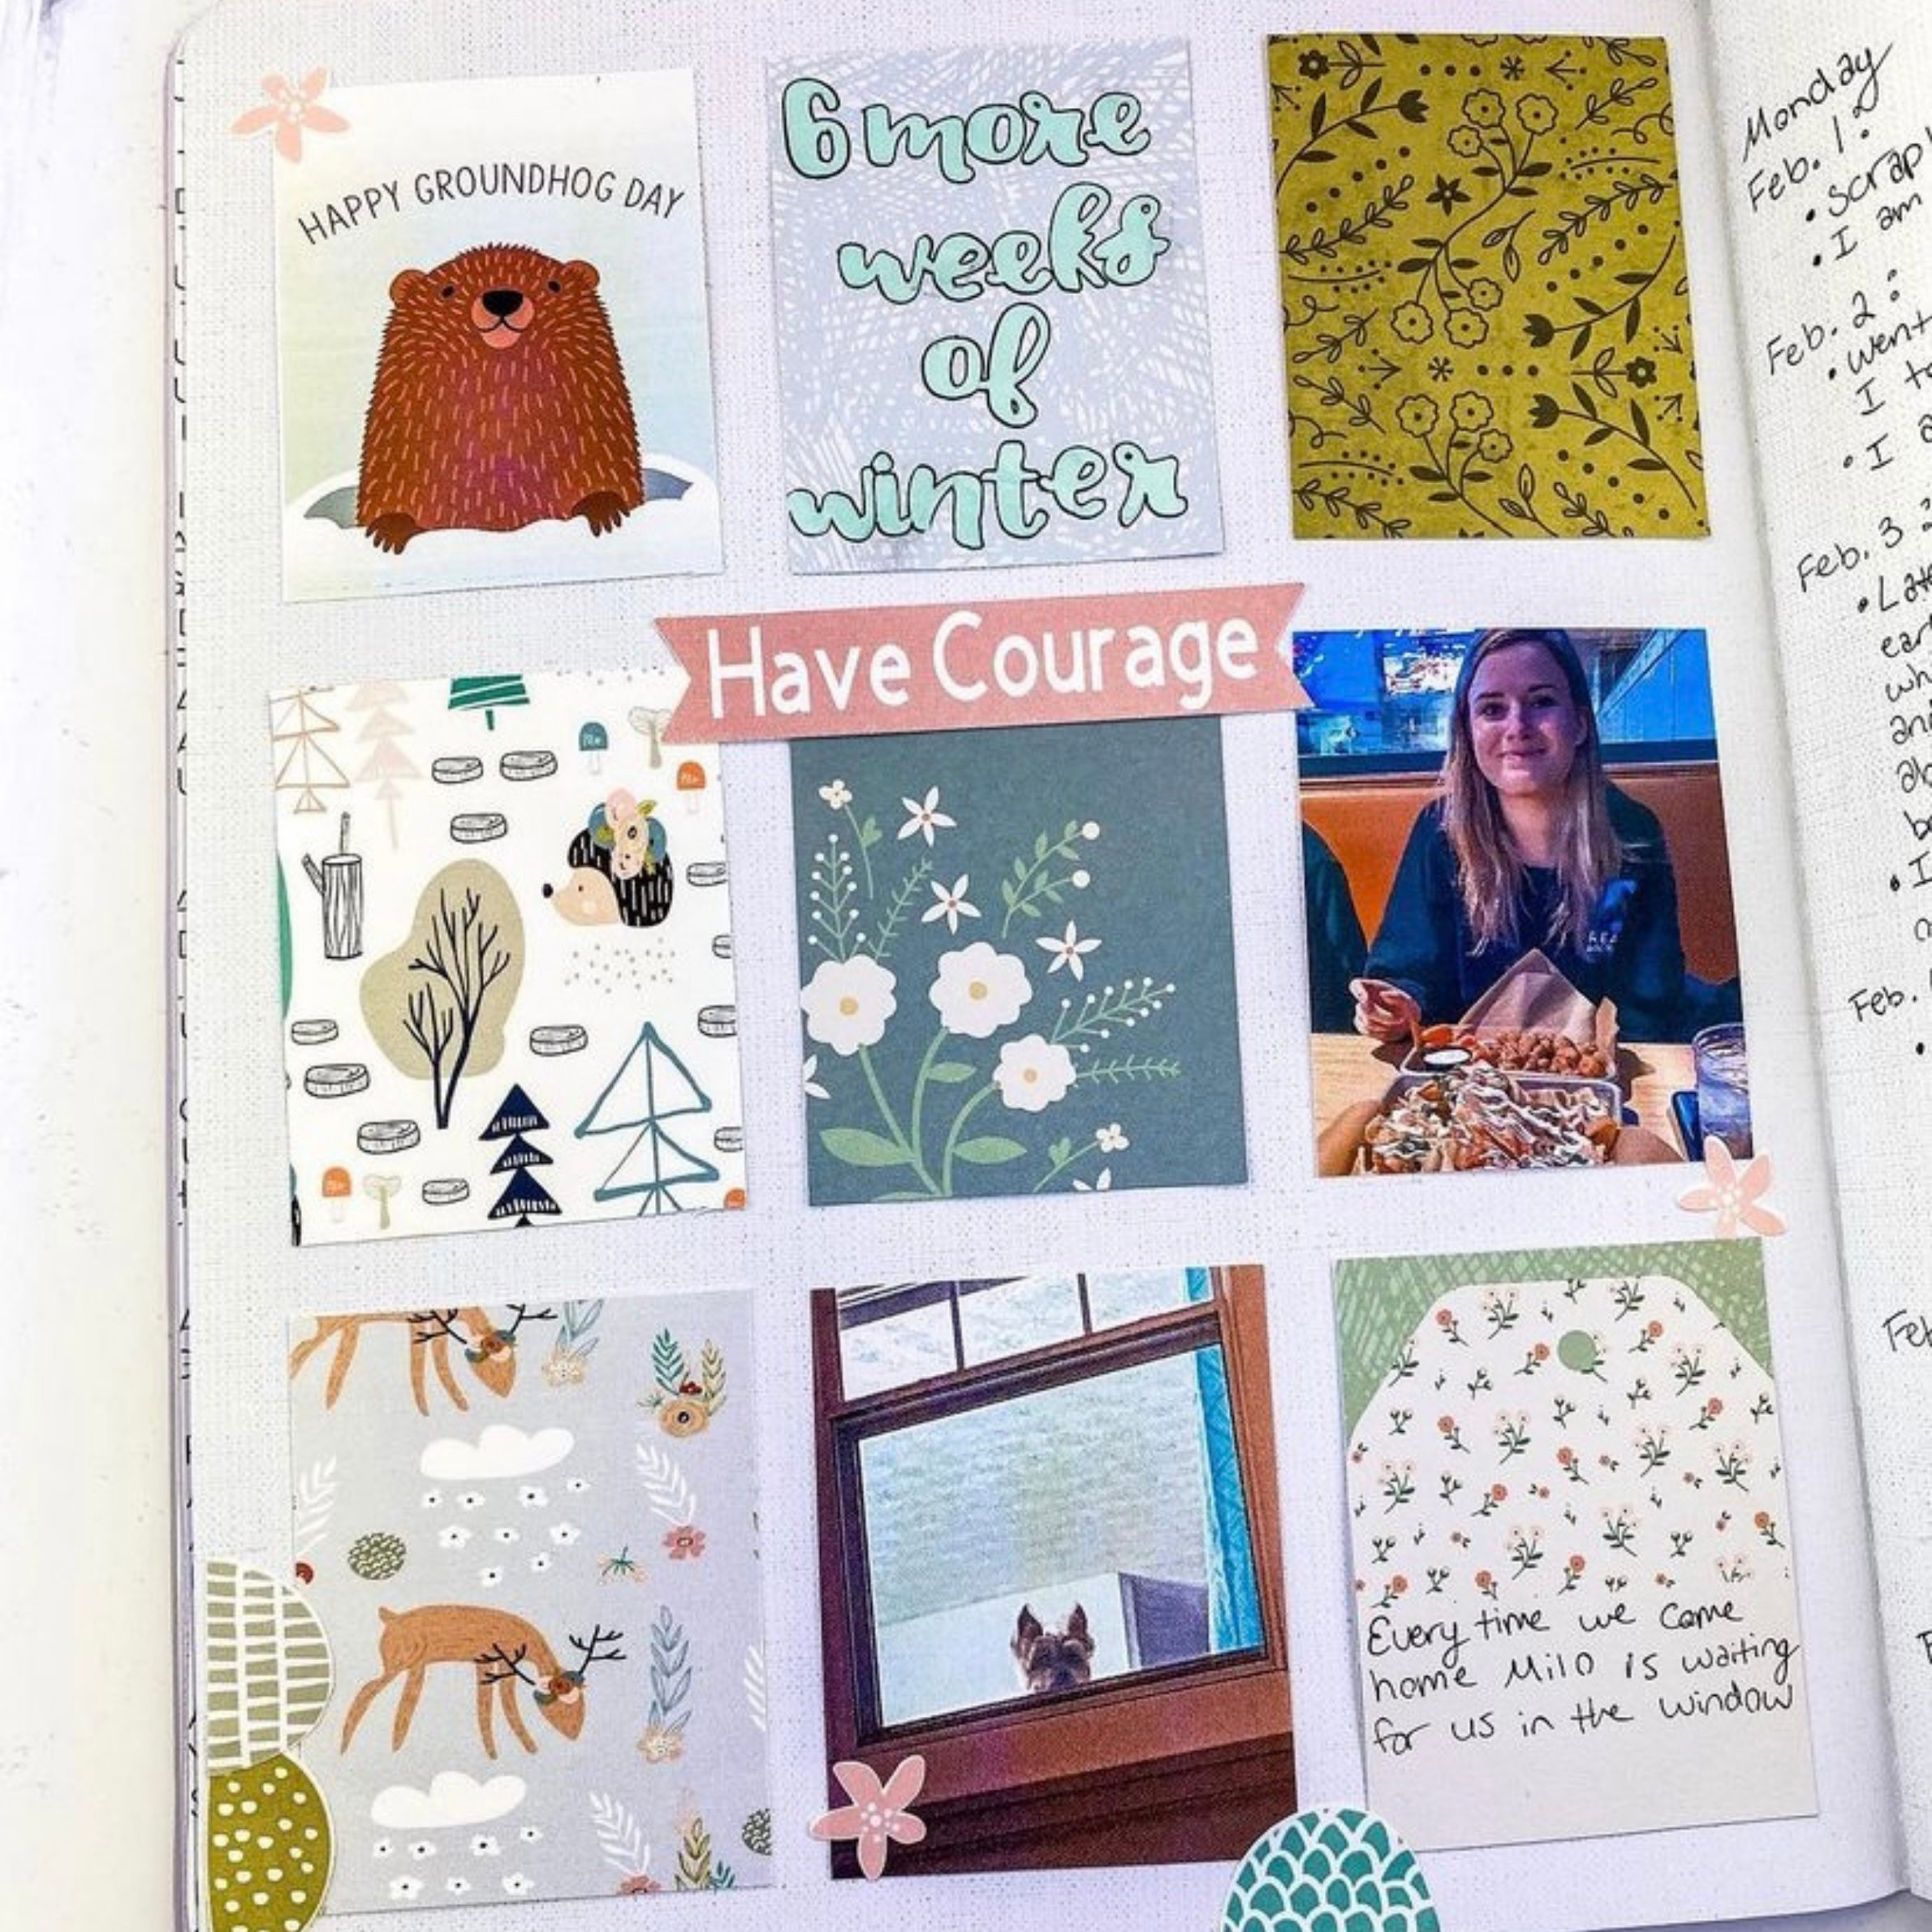
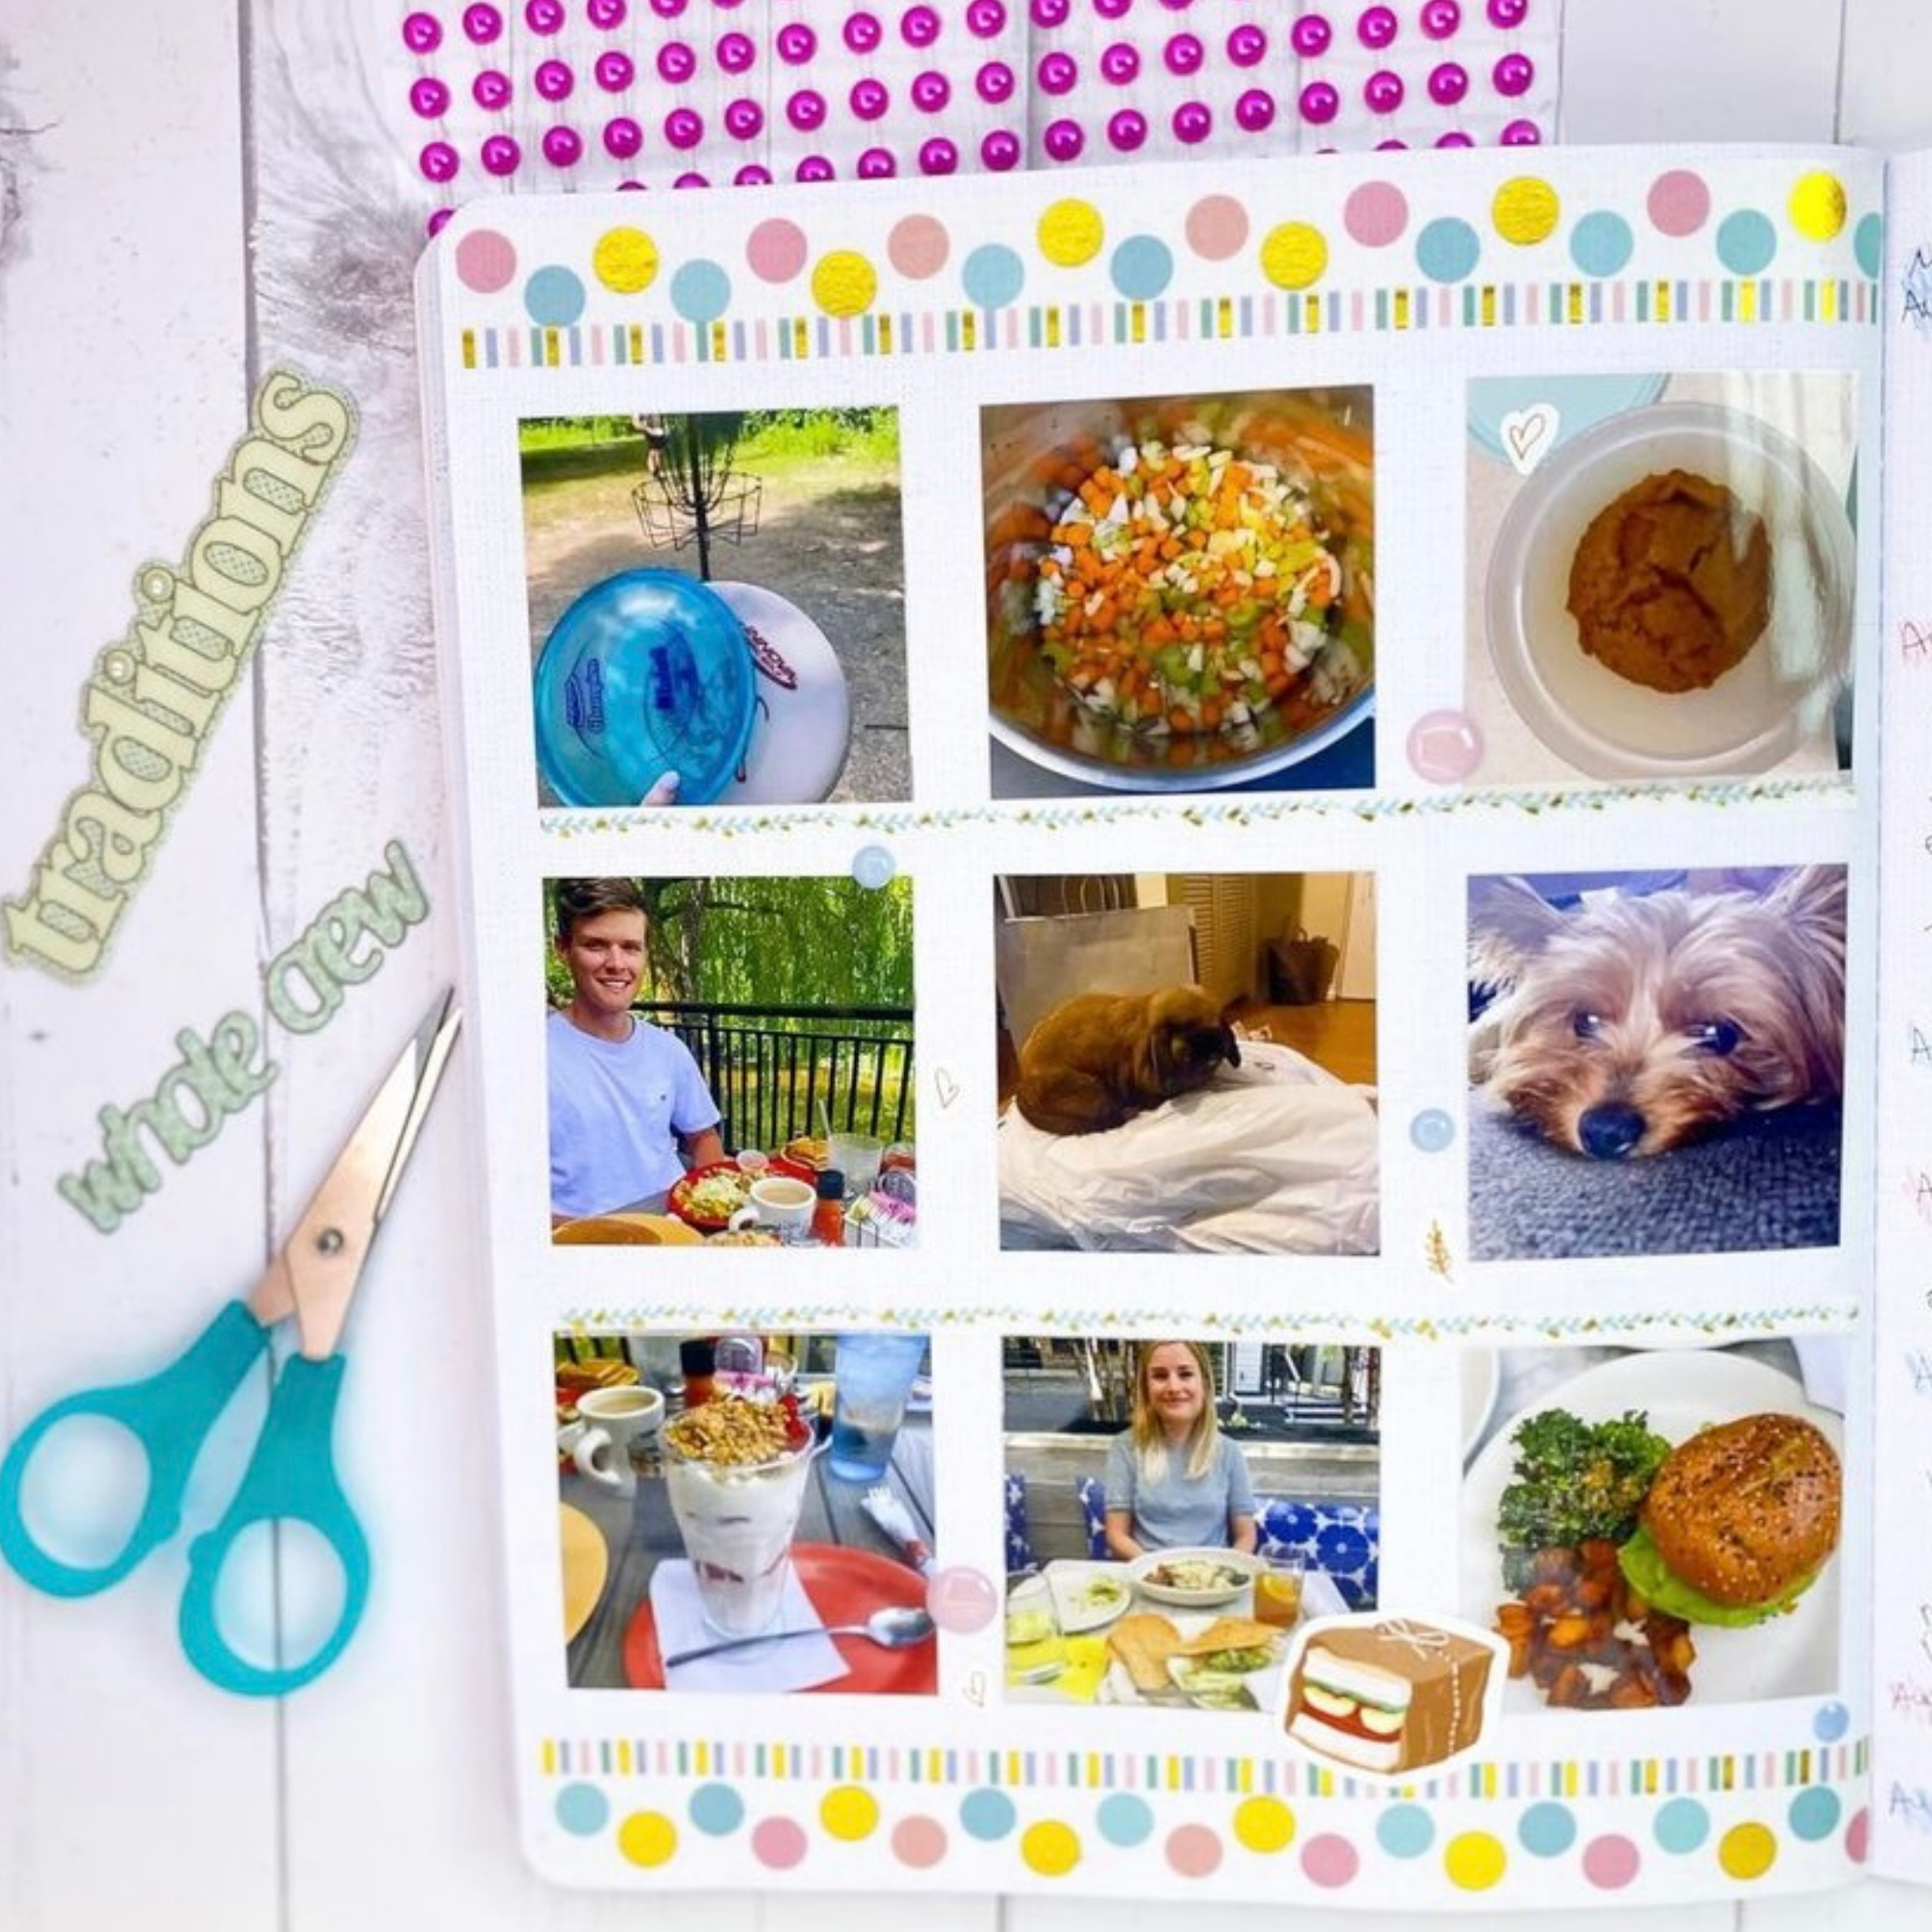
When I first began memory planning I got a lot of inspiration from Jamie Pate Storyline Chapters. She shares distinct storyline templates using 9 photographs, each photo is approximately 2.5×2 inches. I love this layout technique because it showcases multiple photographs in an organized and symmetrical way. I also love checking out Pinterest for layout design ideas. You would be surprised by how many ideas you can come up with!
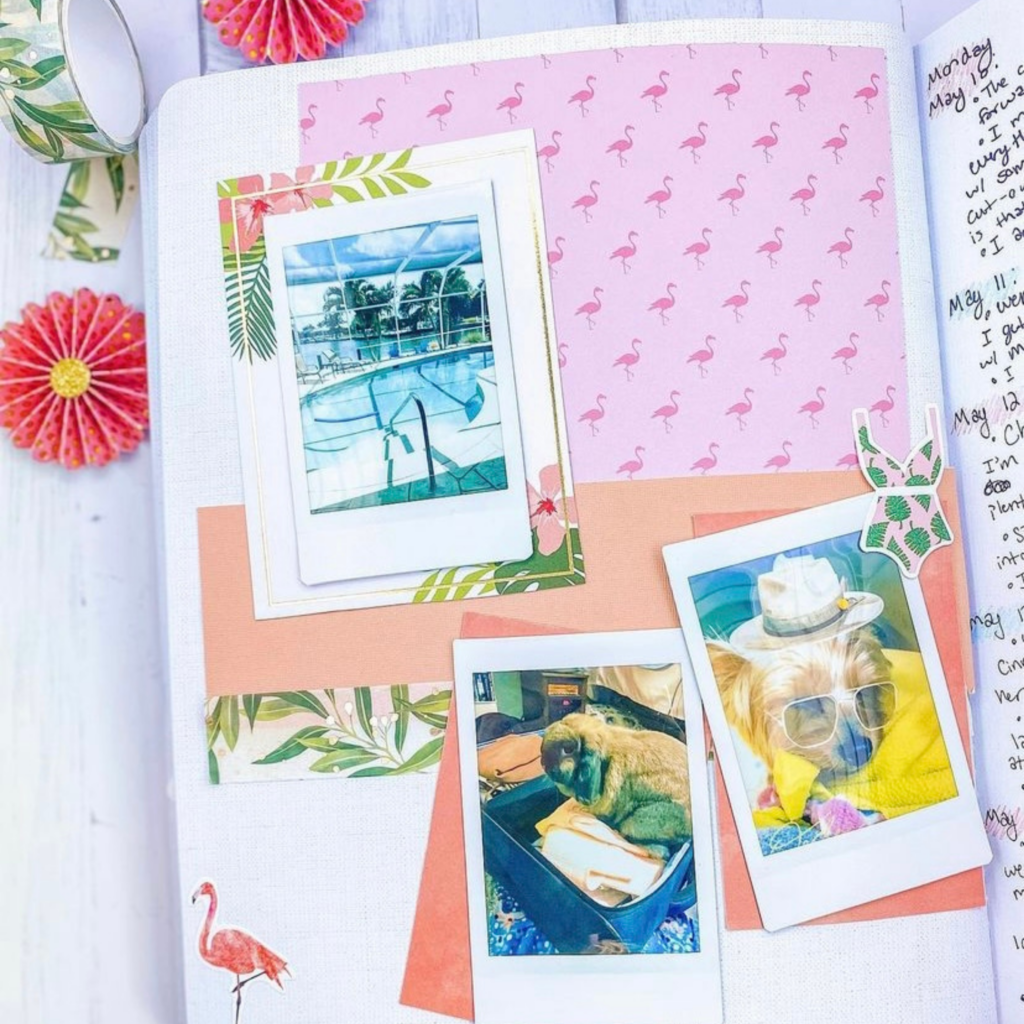
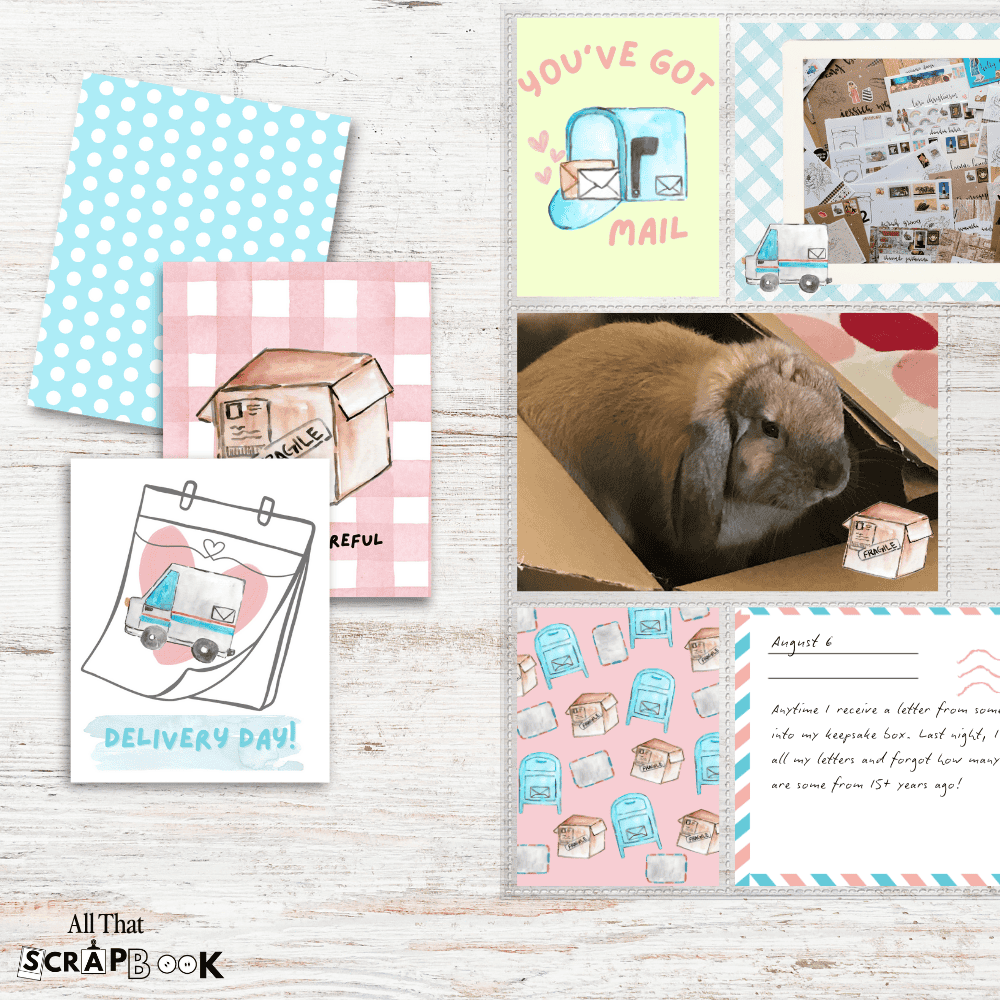
Above are a few of my favorite storyline chapters layouts I made using that same 3 by 3 photograph template. I use a variety of photos I took in a week and the best scrapbook paper to bring the layout together. I choose a “theme” for each week that is determined by what I did. For instance, when I took a trip to Tennessee I used nature and outdoors themed scrapbook paper to decorate. The scrapbook paper you choose has a big part in telling your story just as much as your pictures and journaling do.
3. Create A Personalized Template For Storyline Chapters Layouts
Supplies:
- 2nd Layout: “She’s Magic” Collection
- 4th Layout: “Hey Hello” collection Animal Paper/ Cherry Paper (Similar)
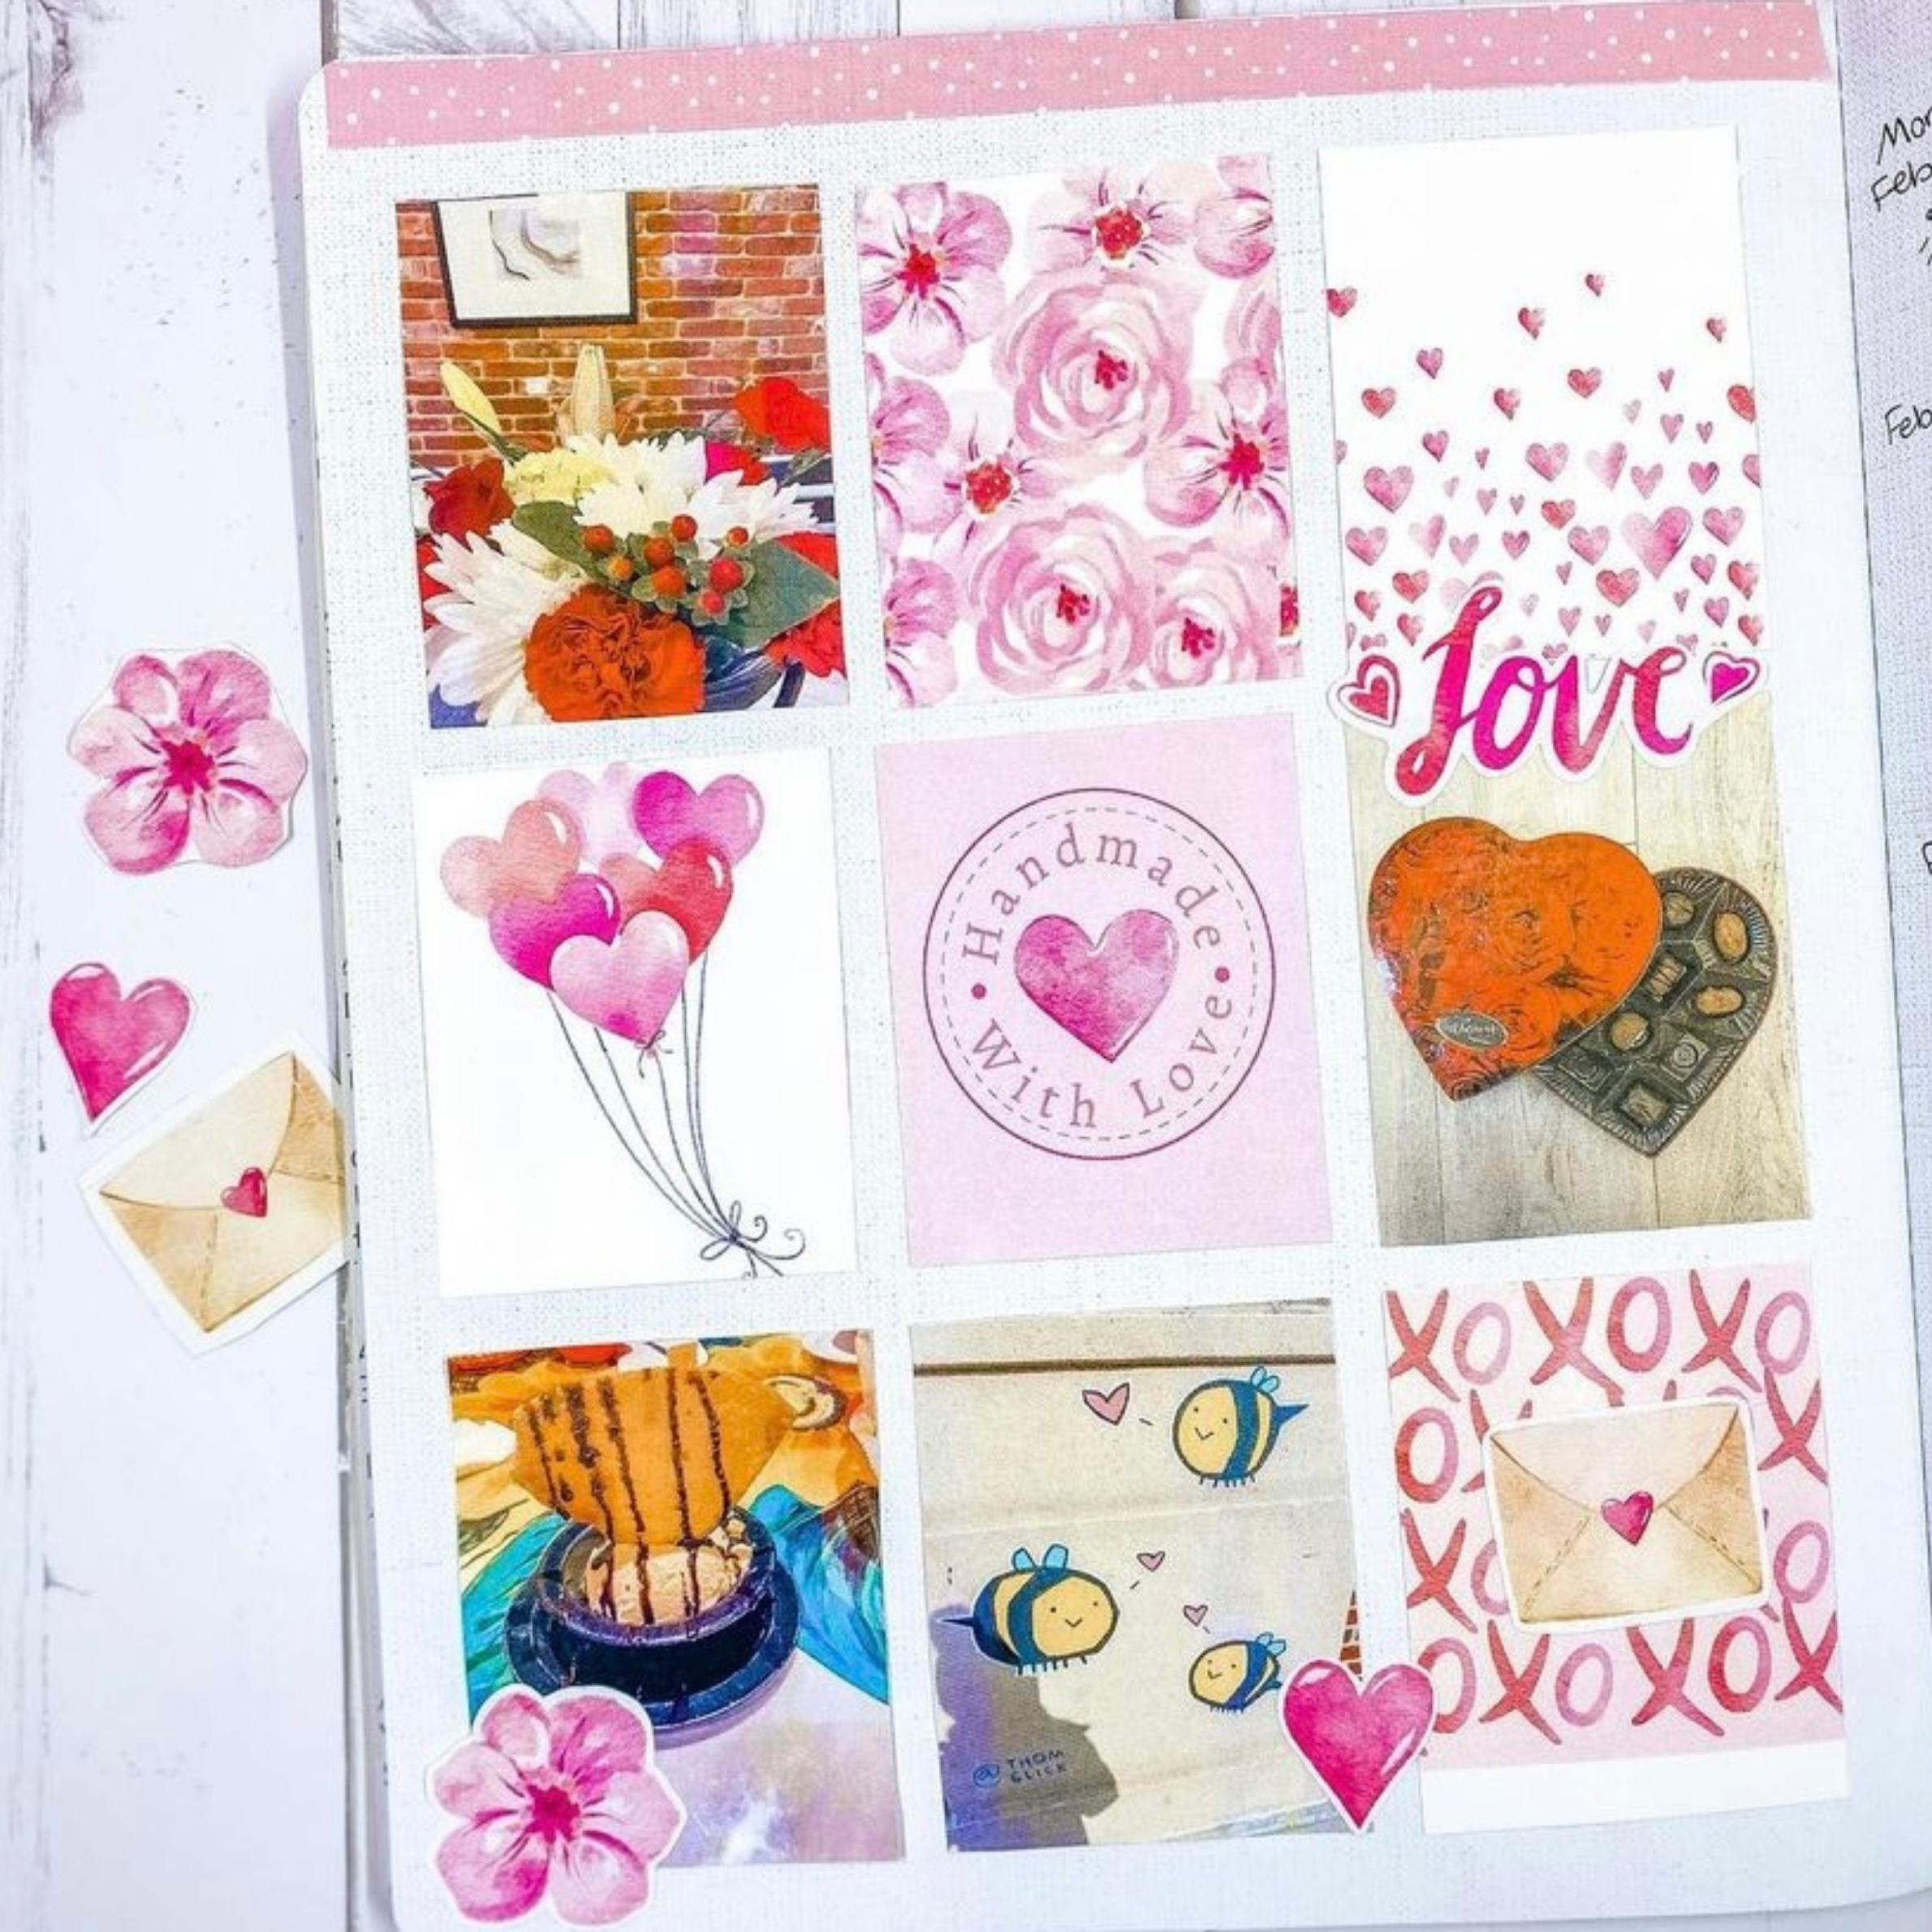
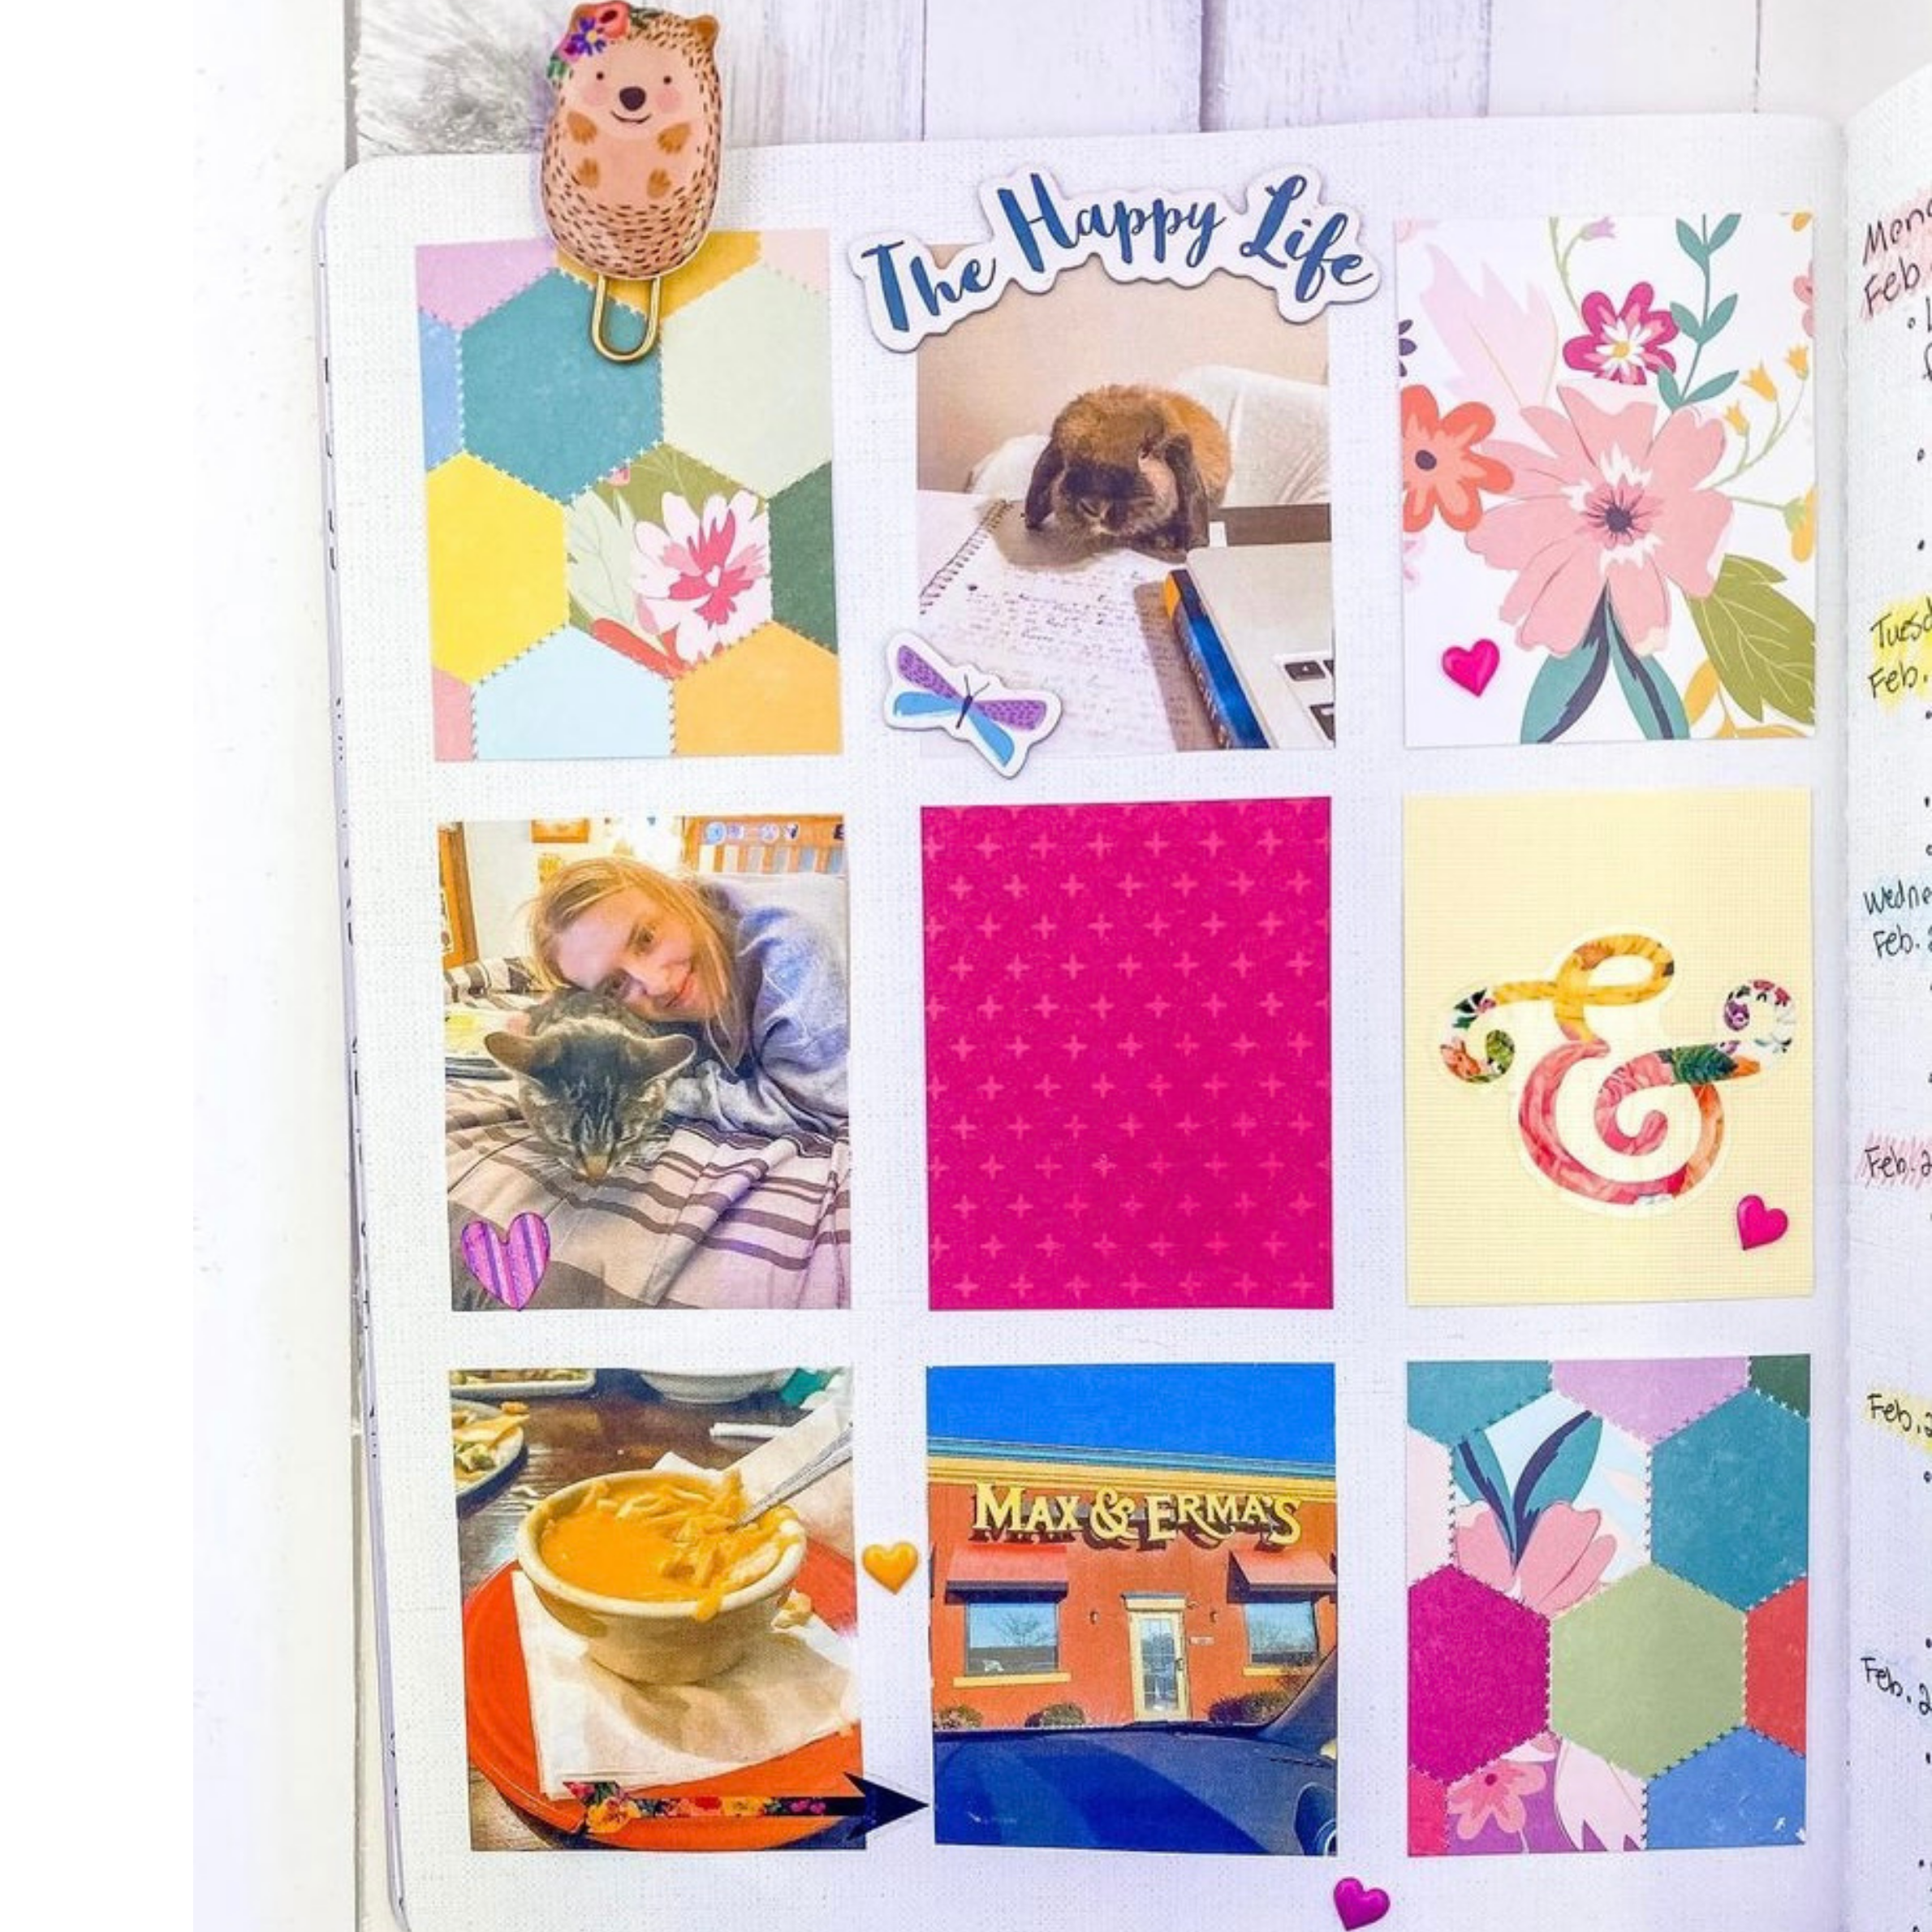
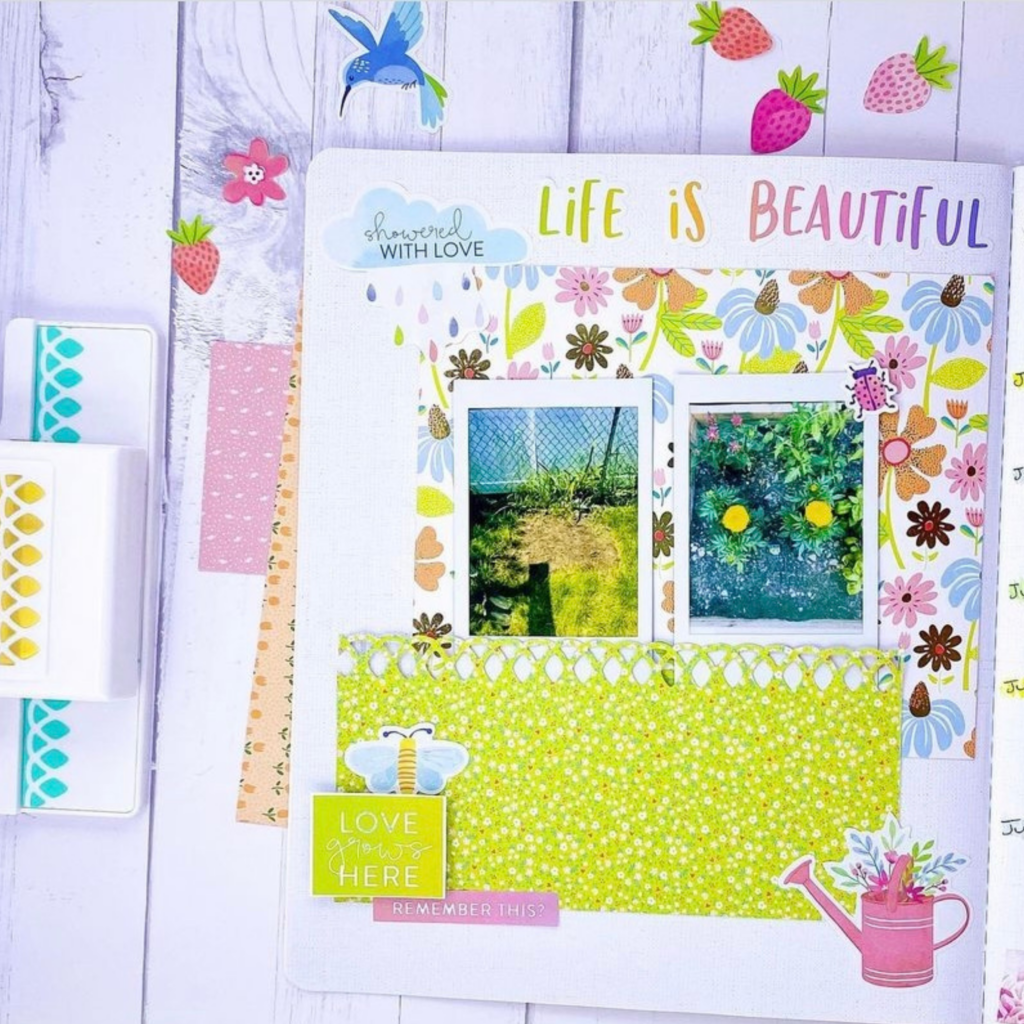
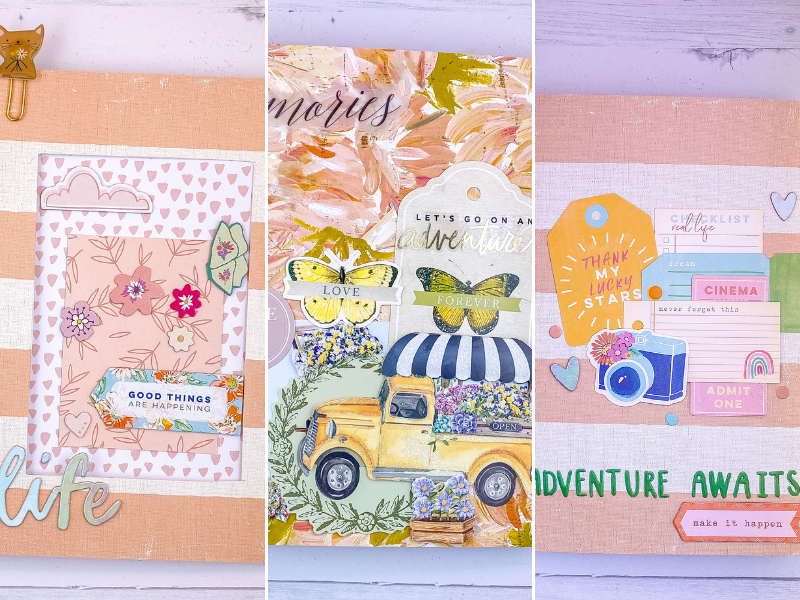
Finding your own rhythm in creating storyline chapter layouts can sometimes be a challenge. I recommend finding a template that works best for your schedule and that can be reused each week. I found that using 2×2 inch photos works best for most of my storytelling throughout the week. The photos are still a huge focal point of each layout, however, there is still plenty of space to decorate the background. Also, there are plenty of options on how you can print these tiny photos which I will get into later on this blog post.
The secret to staying consistent with memory planning is to not put too much pressure on yourself to make each layout perfect. Some weeks you may have a lot going on and other weeks might be the complete opposite. If I am ever not feeling like documenting my week, I just skip it and start again the next week. Not a big deal! It’s easy to get burnt out creating memory planner layouts if you are doing it on a weekly basis. Therefore, If I need time to rest I allow myself to do so. Luckily, after memory planning in my storyline chapters for the past year I’ve created a routine that’s become a weekly habit so I don’t skip too many weeks.
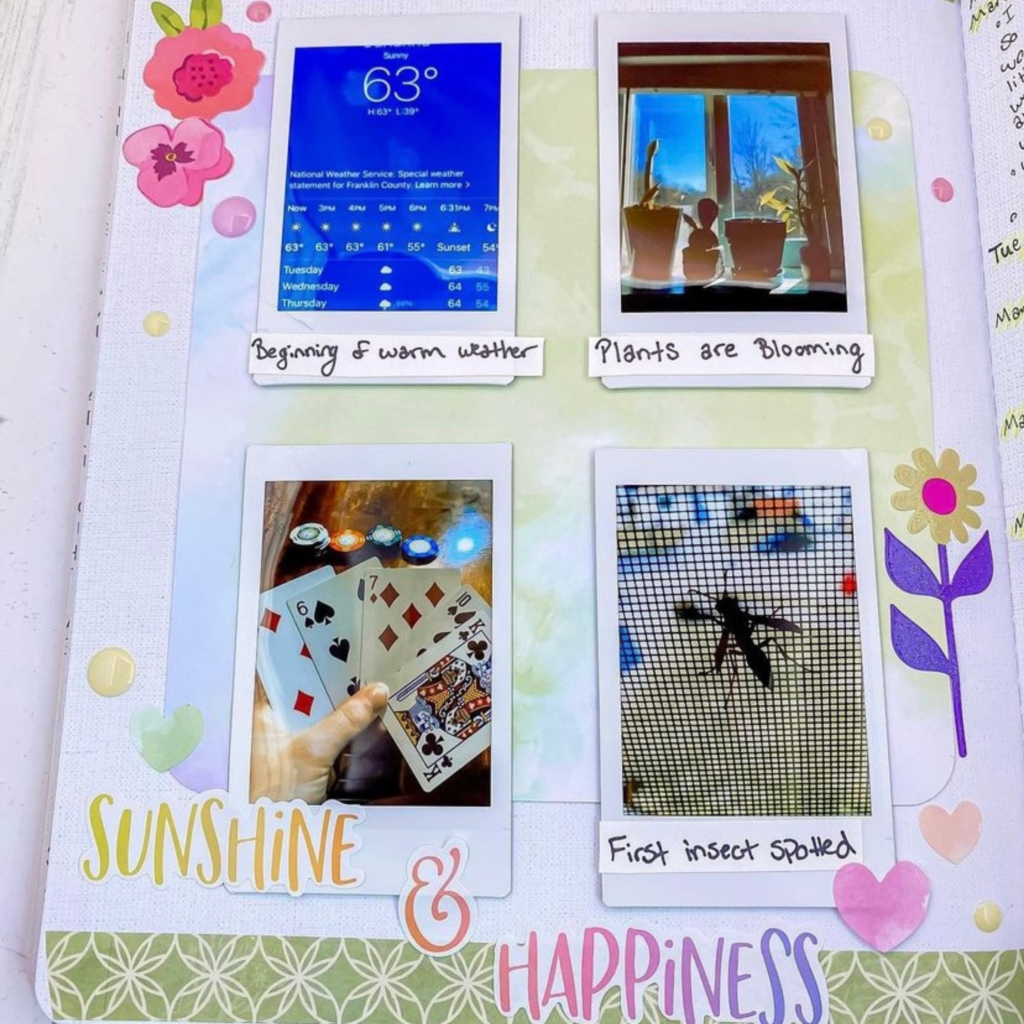
It’s important to take pictures of the little moments in your day – such as that delicious milkshake you had at dinner, or the beautiful sunset. These are the memories that you’ll love looking back on years later. There is no need to put pressure on yourself to take the perfect photo. After all, this album is for you and you only! Take pictures of the things that make you happiest.
4. Storyline Design Inspiration For Each Season Of Life
Supplies:
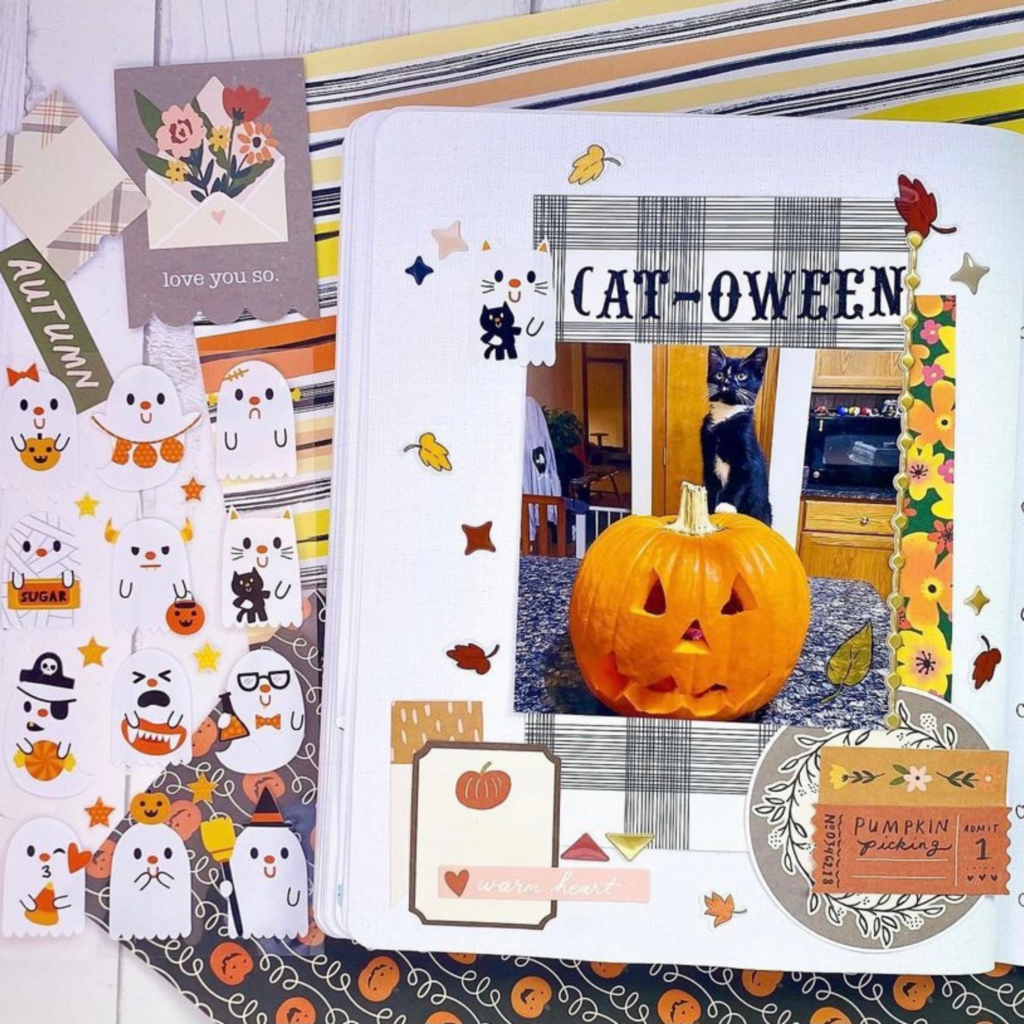
- 1st Layout: Cozy Days Collection, striped Halloween paper, American Crafts ghost stickers
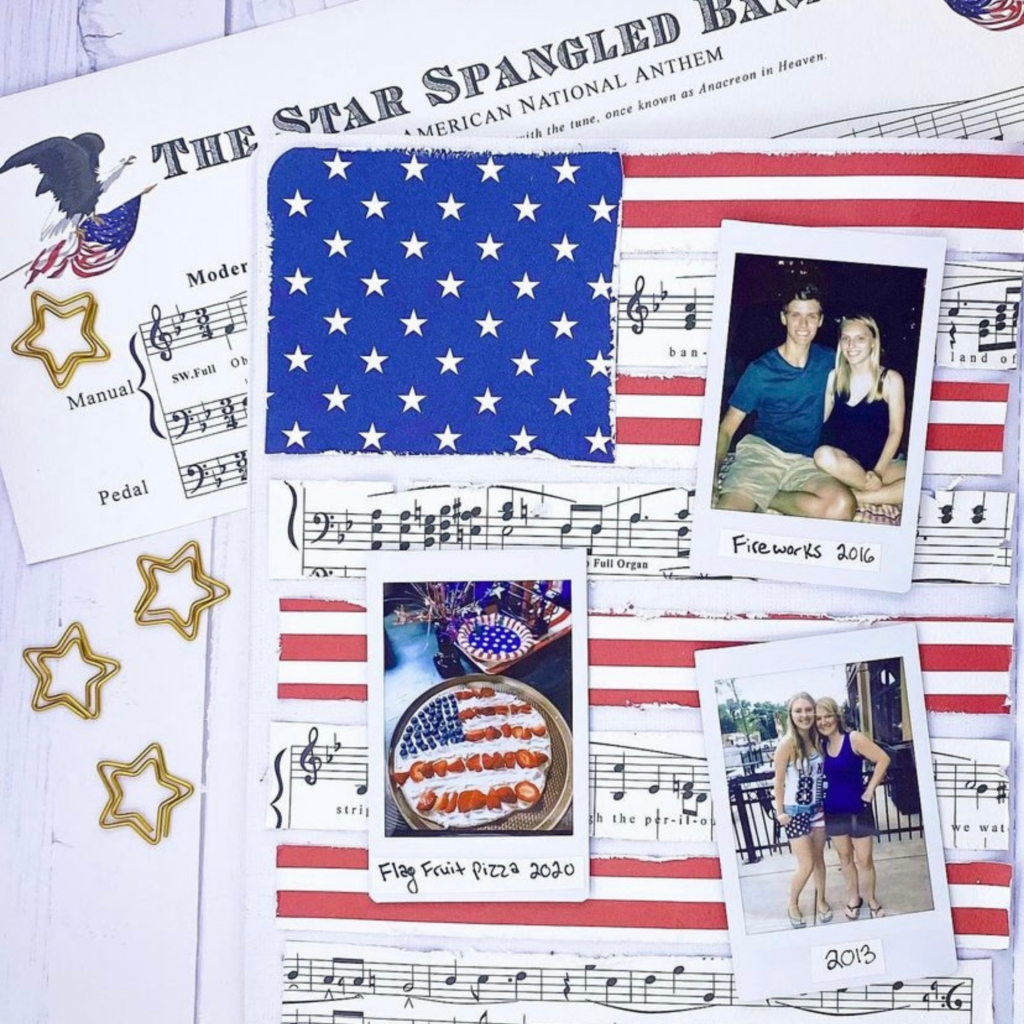
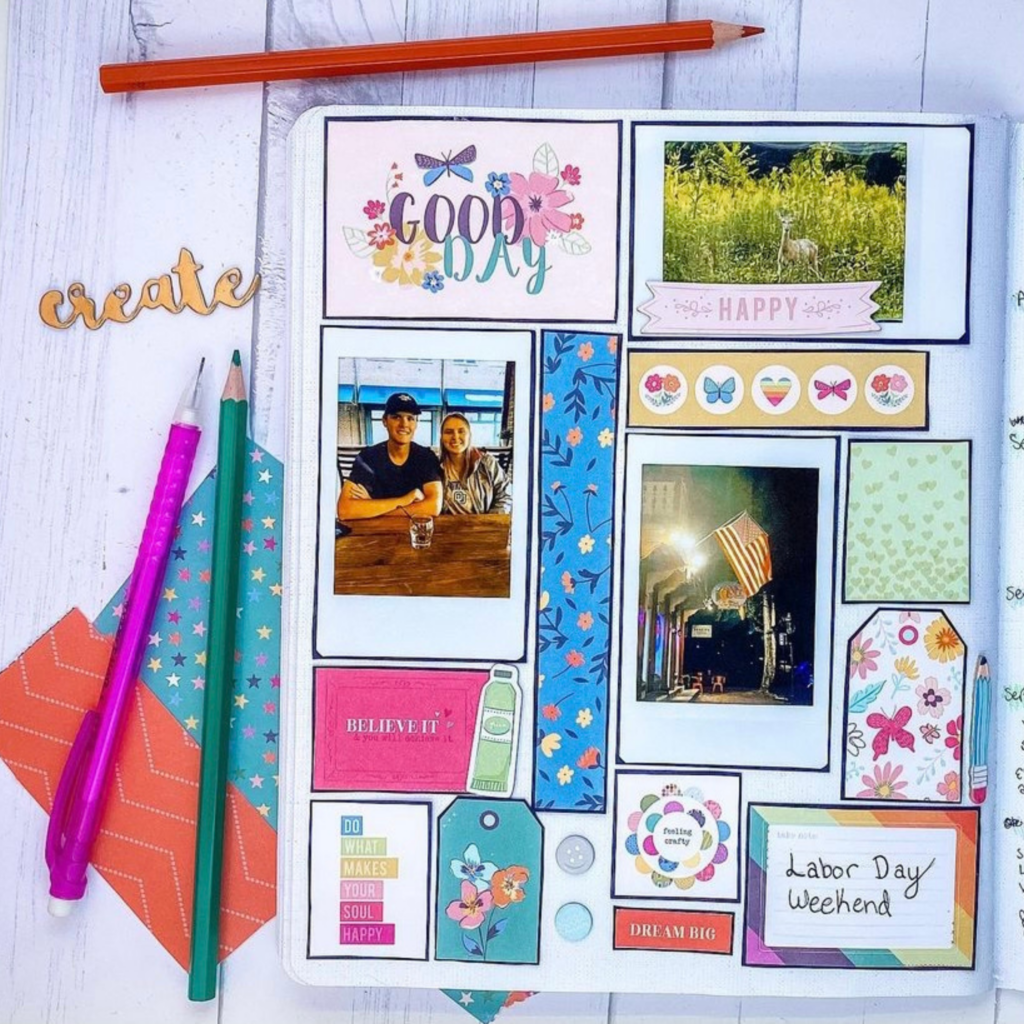
- 2nd Layout: Carta Bella “God Bless America” July 4th collection
- 3rd Layout: Hedge Hog Sticker
- 4th Layout: “Happy Blooms” Collection
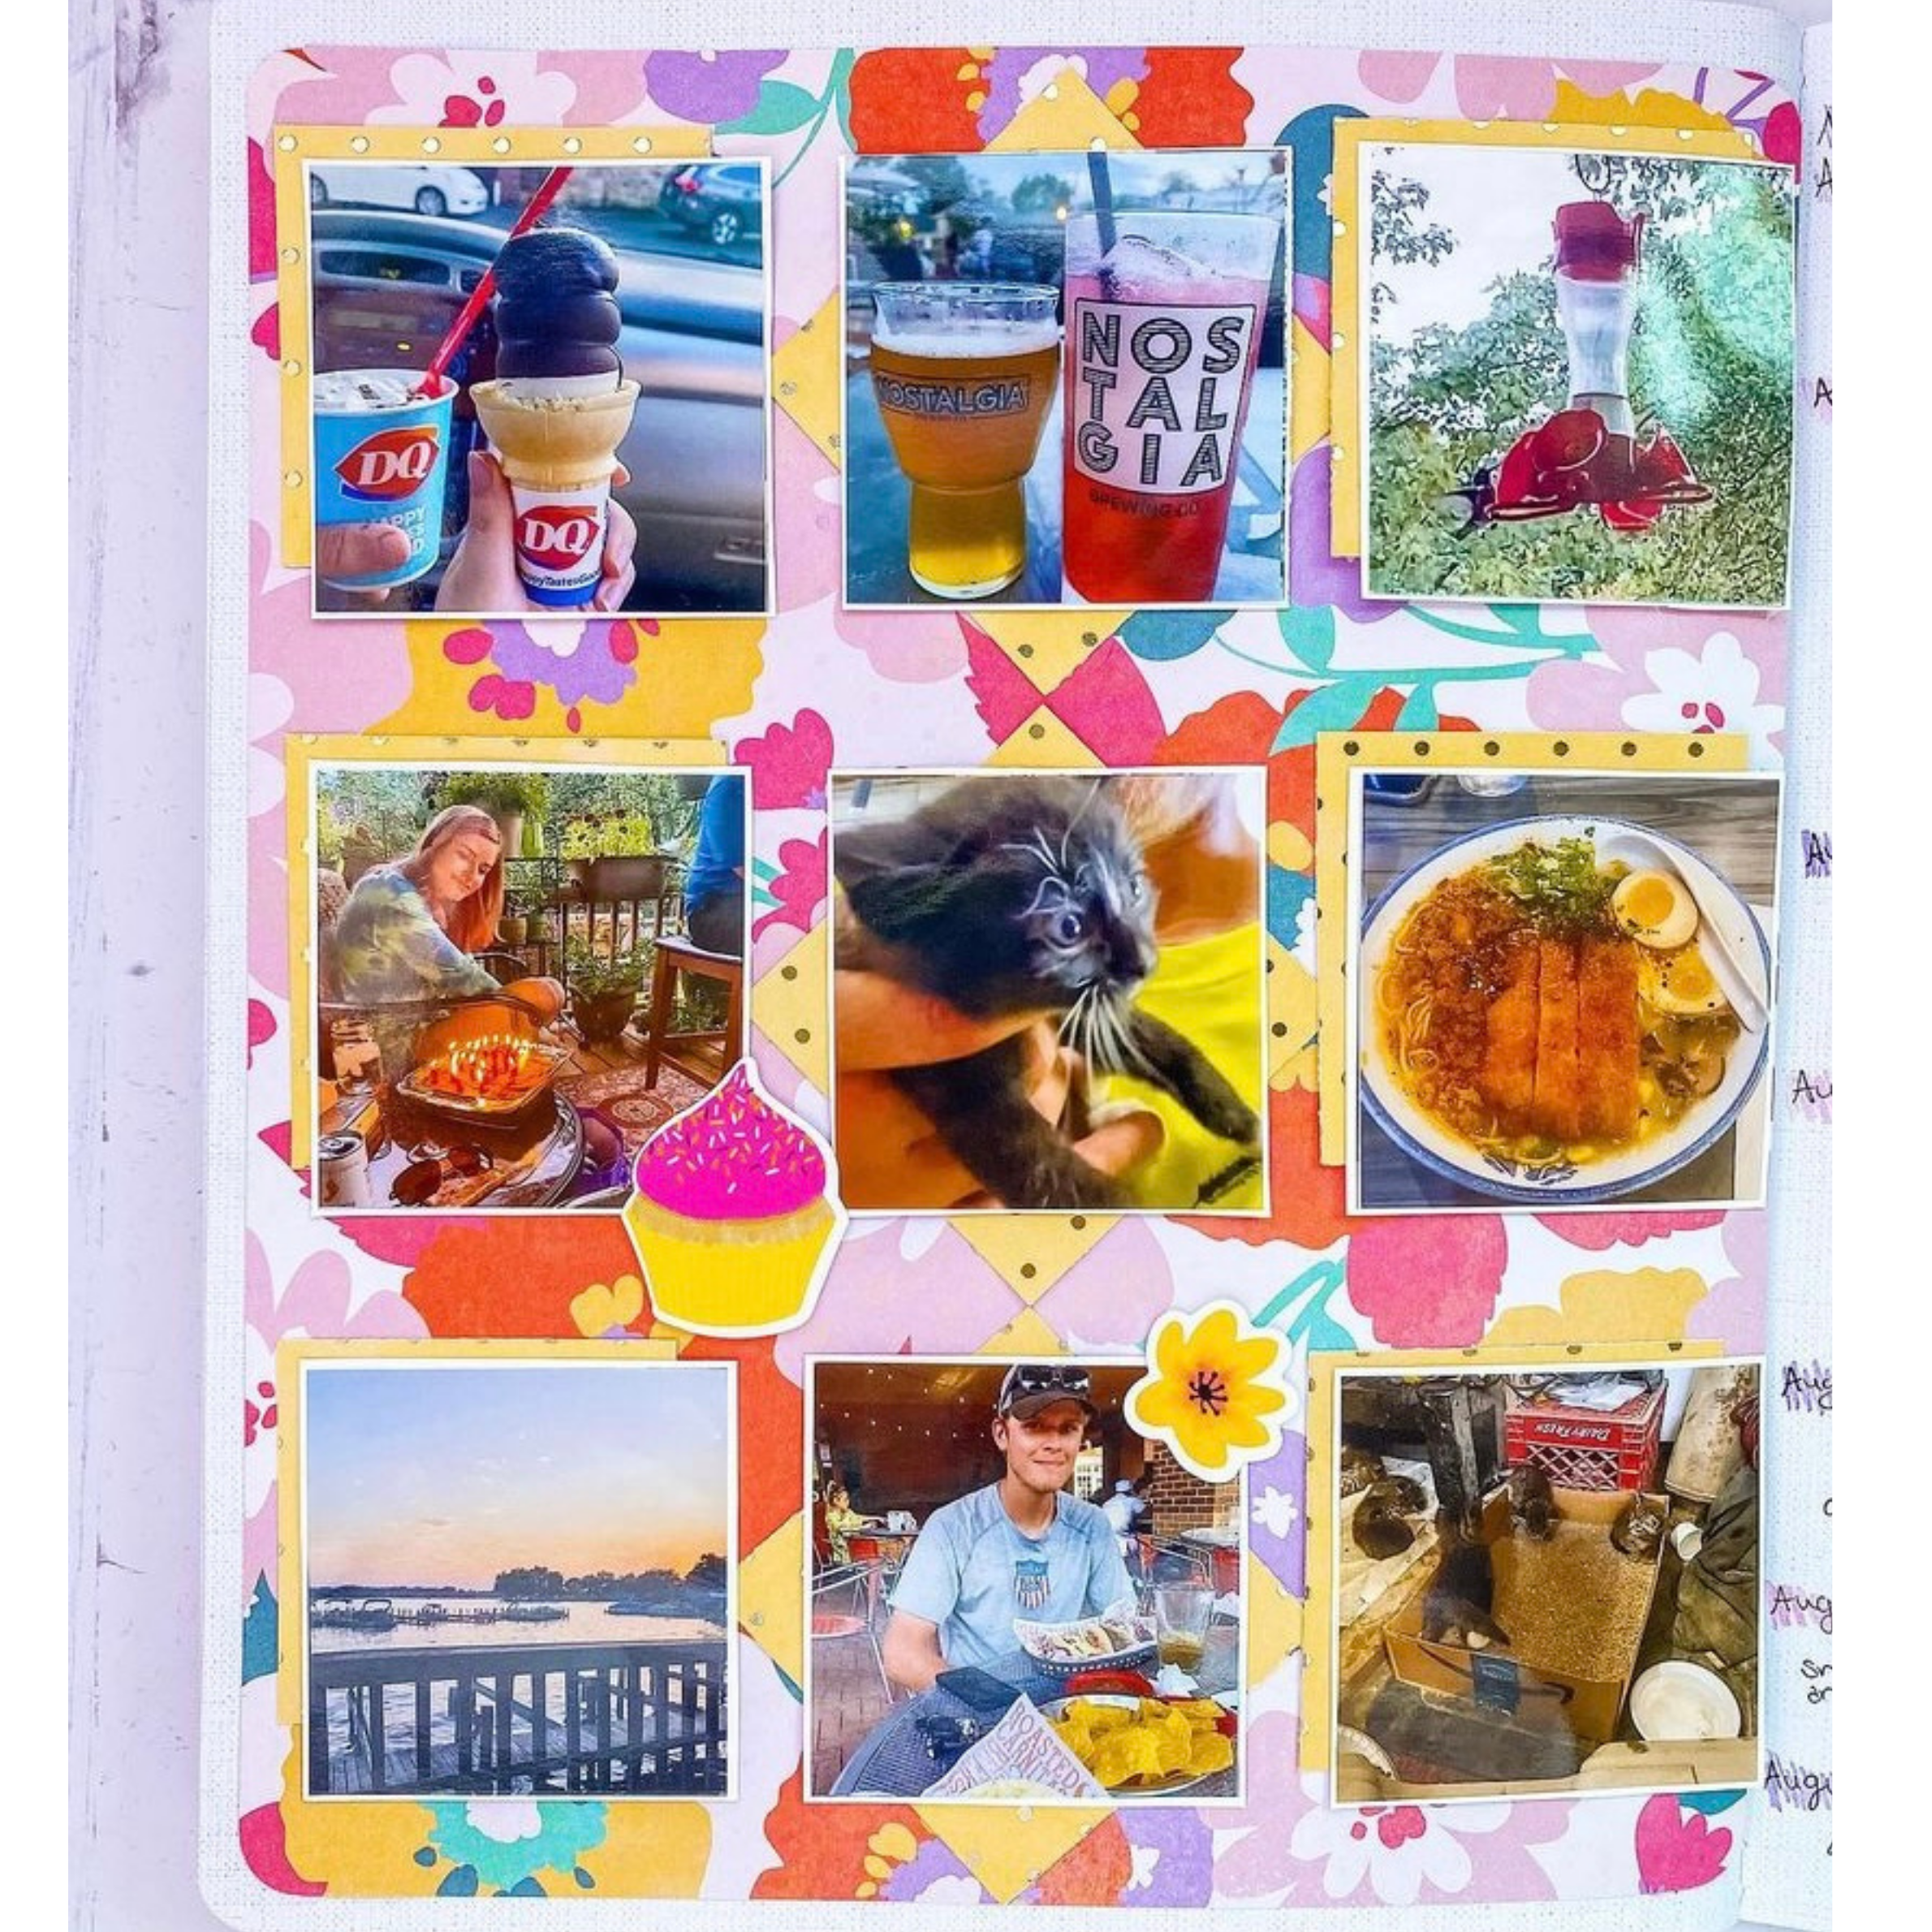
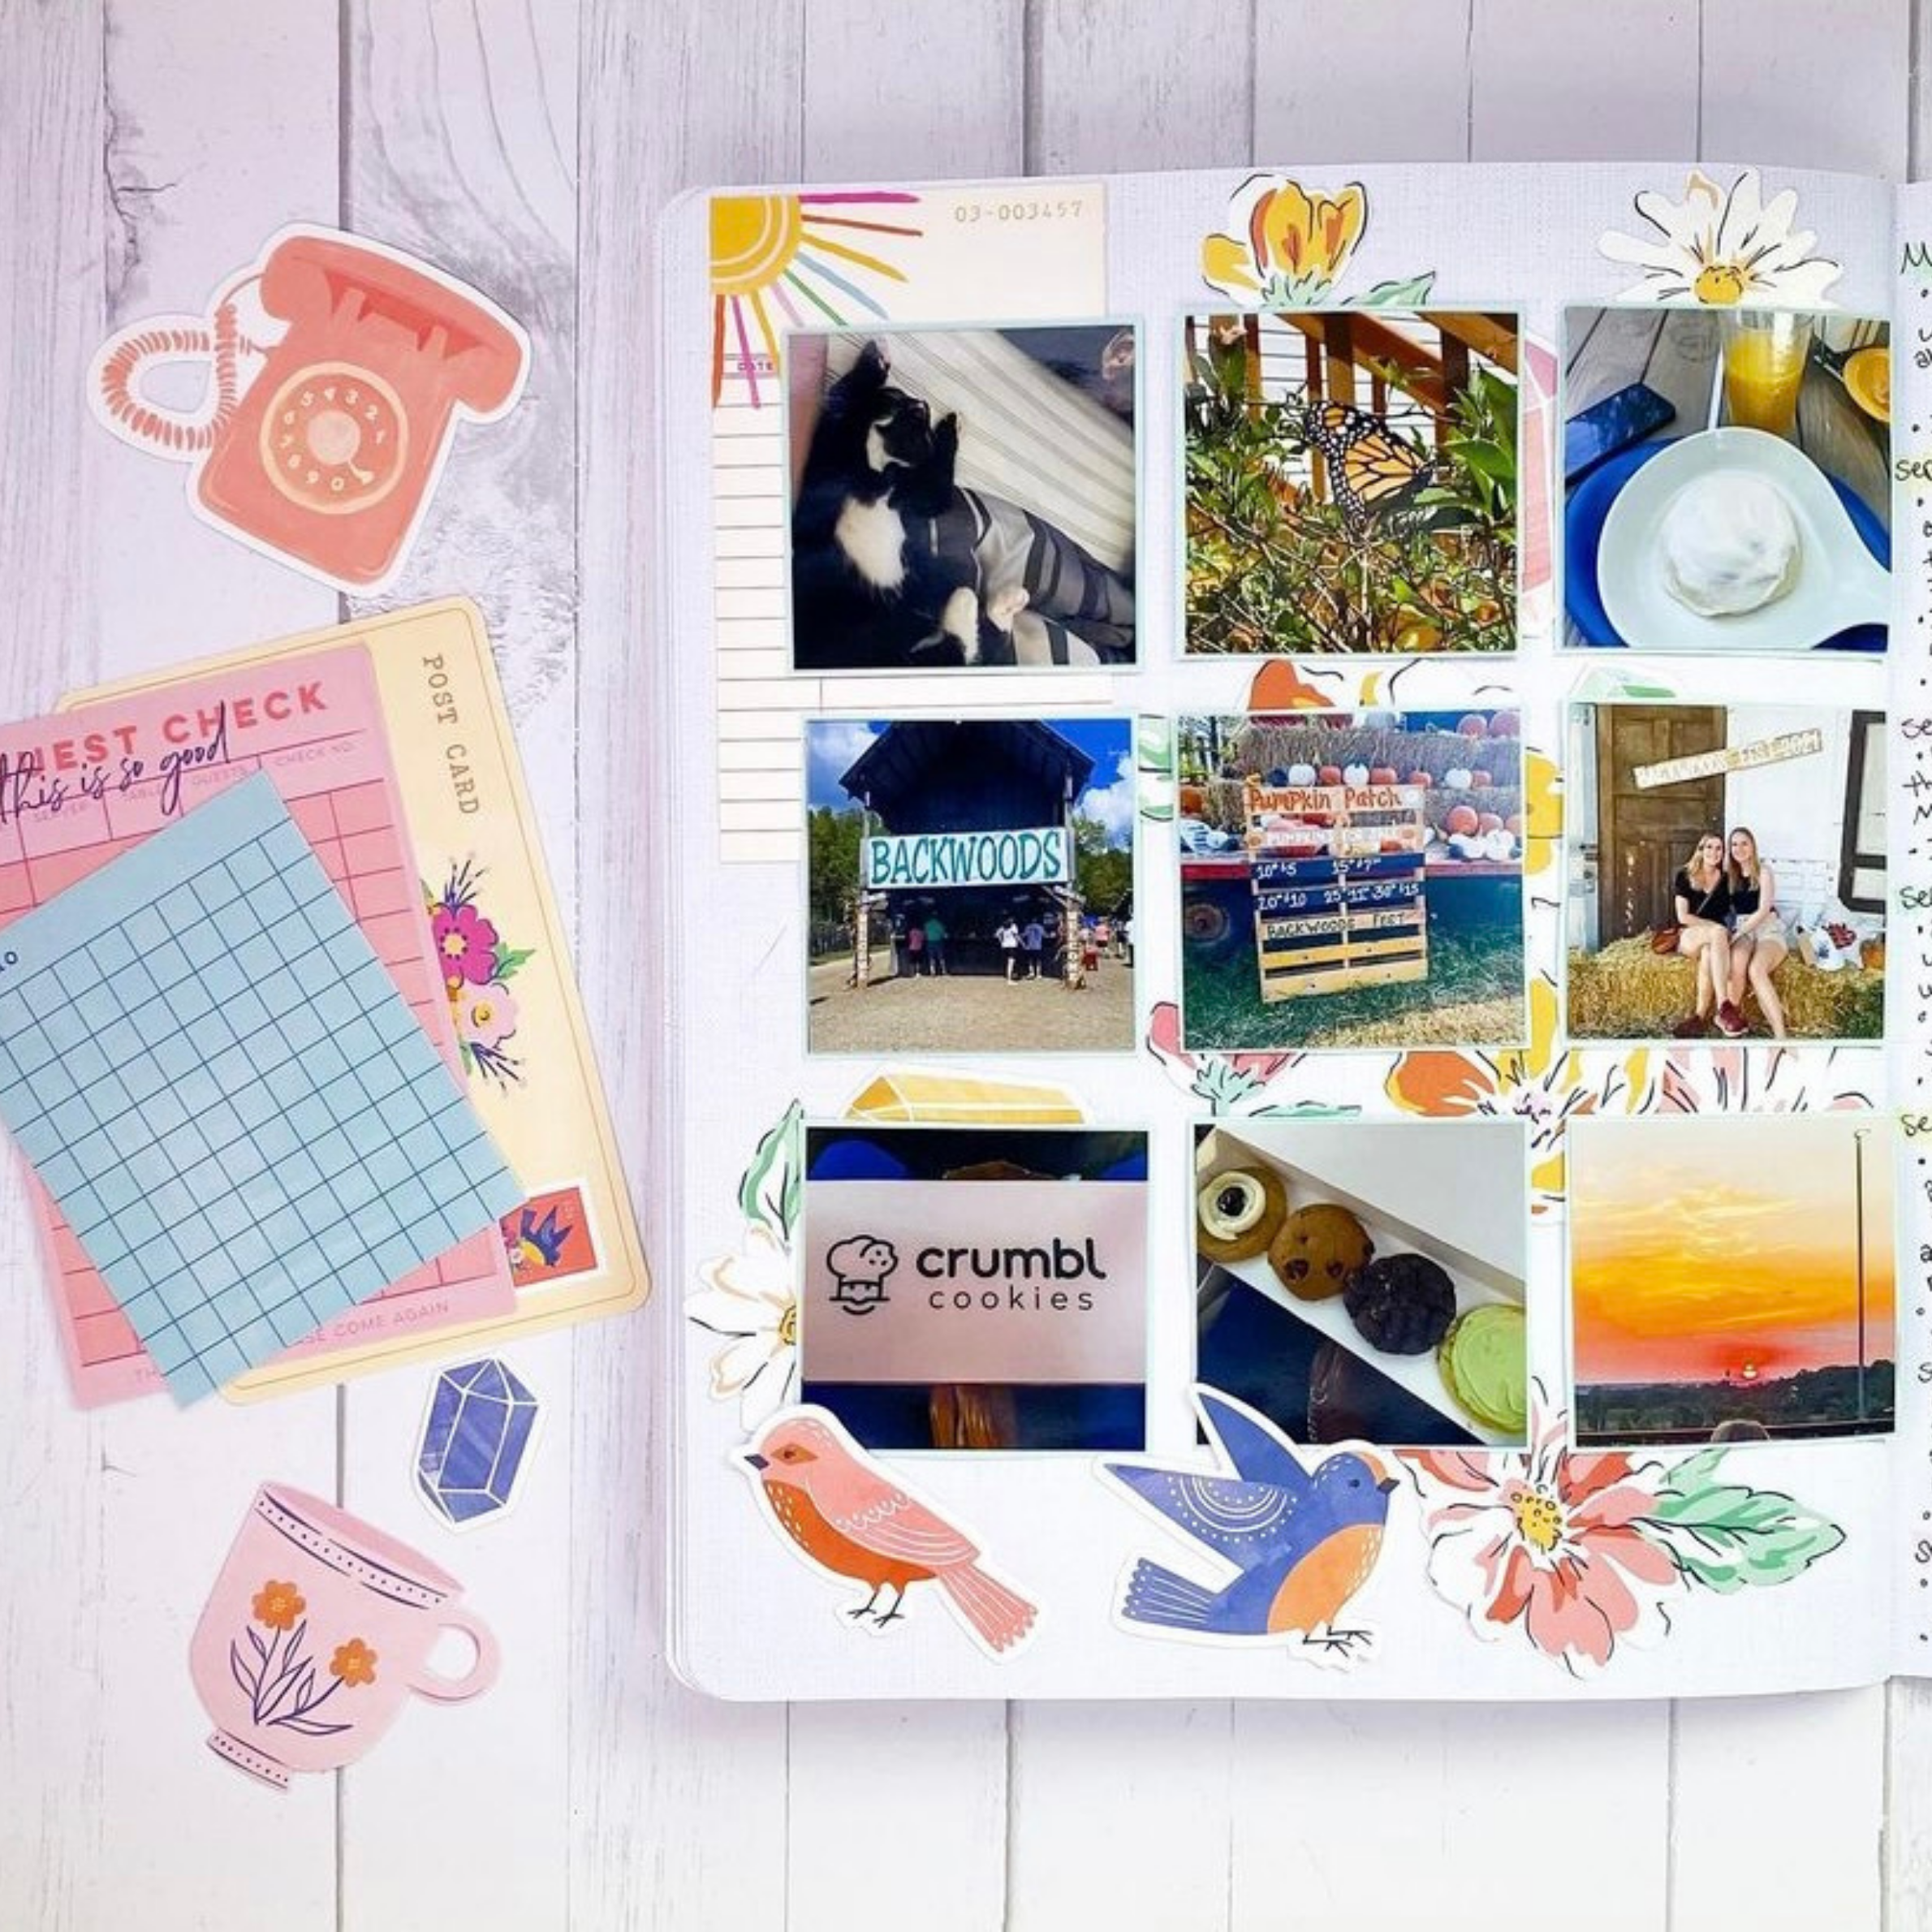
Life is all about celebrating the different seasons! For each new season there are hundreds of ways to decorate your storyline chapters inserts. As each new season begins I bring out the best scrapbook paper that depicts how I’m feeling and what I’m celebrating during that time of year. As you scroll through my layouts above you can find inspiration on how you can document each and every holiday/ season of your life. I look forward to taking out my Halloween, Easter, and Summer scrapbook supplies once a year. I get so much inspiration each time a holiday comes around, and it makes documenting in my storyline chapters that much more exciting.
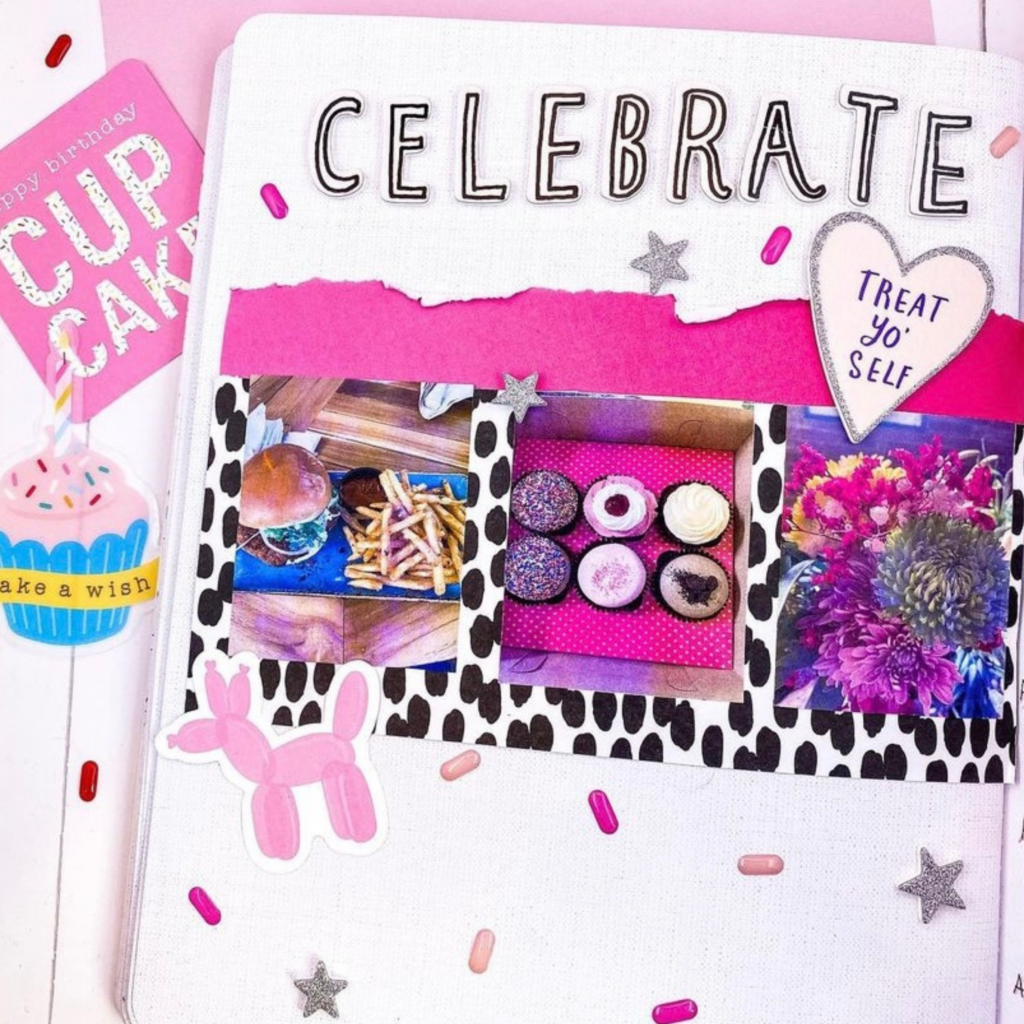
Big or small, these inserts allow you to document any moment in a variety of ways. There’s not limit to how many, or how few, pictures you can include on each page. Unlike traditional scrapbooking, there is no structure to how you should decorate your storyline chapters layouts. I enjoy experimenting with different photo placements, and storyline chapters project pad papers. Some layouts are more simple, while others tend to be more complex. I suggest taking at least an hour each week to sit down and memory plan. Each day I take 2 minutes to either write out the highlight of my day or save it in my notes section on my phone to write in my inserts later that week. Then, usually on Sunday I will sit down for one hour and scrapbook all the pictures that I took.
5. Best Practices For Making Your Photographs Stand Out

Supplies:
- 1st Layout: American Crafts thickers/ Pink Paislee “Whimsical” Paper pack
- 4th Layout: Birthday Ephemera pack
- 7th Layout: Hexagon patterned paper
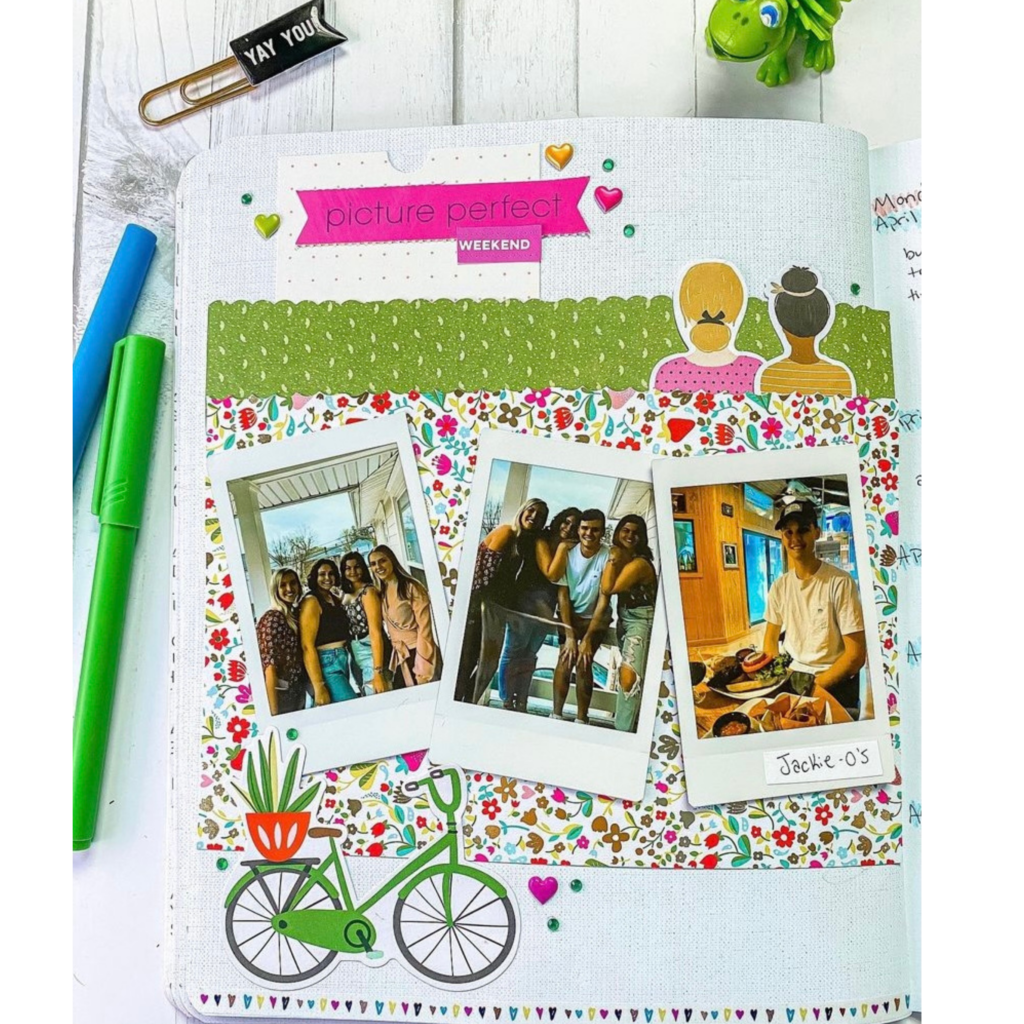
Unlike traditional planners, Storyline Chapters make it easy to customize each page and allow total freedom for your photo and journaling placement. You have the option to use multiple photos for a busy week, or put the focus on a single image that brings it’s own significance. As you can see, I often switch up how many photographs I use per layout. However, all the photographs come together to tell the whole story.
I use a variety of different photo printing options for all my scrapbook layouts. Finding a good photo printer is extremely important in order to accurately depict your precious memories and have them in good condition for years to come. After all, the whole point of a memory planner is to have a place to store your photos. There’s quite a few options for photo printing but these are my favorite options:
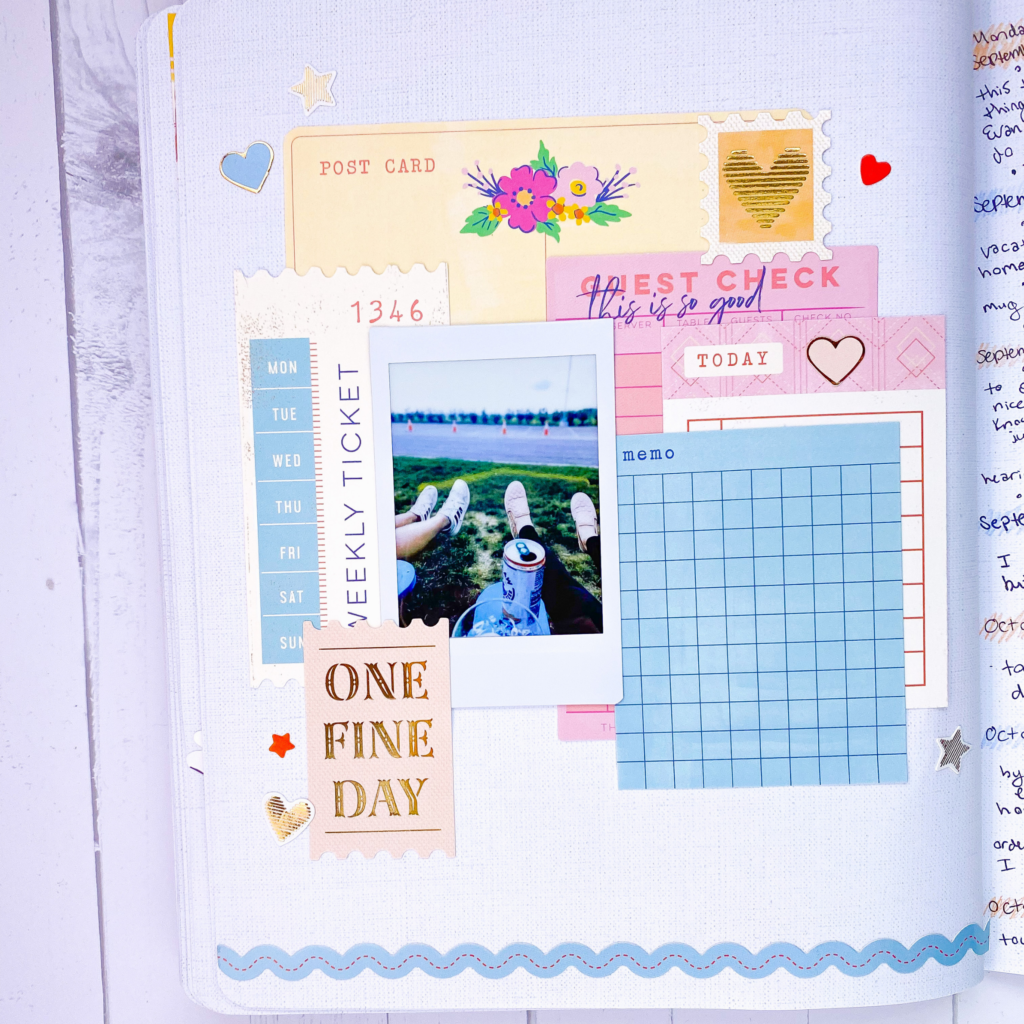
- Instax Mini Printer – Requires no ink! I love this method for printing photos because it is cost effective and you can print pictures directly from your phone in seconds. Also, if you love the vintage polaroid look this is perfect for you. The polaroid’s are small enough you can fit multiple in one storyline chapters layout.
- Shutterfly – If I am printing photos in bulk I love using Shutterfly. They offer free 4×6″ prints if you download their app; You only have to pay around $5 for shipping. In order to get 2×2 inch photos I simply arrange six photos together on a 6×4 inch photograph.
These are my go-to photo printers. To make your photos stand out even more you can place a border around each picture, or place bright or contrasting patterned paper behind the photographs.
These were a few of my Storyline Chapters layouts that I created to document in my memory planner. My hope is that you found some inspiration to start sharing the stories in your life.
Please note: some links to the products mentioned may be affiliate links! There is no extra cost to you, but I may earn a small commission if you purchase a product using my links. This helps my blog out and shows your support.
3 Comments
Comments are closed.