How To Organize Scrapbook Paper Pads And Scraps Easily
The easy guide on how to organize scrapbook paper for small spaces.
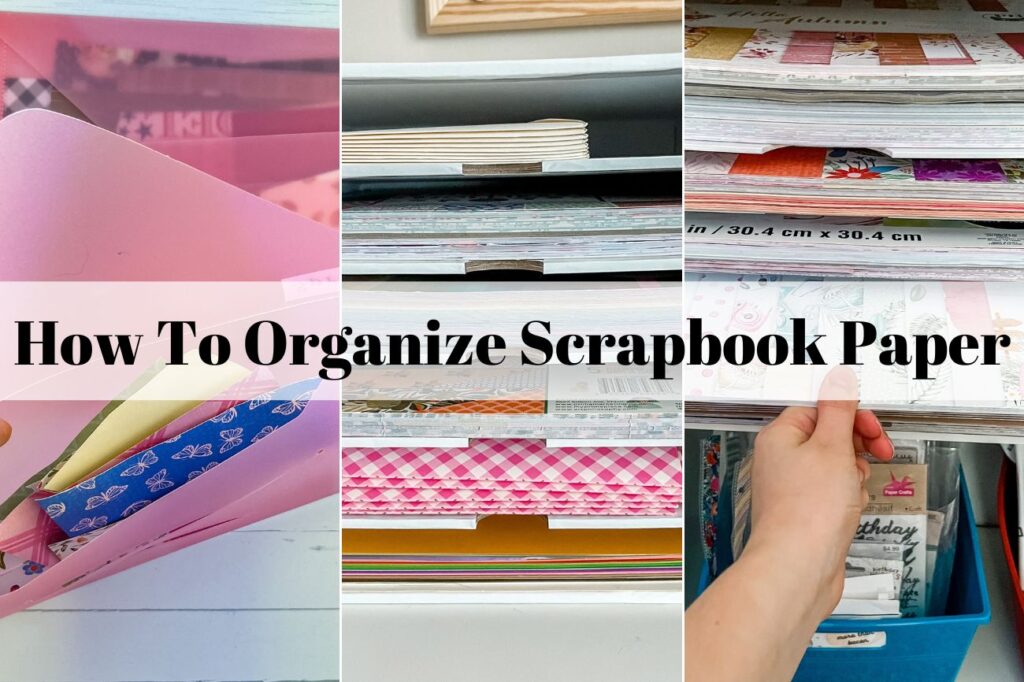
If you are looking for easy ideas on how to organize scrapbook paper, you have come to the right place. First, it is important to understand that no single storage solution is right for everyone. For this reason, I provide diverse storage options for scrapbook paper to accommodate various craft spaces and needs.
From customizable paper trays to affordable desk top organizers and drawers, here are the smartest ways to store your cardstock.
How To Organize 12×12 Scrapbook Paper For Small Spaces?
To Summarize:
After years of switching craft rooms and reconfiguring bookshelves, I finally found a way that allows me to effortlessly search through my paper supply.
The answer to is sort by seasonal categories within tiered trays! Just think about your crafting habits and the kinds of projects you regularly work on. If you are like me, you probably work on projects by season. I’ll share with you all my secrets on how to successfully categorize your paper that will save you space.
Vertical Versus Horizontal Paper Storage
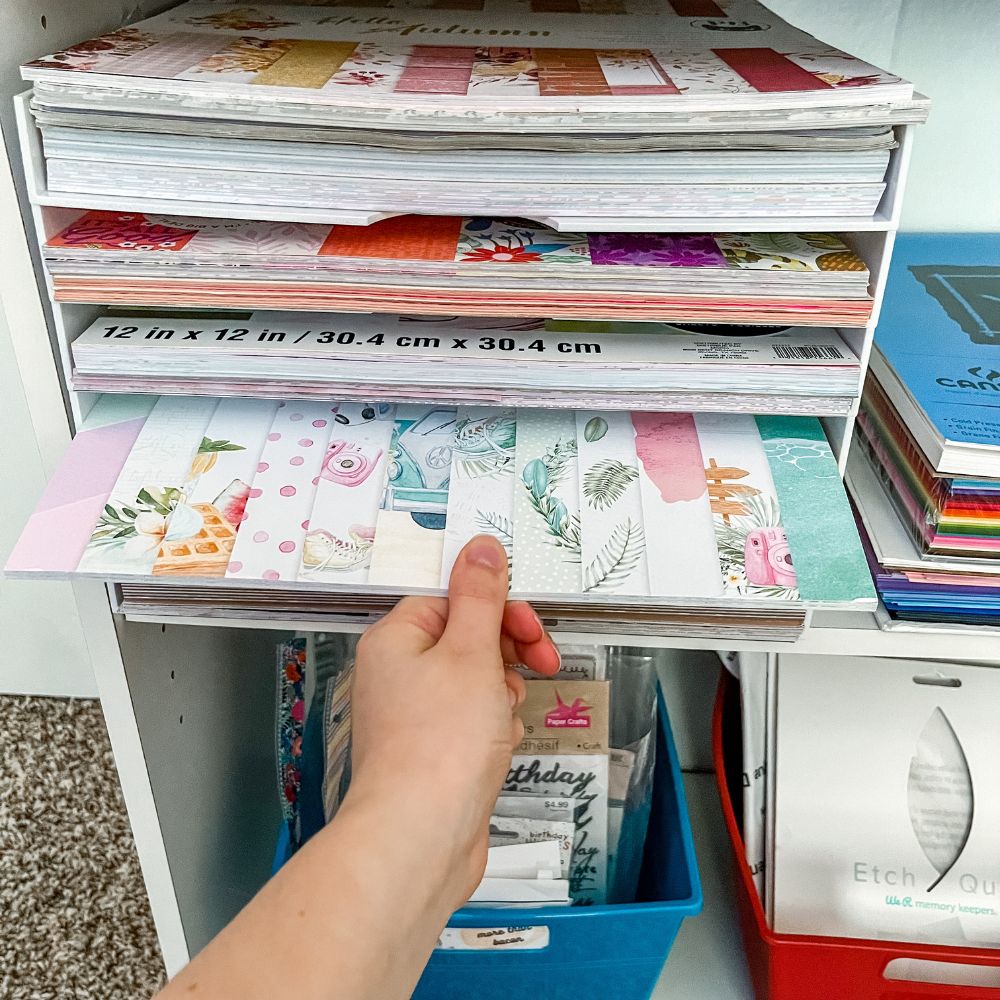
You have probably heard the debate on whether it is better to store paper horizontally or vertically. There are pros and cons to each method, and I found the perfect solution to merry the two together.
This includes the space saving benefits of the vertical method, as well as the feasibility and aesthetics of horizontal storage. My scrapbook paper organization hack works for most craft spaces and budgets, including the popular Ikea storage. No more stressing over scattered paper and more time can be spent on your actual craft.
Related Post: {“12×12 Scrapbook Paper Storage Ideas That Actually Work“}
Vertical Storage
Vertical paper storage is when you store paper right-side up by its height. Instead of laying down flat, you are displaying it as you would books on a bookshelf. In order to store paper packs vertically you will need magazine holders or dividers.
The main advantage of organizing paper vertically is that it can save you space by using the entire height of bookshelves. Think about the extra space above the shelf when we only place small objects there. Typically, there is more height to Ikea bookshelves than there is actual shelf space. Which makes vertical organizers the perfect space-saving hack.
On the downside, it is harder to fully see the patterns or collections when looking at the organizers head-on. You will need to go through the papers by hand or have a comprehensive label system. Taking the papers out of the dividers can also be a pain. And if you do not have enough paper to fill a divider, the paper will start to bend, which can ruin or make it harder to find what you are searching for.
Horizontal Paper Storage
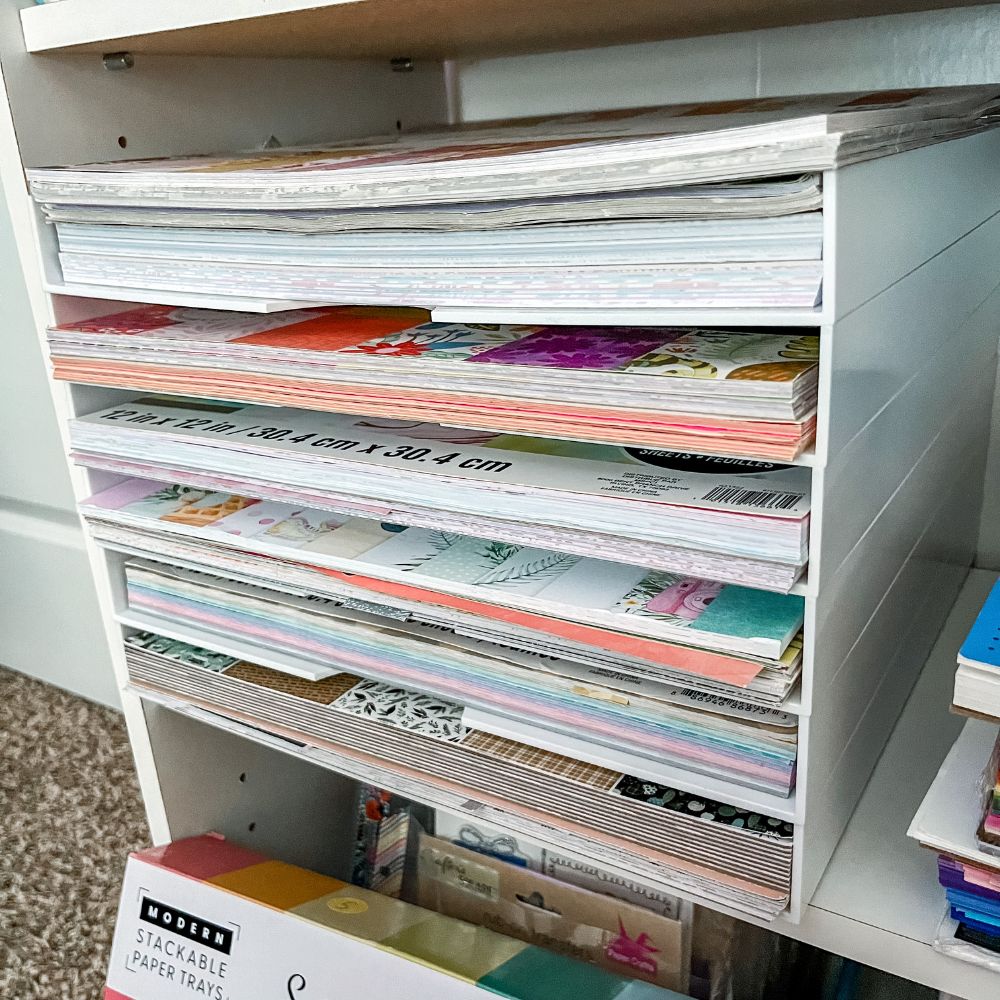
For those reasons, I returned to storing scrapbook paper horizontally. Horizontal paper storage is when paper is laid flat using a shelf or tray. This ensures that the paper will not bend or fall over. However, traditional horizontal storage methods are bulky and may take up more shelf space. That is until I discovered the tiered DIY horizontal storage solution!
Tiered paper trays allow you to organize your scrapbooking paper horizontally while also being stacked on top of one another. This means you get the benefits of storing your paper flat while also partake in saving space. These tiers are sturdy enough to hold many paper packs while also fill up the entire height of a bookcase.
Stackable paper trays are completely customizable. Which means you can stack them to your desired height. Also, the trays make it easy to organize paper by category. Each tray can hold a certain theme or color. Most importantly, it is incredibly easy to flip through and take out the paper as you need to use it.
Horizontal trays are an effective way on how to organize scrapbook paper that saves you time and space.
Scrapbook Paper Categories
If you are an avid paper crafter such as myself, you likely have hundreds of paper and pads lying around. Before you can store your paper it is necessary to organize them so you can take inventory of what you have.
Grouping paper by categories provides a simple system for finding whatever you need in a matter of seconds. Here are some of the best ways to categorize scrapbook paper:
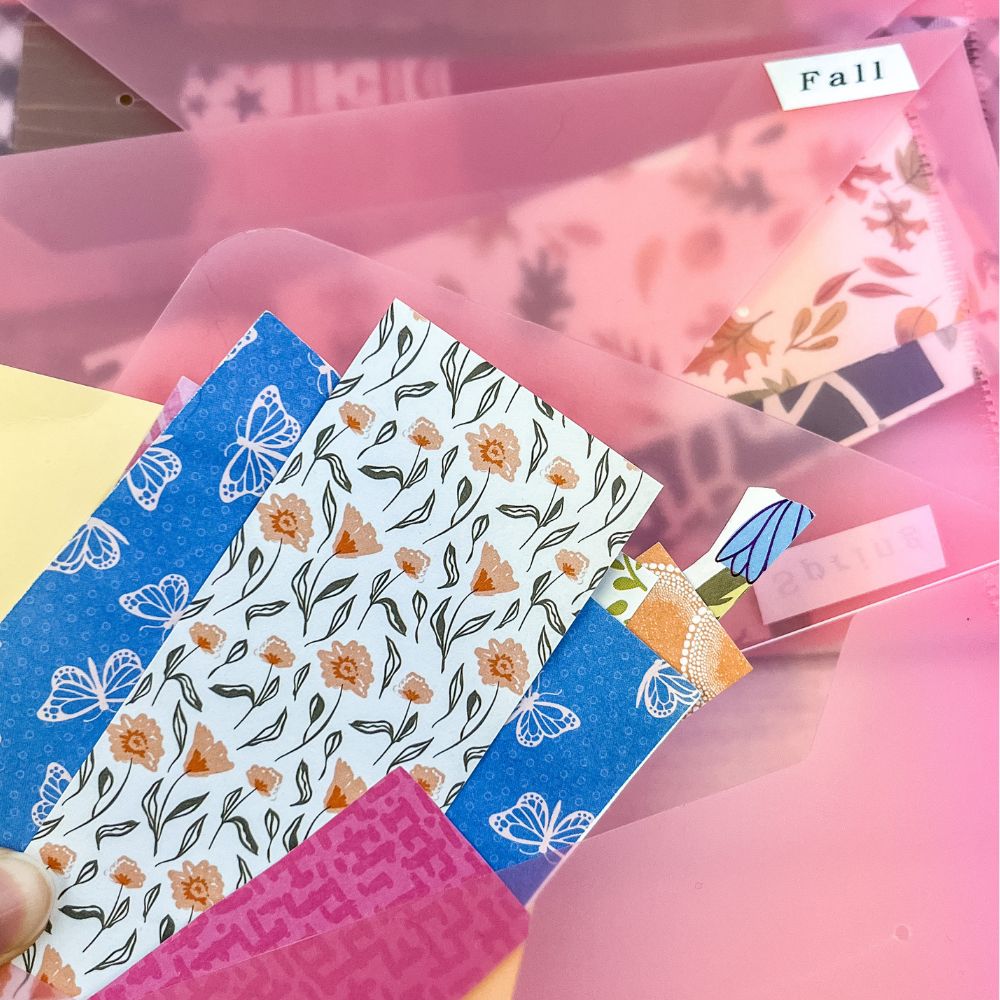
- Season – Spring, Summer, Fall, and Winter.
- Color
- Collections
- Holiday
- Family
- Birthday
- Floral/ Plants
- Anniversary
- Food
- Dots
- Tropical
- Travel
- Animals
- Kids
- Vintage
- Brand
While doing my own crafting I find that I typically work on projects by season. Therefore, I find it useful to organize my paper by season. For example, I keep all the Spring related patterns together which include florals, gardening, Easter and pastel colors.
When sorting through your own paper packs think of how you normally craft and the projects you work on. Do you scrapbook by color? Maybe you have albums for each person in your family and want to keep those papers together. However you craft, be sure to keep categories of your own preferences. The goal is to make it easier for yourself, not to be aesthetically pleasing to others.
Recommended Post: {“Apartment Craft Room Storage Ideas“}
How To Store Small Paper Scraps Easily
12×12 paper storage is one thing, but how should one organize scrapbook paper scraps?
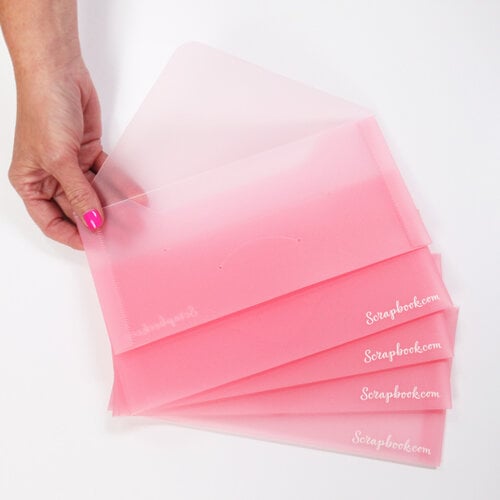
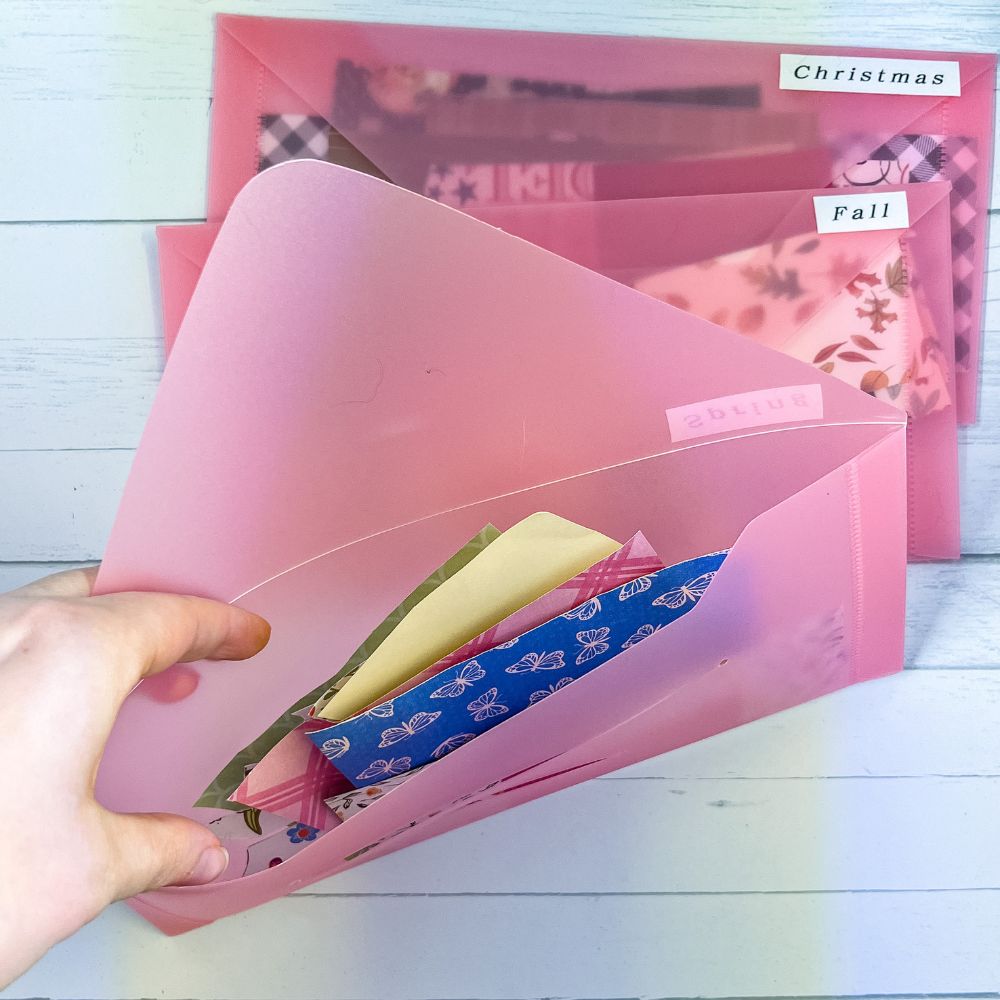
Scraps of paper can come in handy if you want to cut out something small or use it for die cutting. Therefore, do not be quick to throw away cut up paper. The thing with paper scraps is that all are different shapes and sizes. Some may be too oddly shaped to fit within the tiered trays. For this reason, plastic storage envelopes are the perfect solution for small paper scraps.
Storing scraps of paper within envelopes allows you to organize your scraps while being secured. These envelopes have a secure closure that prevent any paper from falling out. They also come in a variety of sizes. Which is great if you have larger and smaller sized paper scraps. You can fit these into drawers to keep them all in one place.
Similar to how we organize 12×12 paper, small paper scraps can also be sorted by categories. Within each envelope you can keep the scraps organized by color, design, or theme. This will save you time when you are crafting and need to find a certain paper.
A great DIY hack is to use clear envelopes so that you can see the paper inside. This will give you an idea of what paper you can find. If you do not have clear envelopes, is it also a smart idea to label each category. This way, you do not need to open each envelope to find what you are looking for.
6×6 Paper Horizontal Organizers For Desk
Horizontal desk organizers are a great storage solution for small paper packs. They are small enough to fit on top of your desk without getting in the way, but will also hold multiple paper packs. Plus, it is easy and convenient to reach for paper without having to get up from your crafting position.
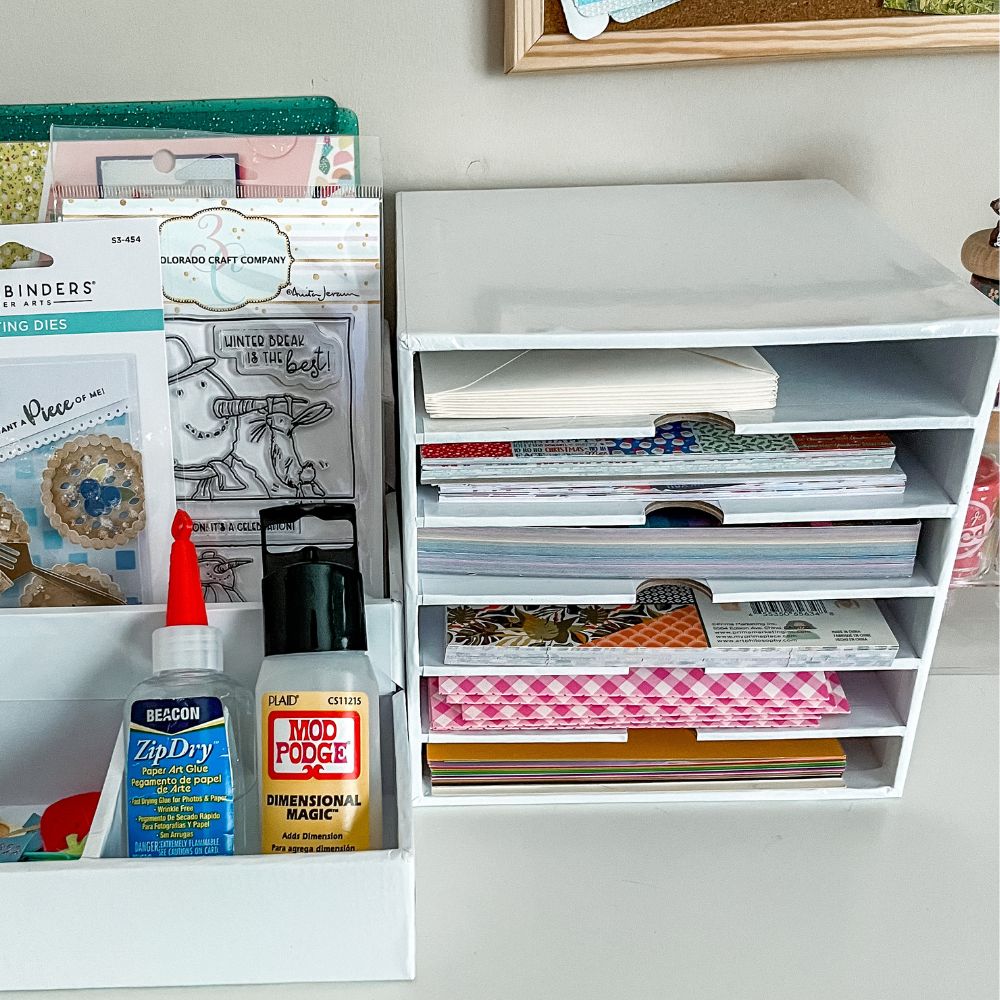
These 6×6 horizontal paper organizers allow you to sort and easily access your supplies. If you are wondering how to organize scrapbook paper affordably this is a great option. The organizer is made out of cardboard so it is budget-friendly while also being stable.
You can sort by theme or collection while having it easily accessible at your fingertips. It is also a good thing that these organizers are aesthetically pleasing to look at. Your scrapbooking desk will look clean and more put together than ever.
No only can you store 6×6 paper packs here but also card bases and envelopes. As you grow your collection it is easy to add more organizers for greater storage space.
This post answers how to organize scrapbook paper scraps
Please Note: Some of the links above are affiliate links. Read the full disclaimer here.
Additional resources:
- “Paper storage ideas” By Abbi Kirsten Gillespie
- Categorize patterned paper forum at Scrapbook.com

