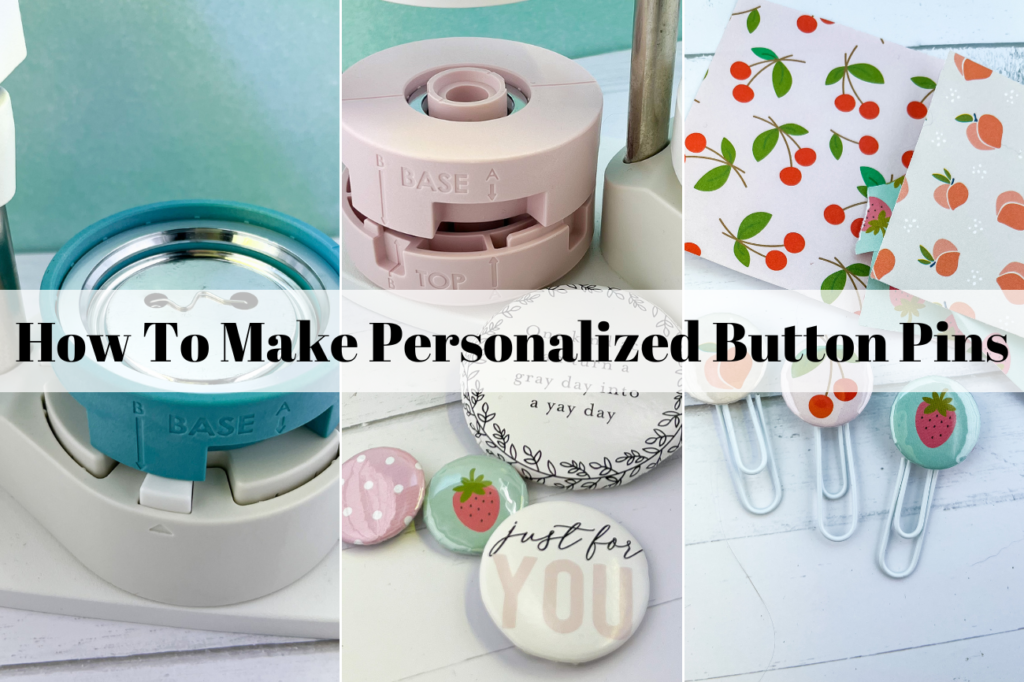
How To Make Personalized Button Pins To Sell And Craft
This guide will teach you how to make personalized button pins at home.
Try this method if you are wanting to learn how to make personalized button pins. Using only a few materials, this is the easiest way I have tried. Best of all, it only takes a few seconds to complete one pin.
Button pins are a great item to sell at craft fairs if you are looking to make some extra money. Different artists and businesses use button pins for marketing and brand awareness. Others such as myself, love to wear pins as flare on jackets and bags. You can virtually put any design on the button as long as it will fit within the circle.
Is There An Easy Way To Learn How To Make Personalized Button Pins?
Making your own button pins is easier than you think! All you will need is the button press machine from We R Makers.
This machine allows you to make pins at home in seconds. Plus, you are able to make as many as you wish for your business or hobby.
Recommended post: {“Where To Buy Scrapbook Supplies“}
1. Choose A Design
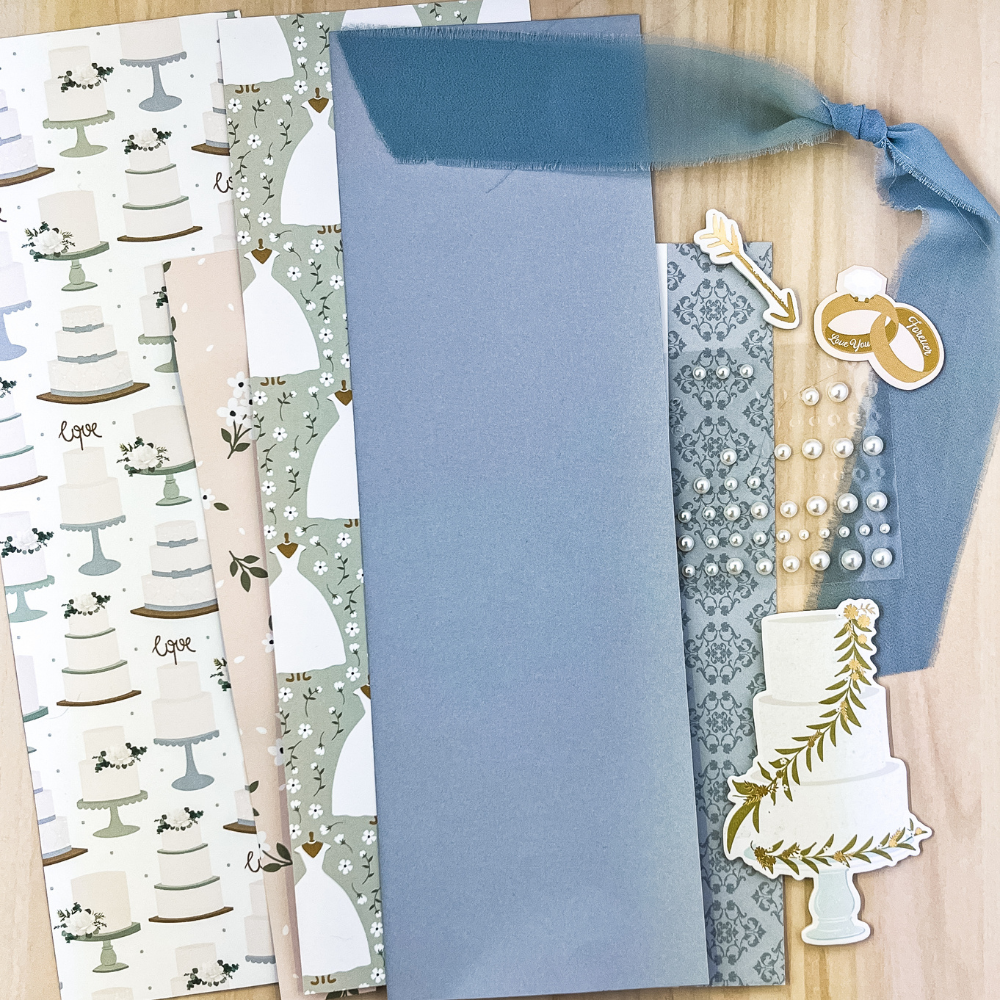
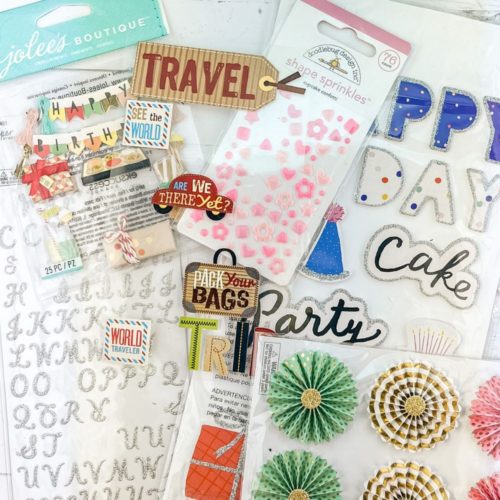
This first step in making your own buttons is to choose a design. Scrapbooking paper has tons of fun patterns you can choose from. Although, you may also make your own button designs.
I recommend using lightweight cardstock or scrapbook paper. Keep in mind that the paper will have to easily bend around the button top. If the paper is too thick then your button will not close properly.
Your button design will be enclosed in mylar; a protective plastic wrap. This will protect and give a glossy shine to your design image. Although, you can skip the Mylar if you prefer. I find that if my paper is too thick, it is best to go without using it.
How To Make Buttons With Cricut
In order to make button designs with your Cricut, you will first need to insert circle shapes of your desired size. First, measure out the front of the button and add a little extra room for it to wrap around.
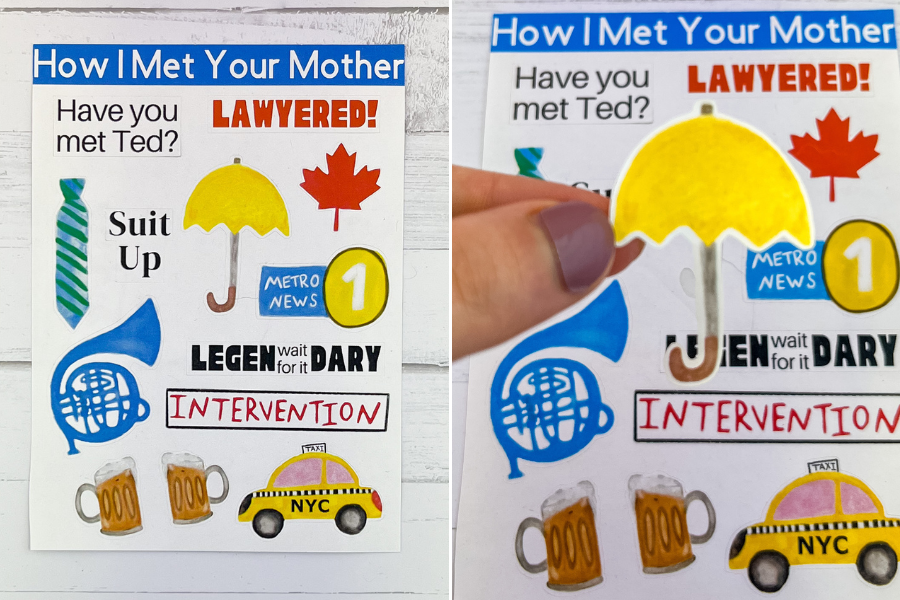
Next, you will want to upload your design into Cricut design space. This could be your logo, name, quote, or any specific pattern. Fit your image into the circle leaving room around the edges. Duplicate the designs if you plan on mass producing the pins. Finally, print and cut out your design!
2. We R Makers Button Maker Setup And Instructions
Setting up the button press by We R Makers takes only a few seconds.
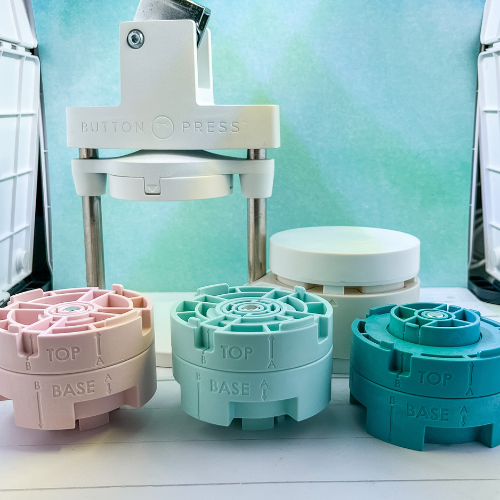
Contents included with the machine:
- Small, medium, and large button backs and top shells
- Mylar covers (small, medium, large)
- Cutting inserts and dies
- Base inserts
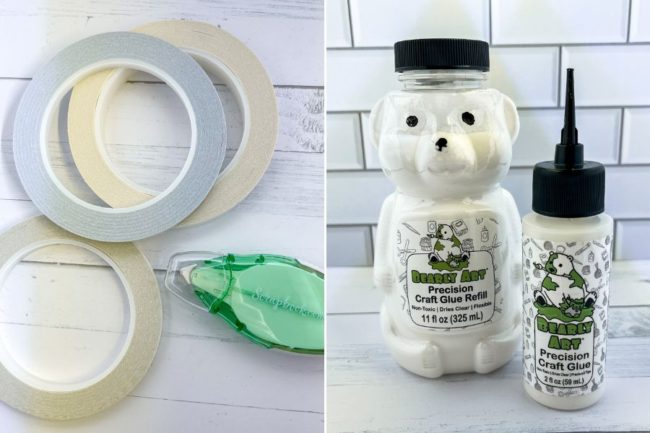
- Foam adhesive
The Button press comes fully intact, so there is not much you have to put together. The base and cutting inserts can be attached by their magnetic strips. Which makes them easy to change out the sizes.
3. Cut And Size Your Design
You have two options for cutting out your designs – You may cut your designs out using the Cricut machine as mentioned earlier. Or, you can cut patterns out of paper using the cutting dies included with the machine.
If you plan on cutting the designs out of paper, then you first will need to attach the two cutting bases. Simply attach the top and bottom base plates to the machine. The magnets will help to clip in and secure the two bases.
Once you decide which size button you want to create, select the corresponding cutting dies. The cutting dies will cut the paper out into a perfect circle.
Once your designs are cut out, it is time to assemble the pin buttons.
4. Insert Top Of Button And Align To Point “A”
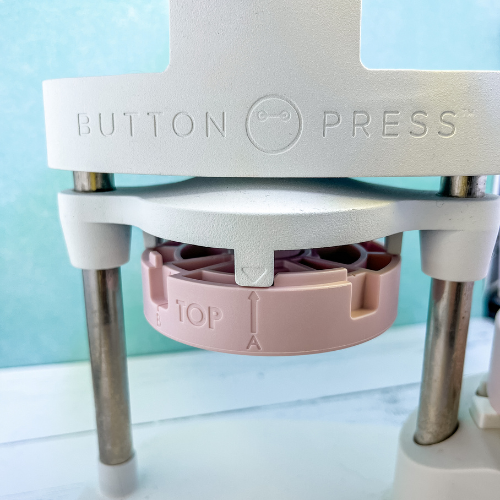
Take out the cutting base plates and replace them with the base inserts. Again, their will be three different inserts for the small, medium, and large buttons.
On the top and bottom inserts you will see points “A” and “B” inscribed on the side. Make sure to have the arrows pointing at point “A” to begin.
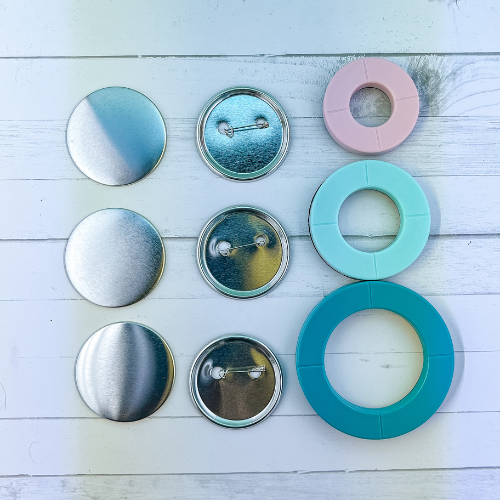
On the bottom insert, simply place one button shell (front side up) into the base. Then, place your design on top. I like to use the score lines on the base to make sure my image is not crooked.
Place the mylar on top of the button face design if desired. You should now have a button sandwich – button shell, design image, mylar.
Swivel the bottom base under the top and press down the lever. When you pull up the lever the button should now be in the top insert.
5. Rotate To Point “B” To Attach Button-Back
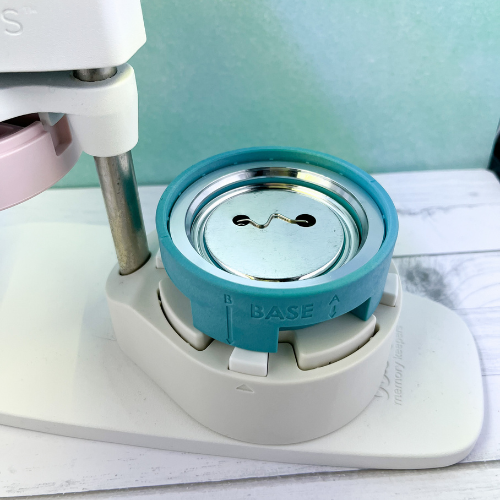
For this next step, you will need to rotate from point “A” to point “B”. This is where we will attach the button back.
Using the score lines on the bottom base plate, line up the button back. The back of the button (where it can be clipped/ unclipped) should be face down. Then, line up the needle horizontally to the score lines.
Once again, swivel the base under the top and press down the lever. This will attach the top and bottom.
Now you have learned all the steps of how to create personalized button pins.
Related Post: {“Best Way To Use The Shotbox For Scrapbook Photography“}
6. Final Step In Learning How To Make Personalized Button Pins
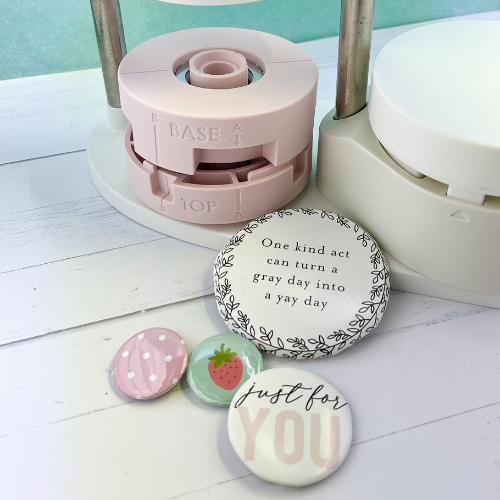
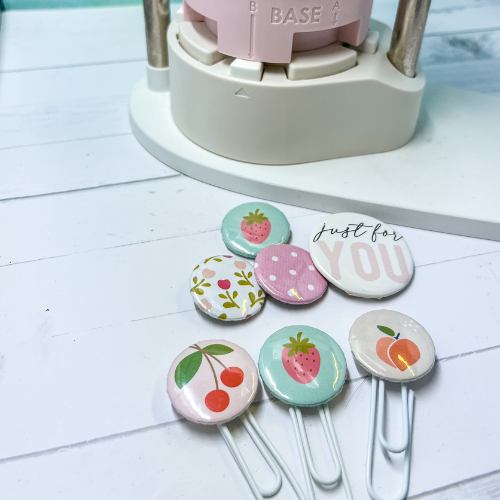
Within seconds you will have adorable, personalized button pins.
Experiment using various paper materials and patterns. I love playing with old postcards and scrap paper. You can also try making each of the sizes to experiment.
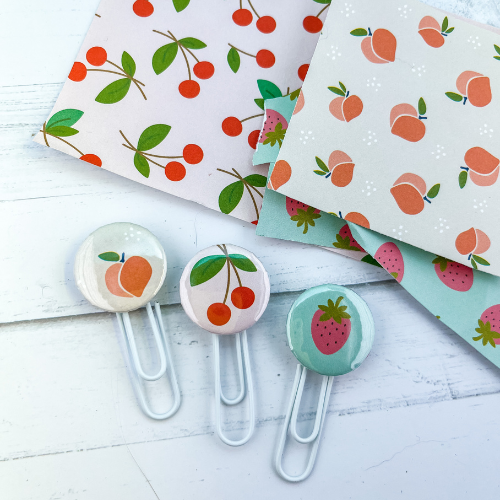
Not only can you make button pins with the Button Press Machine, you can also make paper-clips, rosettes, jewelry, keychains, and so much more!
Frequently Asked Questions – FAQ
Can You Make Photo Button Pins Using The Button Press Machine?
Yes, you can create custom button pins with personal photos. You would follow the same steps above with a printed out photograph.
This can be used for baby showers, birthdays, bachelorette parties, and sports games. There is no better way to show your support than with personalized flare!
Where To Buy Blank Button Pins?
You can buy blank button pins on scrapbook.com. Here, you can find small, medium, and large sized pins. Besides button pins, you can also find keychains, rosettes, and paper-clip blanks to create with.
What Paper Is Best For Button Pins?
The best paper for personalized button pins is lightweight scrapbook paper.
The lighter the paper, the easier it is for it to wrap around the button shell. However, you can experiment with heavier cardstock to see what you prefer. Just keep in mind, the heavier the cardstock the more difficult it may be for the mylar to fit around the top.
This Post Is All About How To Make Personalized Button Pins At Home
Please Note: Some of the links above are affiliate links. Read the full disclaimer here.
Additional Resources:
- Cricut – 5 ways to DIY pins
- Button Makers – What paper is best for buttons