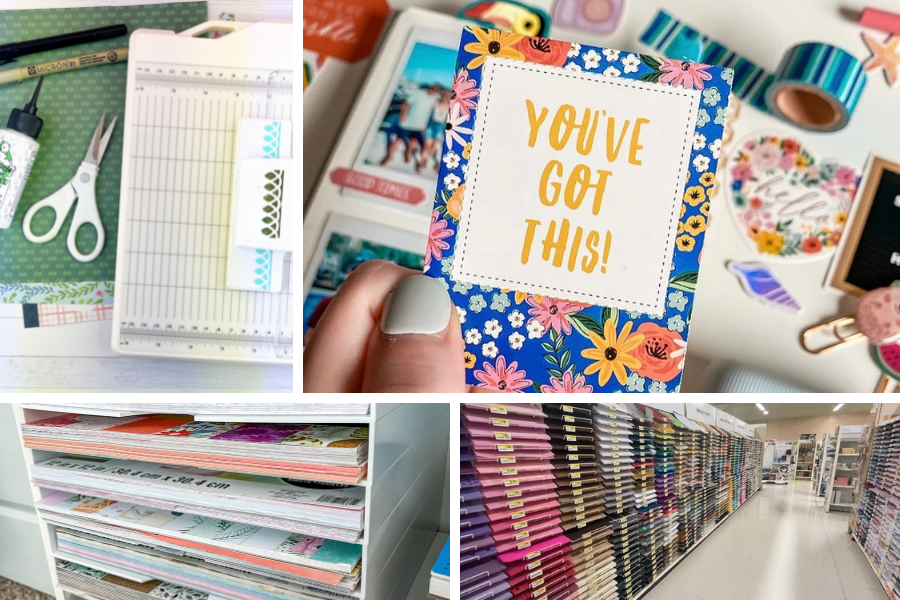
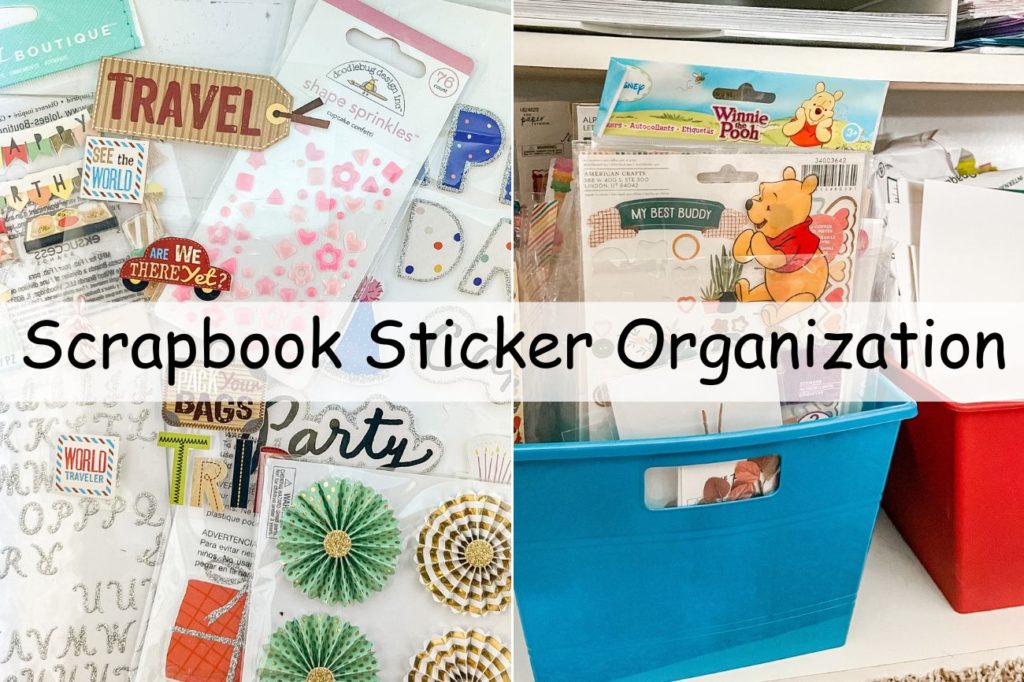
Scrapbook Sticker Organization Hack That Will Blow Your Mind
This genius scrapbook sticker organization idea will keep your supplies neat and easily accessible.
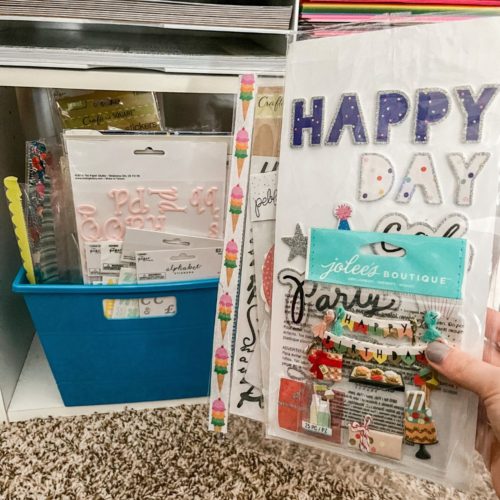
My tried and true scrapbook sticker organization that is simple, yet effective. With this method, you can store both individual and large sheets of stickers. It also allows for plenty of space to store multiple sheets as you grow your collection over time. Searching through your sticker collection has never been easier with the clear plastic page protectors.
Anyone can achieve a clean and organized craft room with this sticker storage. Especially if you have a small space, this method will make a big difference. The best part is all the supplies can be found at the dollar store. I am sharing all the best practices for sorting, categorizing, and organizing your stickers. Once you try this method of organization you will never go back to the old ways ever again.
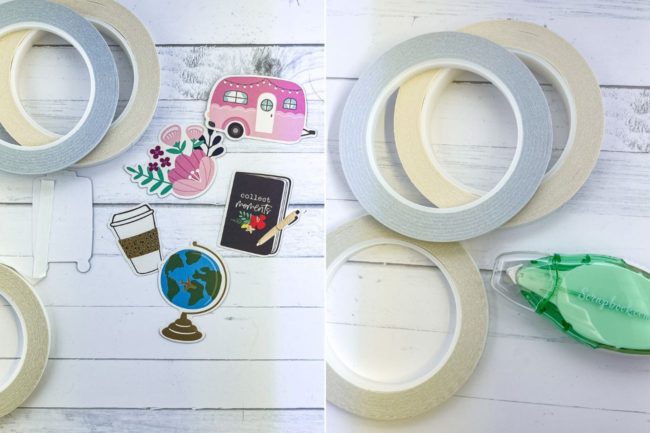
Supplies Needed:
- Clear page protectors
- Washi tape
- Bin or basket
The Best Scrapbook Sticker Organization
1. Scrapbook Sticker Organization Categories
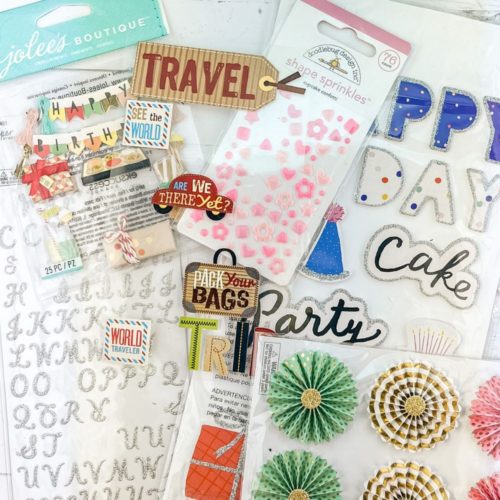
The first thing you will need to do is gather up all of your stickers including sheets, packs, and individual. This will give you a good idea of how many stickers you have and of what kind. Then, you can determine the best way to categorize the stickers. Some examples may be categorizing by size, color, brand, holiday, or even newness. Personally, I like to categorize my stickers by season and theme. When I scrapbook, I typically craft by season and holiday. Think of your crafting behavior and how you tend to reach for supplies.
Once you have predetermined your categories it is time to start sorting. Make a pile for each one of the categories. Sort each sticker one by one into one of the categories that best fits it. If you find that you have a large number of stickers in one category you can create sub categories if needed. For example, for Christmas stickers you can subcategorize them into Santa stickers, gold stickers, reindeer or tree stickers. One of my favorite things about this method of organizing is how versatile it is to expand and add more categories when necessary. Every single sticker should be included into a pile once finished.
2. Sort & Categorize With Washi Tape
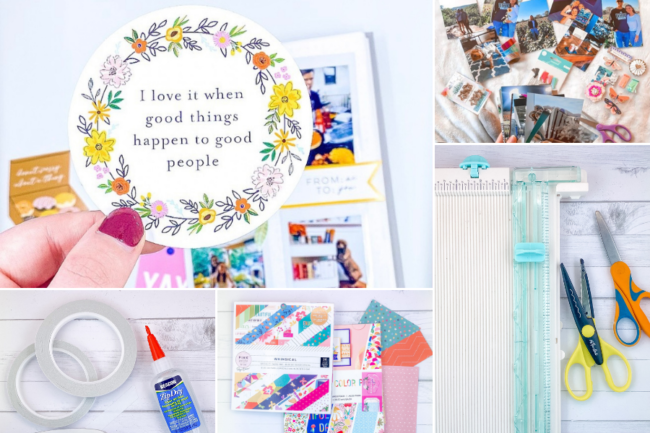
After each sticker is sorted into their respective categories we will need to store them. In order to store the stickers effectively, you will need clear page protectors and washi tape. The washi tape will be used to mark each category making it easy to identify your stickers later on. When picking your washi tape, choose a design that reflects your stickers. For example, for Spring stickers I used butterfly washi tape. This makes it easy to remember that butterflies go with my Spring stickers.
To begin, take your washi tape and one page protector. Most page protectors have three holes on the left side. You will cover up the three holes by taping the washi along the side. I have been using this scrapbook sticker organization for 3 years and have never had my washi fall off or peel. After the washi tape is adhered place all the stickers that are a part of the category into the page protector sleeve. This keeps all the sticker sheets together, even the loose one-off stickers. Repeat this process for each category.
3. How To Organize Scrapbook Stickers With A Basket
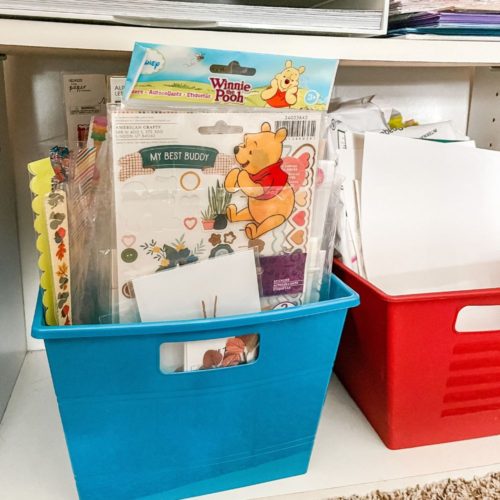
At this stage, all off your stickers should be organized into a page protector based on the category. The next step is to store the sleeves in a bin or basket to keep them neat and tidy. Like I mentioned earlier, all of the supplies can be found at the dollar store including the bin. Although, you can be any sized bin you desire. Pick an aesthetic looking basket that looks well in your craft room and also fits on your shelves. Once you picked out a bin go ahead and place each of the page protectors upright inside of it. Make sure the opening of the sleeves are upright so the stickers do not fall out.
Finally, you can store the bin of stickers anywhere in your craft room. It fits well within any bookshelf or desktop. See for yourself how easy it is to flip through the page protectors and find the exact stickers you want based on the washi tape. As you add more stickers to your collection you can easily had more sleeves or bins. This scrapbook sticker organization is a guaranteed way of keeping your craft supplies in good condition.
Related Post: {“CRAFT ROOM STORAGE IDEAS THAT WILL SAVE YOU SPACE”}
4. Why This Method Is Better Than A Sticker Storage Book Or Binder
As I grew the number of stickers in my collection I tried many different ways of organizing. This included a storage book with sleeves. From my experience, a binder took a long time to flip through to find the exact sticker I was looking for. Also, I tend to buy various sized sticker sheets. Some of tall and long, while others are thick. It can be difficult to store larger sized stickers in a binder since they peak out of the top. This makes it harder to store in bookshelves and does not look as appealing. Also, the more stickers that are stored in the binder the bulkier it gets, making it harder to close.
After trying many different storage ideas, my scrapbook sticker organization using page protectors and bins is by far the best. Not only is it visually appealing, but it is also affordable, easy, and keeps each sticker safe and secure. As time passes you will begin to remember which washi tape corresponds to what category and it will take seconds to grab the right sleeve. Then, you can look through the sleeve to find the right stickers you were searching for.
This post is all about scrapbook sticker organization
Please note: some links to the products mentioned may be affiliate links! There is no extra cost to you, but I may earn a small commission if you purchase a product using my links. This helps my blog out and shows your support.